

This post may contain affiliate links. As an Amazon Associate, I earn from qualifying purchases. For more information, please visit my Privacy Policy.
I had my starter out of the refrigerator for about a week as I was playing with different recipes, so I decided to try whole wheat sourdough bagels. Suffice it to say, DELISH!
If you have not yet gotten on the sourdough train, I explain how to create and maintain a starter in my Sourdough Starter Guide.
As I explained in my Sourdough Everything Bagels post, a true New York bagels requires (yes, I said it again: requires) malt, whether in syrup or powder form. This recipe uses non-diastatic malt powder.
Malt powder (or syrup) is a sweet derivative of roasted barley. Non-diastatic means that the malt was heated to the point of killing the enzymes contained in it. Diastatic malt therefore has active enzymes in it and is used in bread recipes to assist with rising and conditioning the dough. Non-diastatic malt, which is more commonly used in bagels, simply provides a touch of sweetness and deeper color in the bagels without affecting the rise or dough consistency.
In this recipe, the malt is not a key ingredient in terms of the structure of the bagel. It is, however, a key ingredient in terms of flavor. There are recipes out there that use “substitutes” for malt such as molasses and brown sugar. Those bagels may come out good, but they are not (I repeat NOT!) true New York bagels.
And remember: a substitute is just that. It is a second-best replacement for an ideal ingredient. If you are going to take the time and energy to make something, don’t you want it to be the best? I do. So, if you are going to make these bagels, plan in advance and buy the non-diastatic malt powder. It is readily available at King Arthur Flour. (I have also seen it on occasion on Amazon.) I prefer the powder to malt barley syrup because the powder is easier to work with and has a longer shelf life.
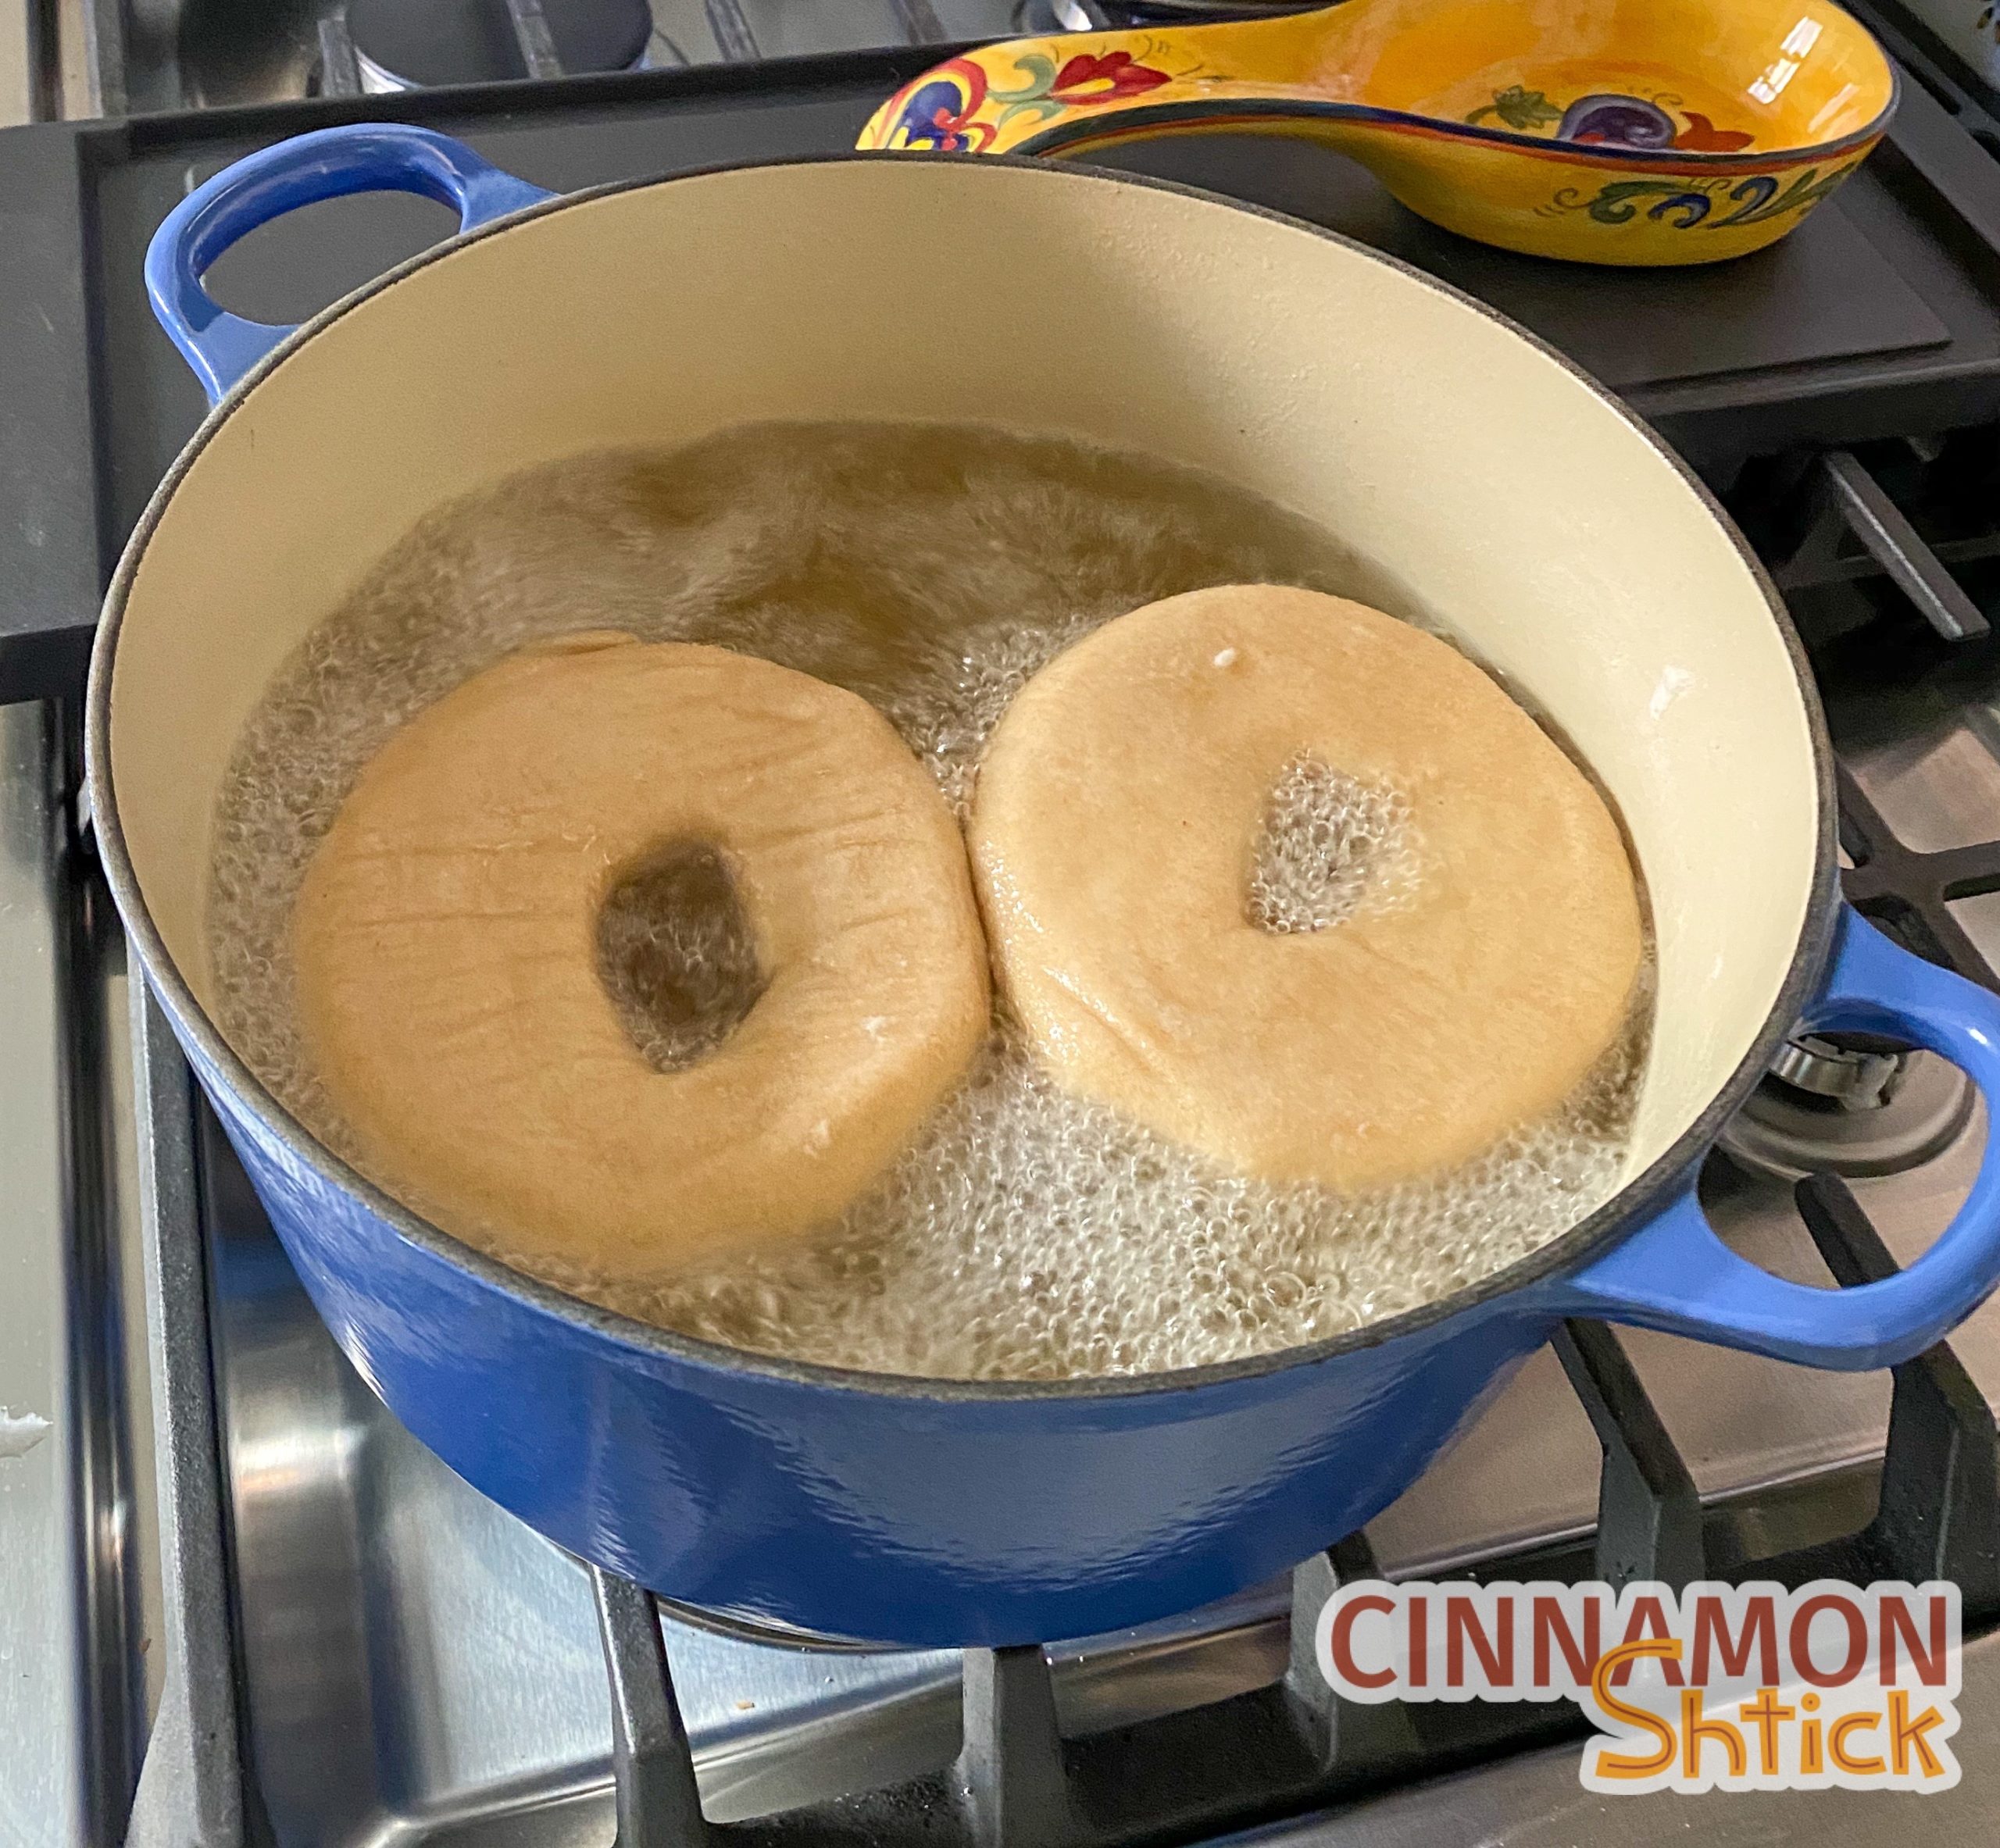
Also, tossing in a couple tablespoons of malt powder into the boiling water adds more flavor and makes the crust of the bagels tacky enough to hold onto any toppings, like an everything mixture. The malt in the water also helps give the bagel a beautiful shine.
This Honey Whole Wheat Sourdough Bagel recipe comes together very easily with a mixer. I use a KitchenAid 5 Quart Professional which also works well if the recipe is doubled. If you have a less powerful mixer like the KitchenAid Artisan, the dough may be too stiff and cause your motor to overheat and turn off at some point during the kneading process. If the motor sounds like it is overworking, I suggest turning it off and finish kneading by hand. It’s actually a good workout and is quite therapeutic!
As I said, these bagels are super simple to make, and the key ingredient is time:
- Mix Ingredients. Once your starter is fully active (approximately 3-4 hours after feeding it), mix it together with the water, flours, honey and non-diastatic malt powder. It will take a few minutes for the dough to come together. Resist the urge to add more water. If, after about 4 minutes, the dough has not come together, add 1 tsp. of water. Unless you live in the dessert or it’s a particularly dry day, you should not need more water than that.
- Knead and Add Salt. By about the 7 minute mark, start adding the salt. We wait to add the salt because salt, when first combined with yeast (natural or commercial), can kill some of the yeast or slow the yeast development in the dough. Once the dough is formed, the yeast reacts much more kindly to the salt, and it actually helps the yeast develop. Knead for about 5 more minutes.
- Windowpane Test. Do the windowpane test to make sure the gluten in the dough is fully developed. The final dough should be slightly tacky.
- Shape and Rest and Rest and Rest. Shape the bagels and let them rest. Using a natural sourdough starter requires much more resting time than when using commercial yeast. You will want to let the shaped bagels rest, lightly covered, for 6-8 hours. You will know that they are done resting if a bagel inserted into a bowl of warm water floats. If it does not float, wipe off as much water as you can and place it back on the baking sheet, but make sure to first grease that area of the parchment with non-stick spray or lightly flour it (semolina flour is great for this, but any flour should do). Allow the bagels to continue to rest until one of them passes the float test. (Confession: I have waited as long at 8 hours with my bagels still not passing the float test. I needed to go to bed, so I put them in the fridge overnight. The next morning, I let them sit in a warm place on the counter for about 4 hours. They passed the float test and turned out super delish.)
- Refrigerate overnight. This helps the flavor develop further while slowing down the fermentation process. (Technically, you could skip this part and move forward with boiling and baking once the bagels pass the float test. However, you will be missing out on the further developed sourdough flavor which is what this bagel is all about.)
- Rest, Boil and Bake. Remove the bagels from the refrigerator and allow them to come to room temperature, at least 1 hour. I usually let them sit for about 2 hours. Then boil and bake. Be careful not to linger too long after boiling before baking. It is best to get them into the oven within a few minutes after boiling.

I have not included U.S. volume measurements for this recipe. Bread formulas are very precise. There is too much disparity when measuring, for example, 1 cup of starter, let alone 1 cup of flour. If you are going to make my bagels, I want you to end up with the correct, desired result – not a rubbery, dense bagel. If you still need to buy a scale (shame, SHAME!), see my post on Weighing v. Measuring for some recommendations.
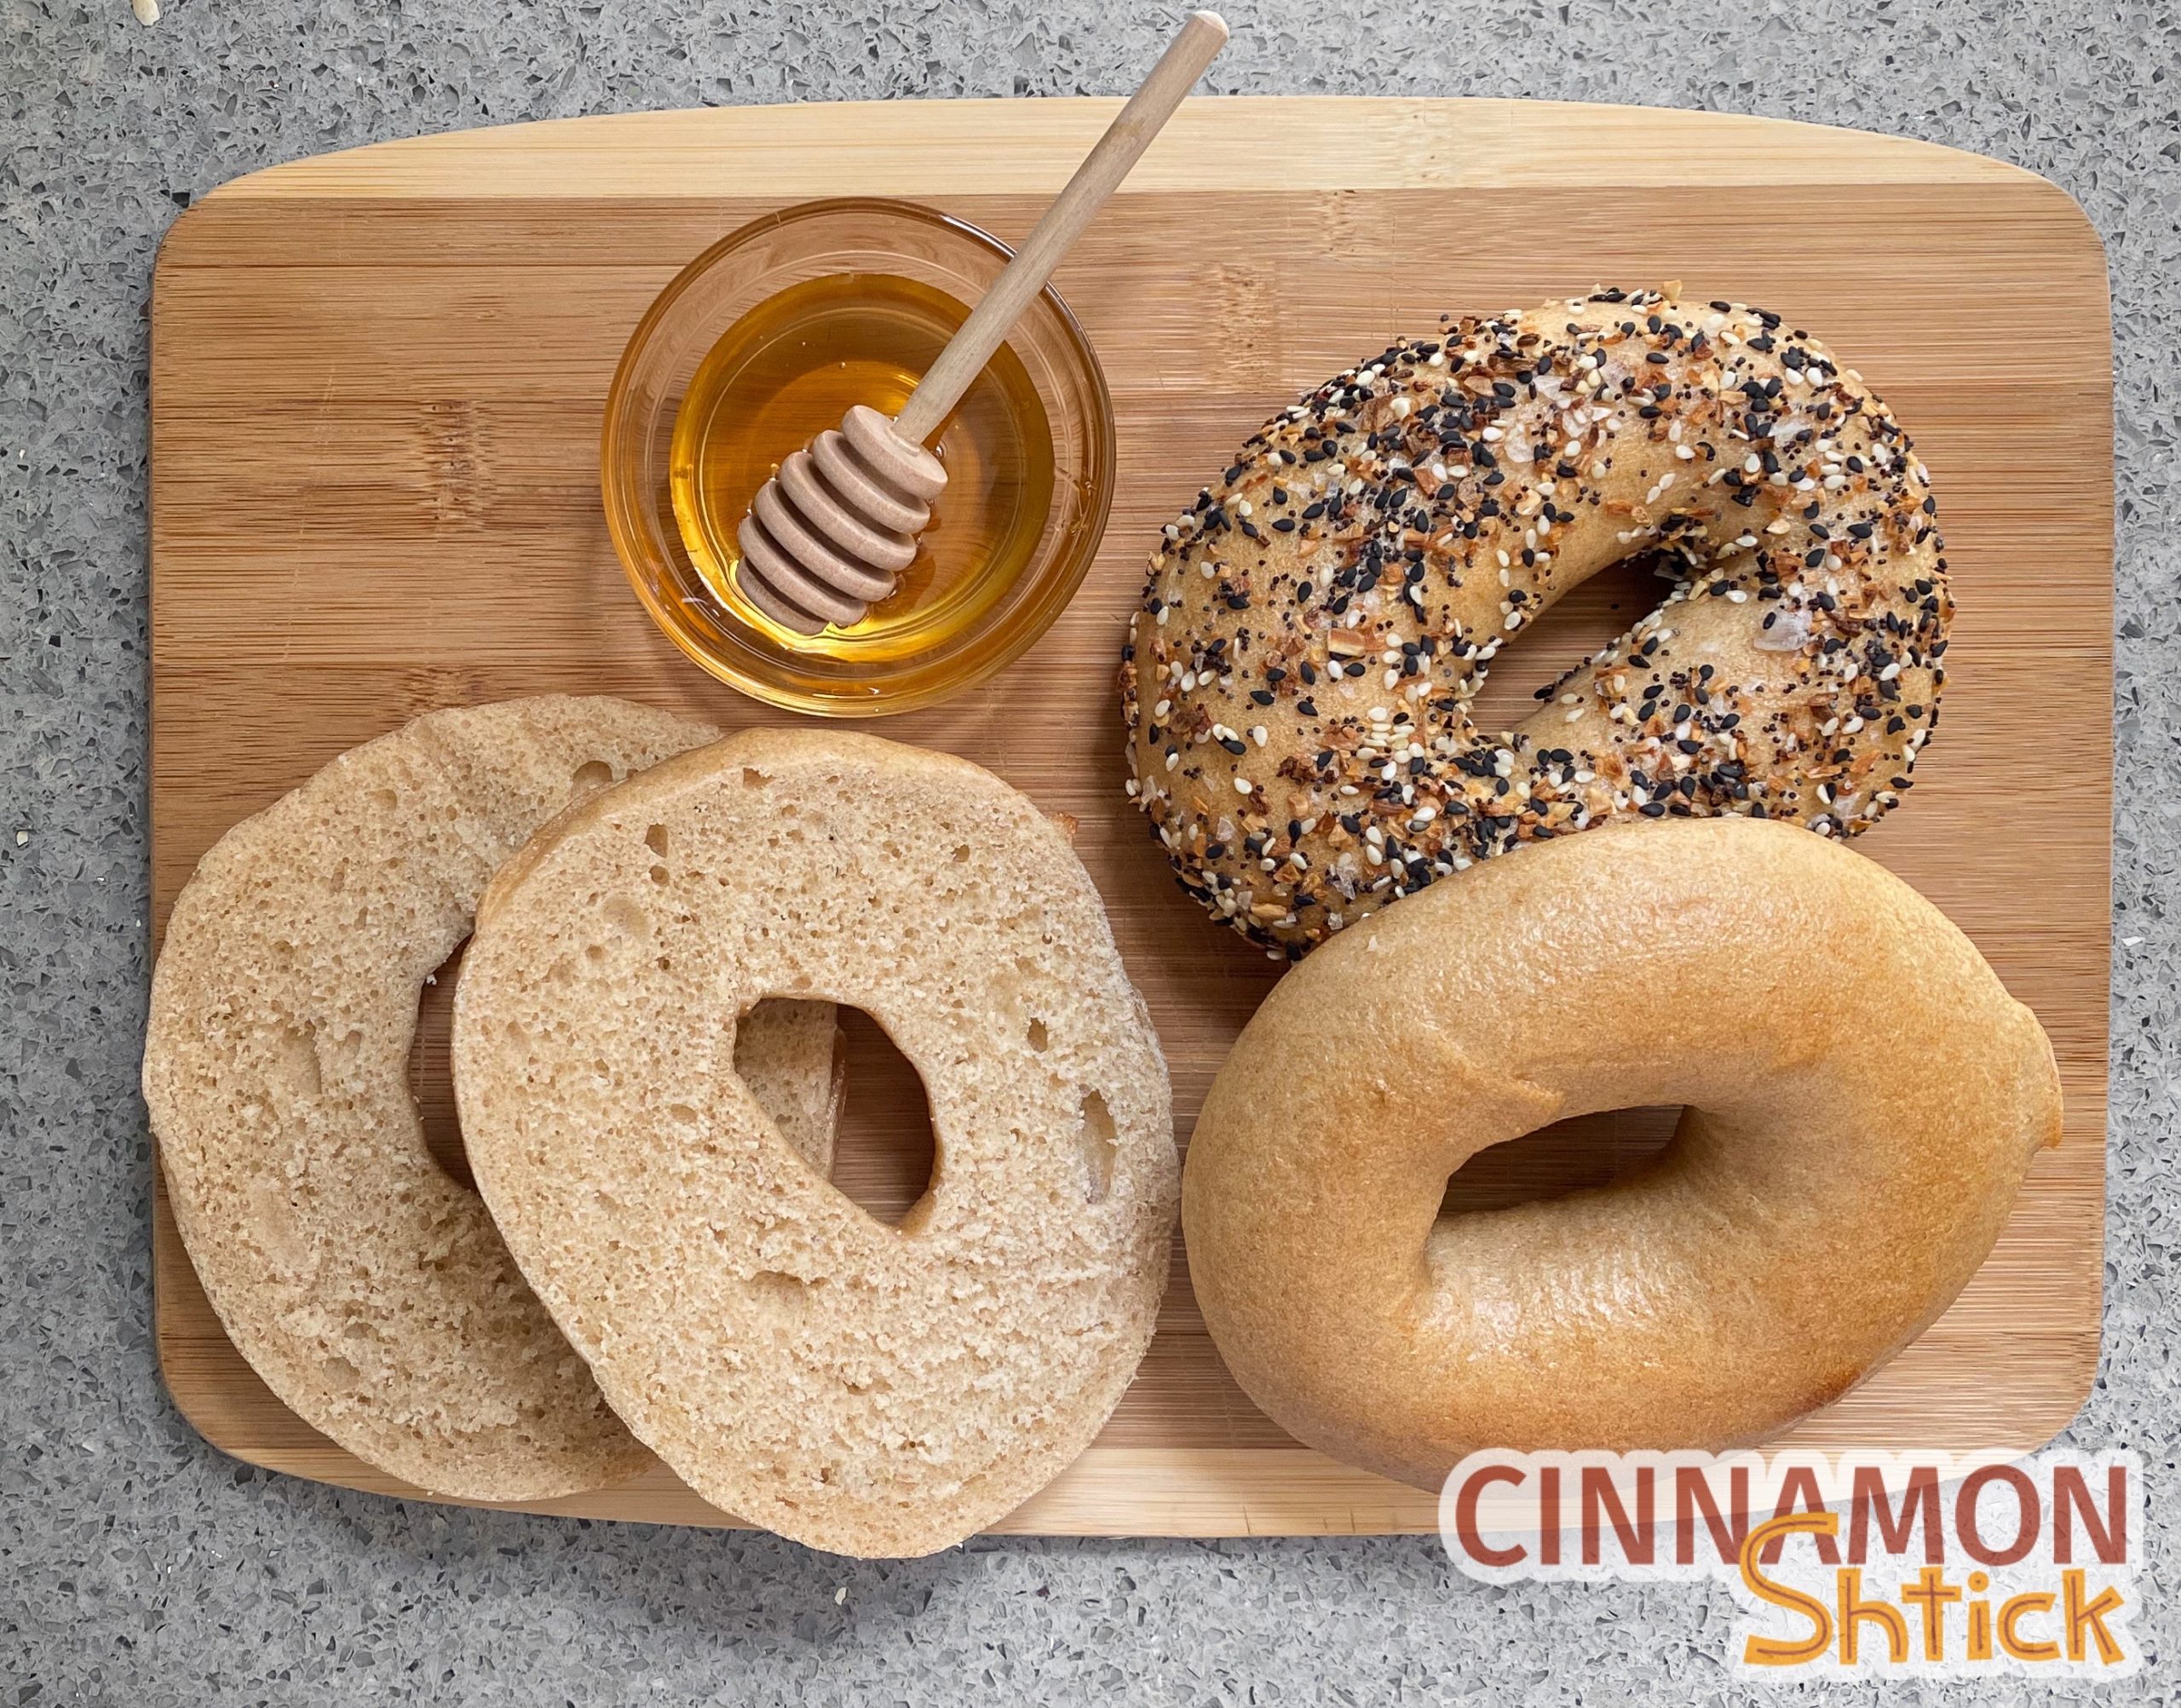
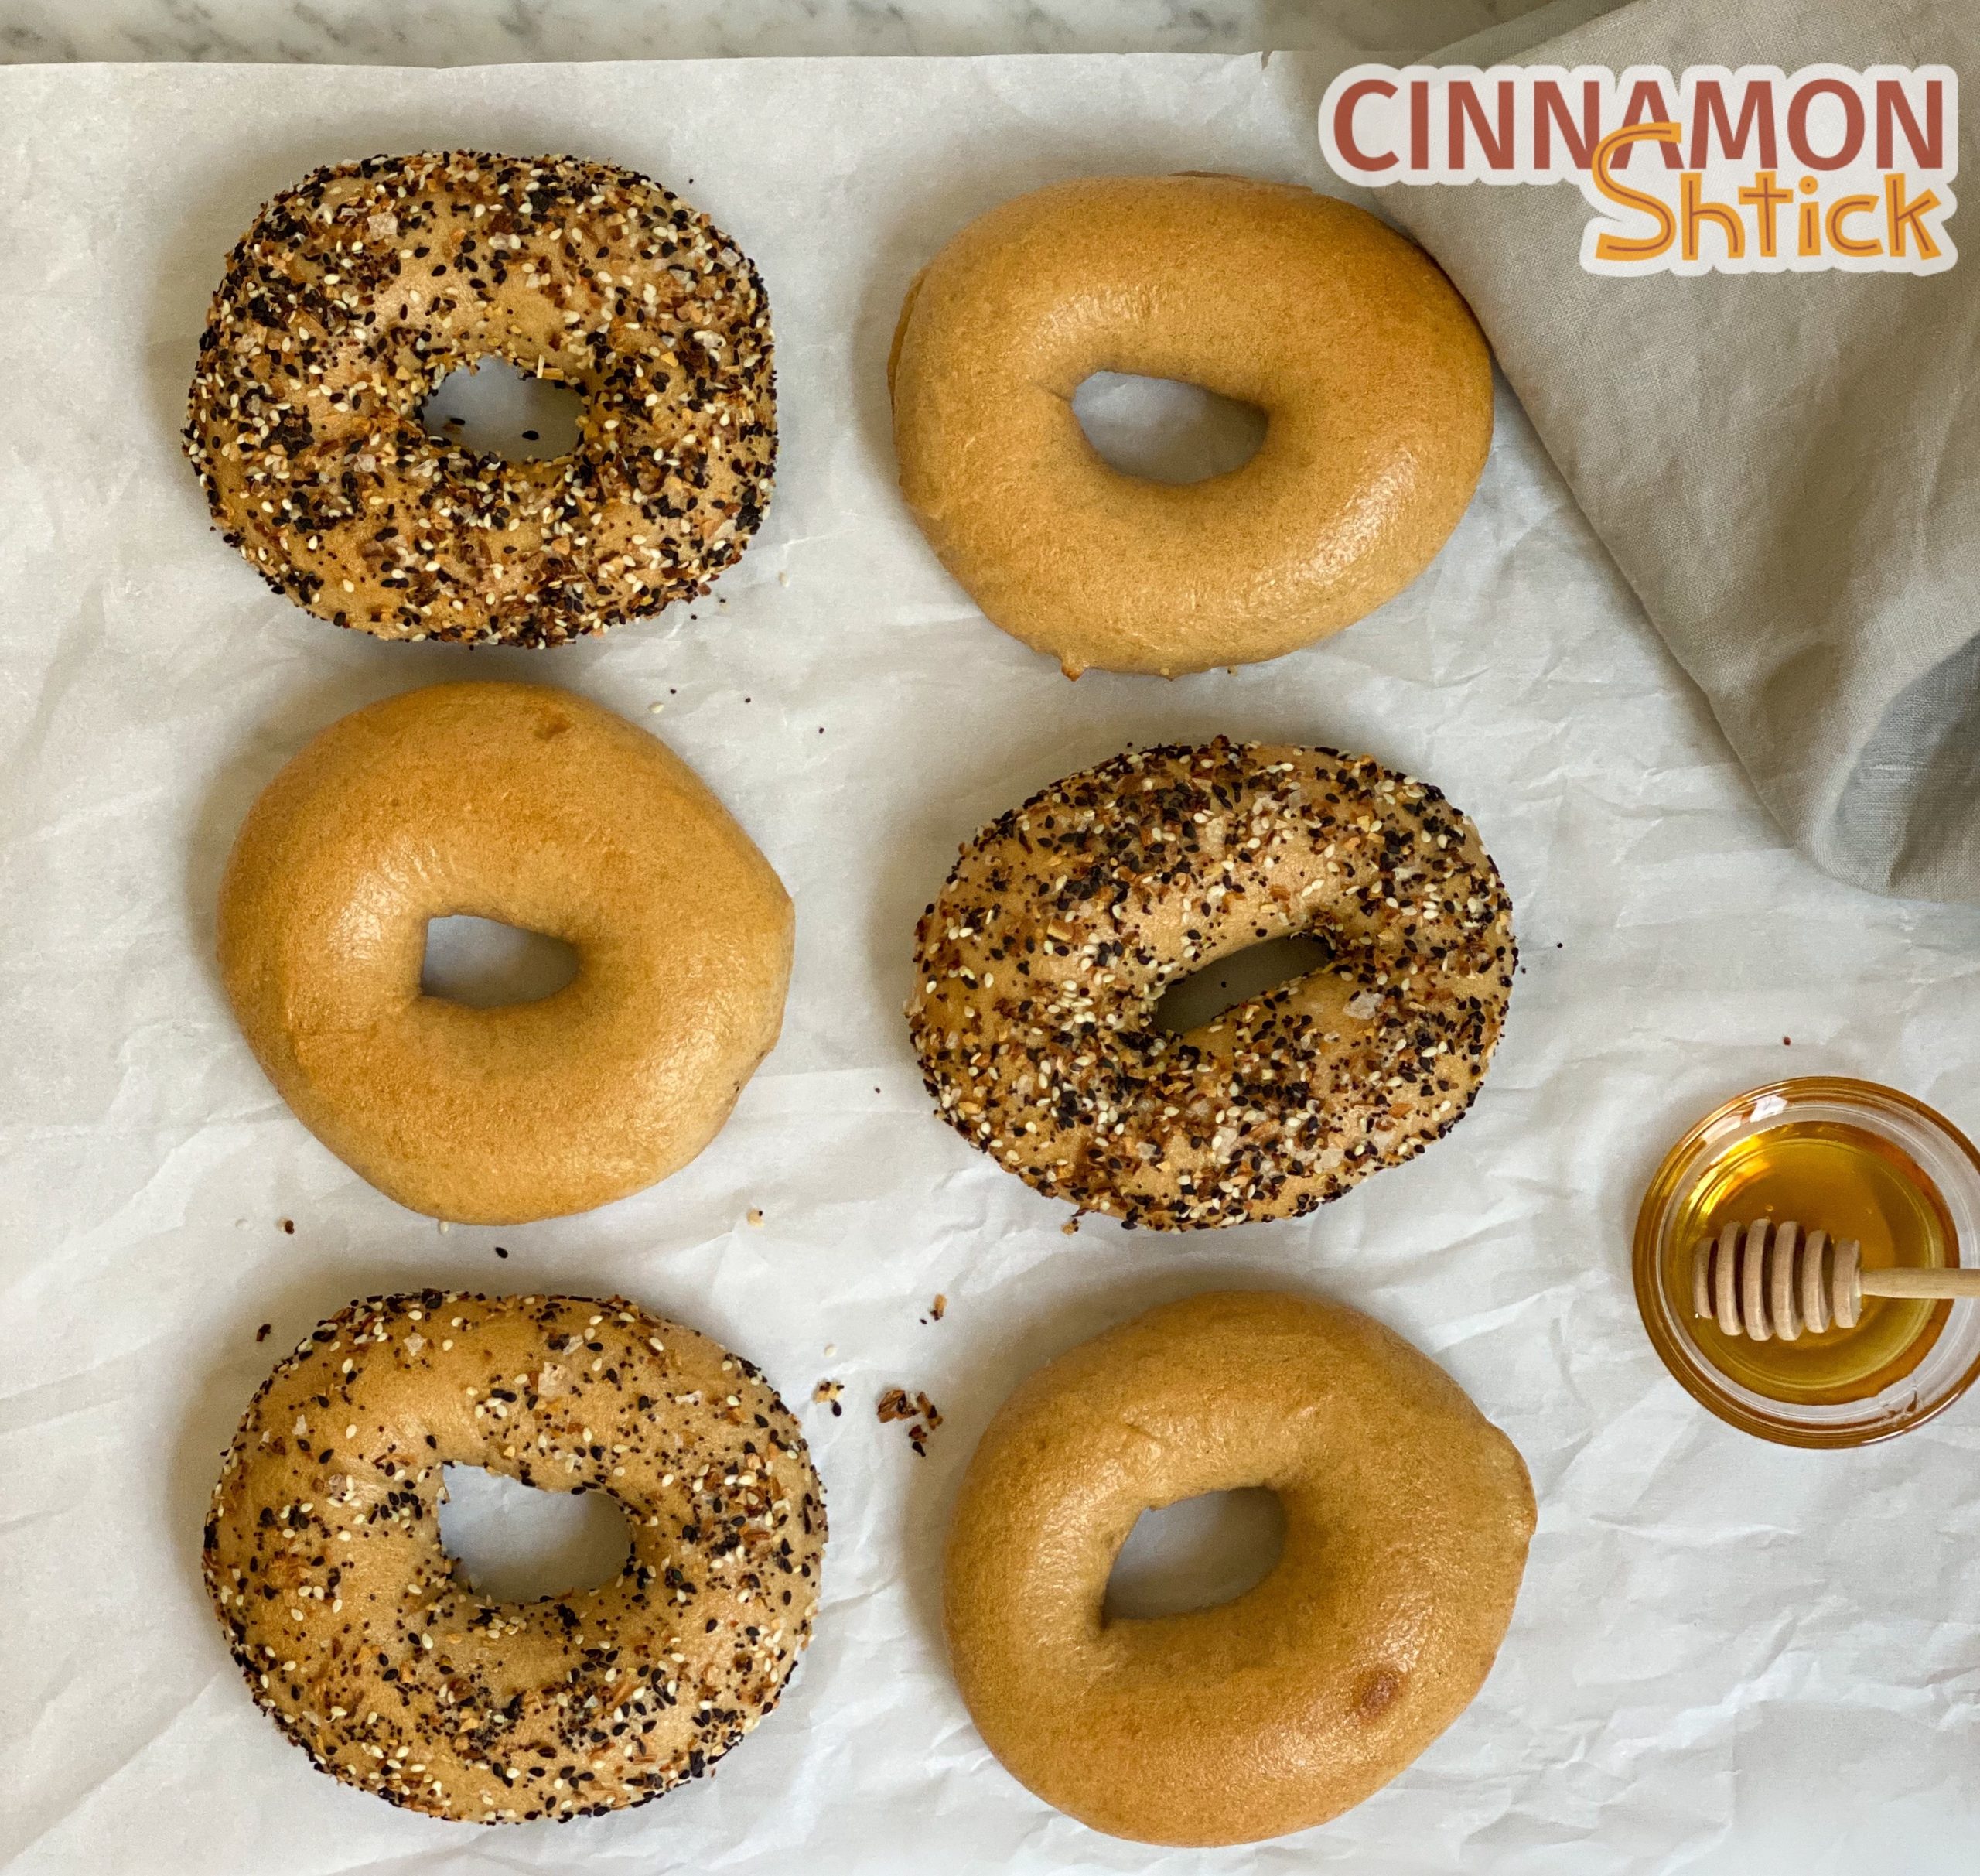
If you like to coat your bagels in an everything concoction, I suggest this recipe: Everything Seasoning. Feel free to use any mixture or single seed you like. Of course, you can also make these plain without any topping, especially since the honey and whole wheat give these bagels such nice flavor.
Honey Whole Wheat Sourdough Bagels
Ingredients
- 240 g. ripe starter (active)
- 100 g. water
- 200 g. bread flour
- 140 g. whole wheat flour
- 25 g. honey
- 20 g. non-diastatic malt powder (plus approximately 2 tbsp. for water bath)
- 10 g. salt
Instructions
- In a mixing bowl fitted with the dough hook, combine the starter, water, bread flour, whole wheat flour, honey, and 20 g. of malt powder. Knead on a medium-low speed for about 7 minutes. Then, with the mixer on a low speed, slowly add the salt. Once combined, increase the mixer to medium-low, and continue kneading an additional 3-5 minutes. The salt should be fully absorbed (you should not feel the salt when you touch the dough) and the dough should be very smooth. To make sure the gluten is fully developed, do a windowpane test. Take a small piece (about 1 tsp.) of dough and stretch it between your fingers. It should form a “window pane”, meaning it should get thin enough that it is translucent without it ripping. If it is not at that point yet, continue kneading in the machine at 1 minute intervals or knead by hand until it passes the test.
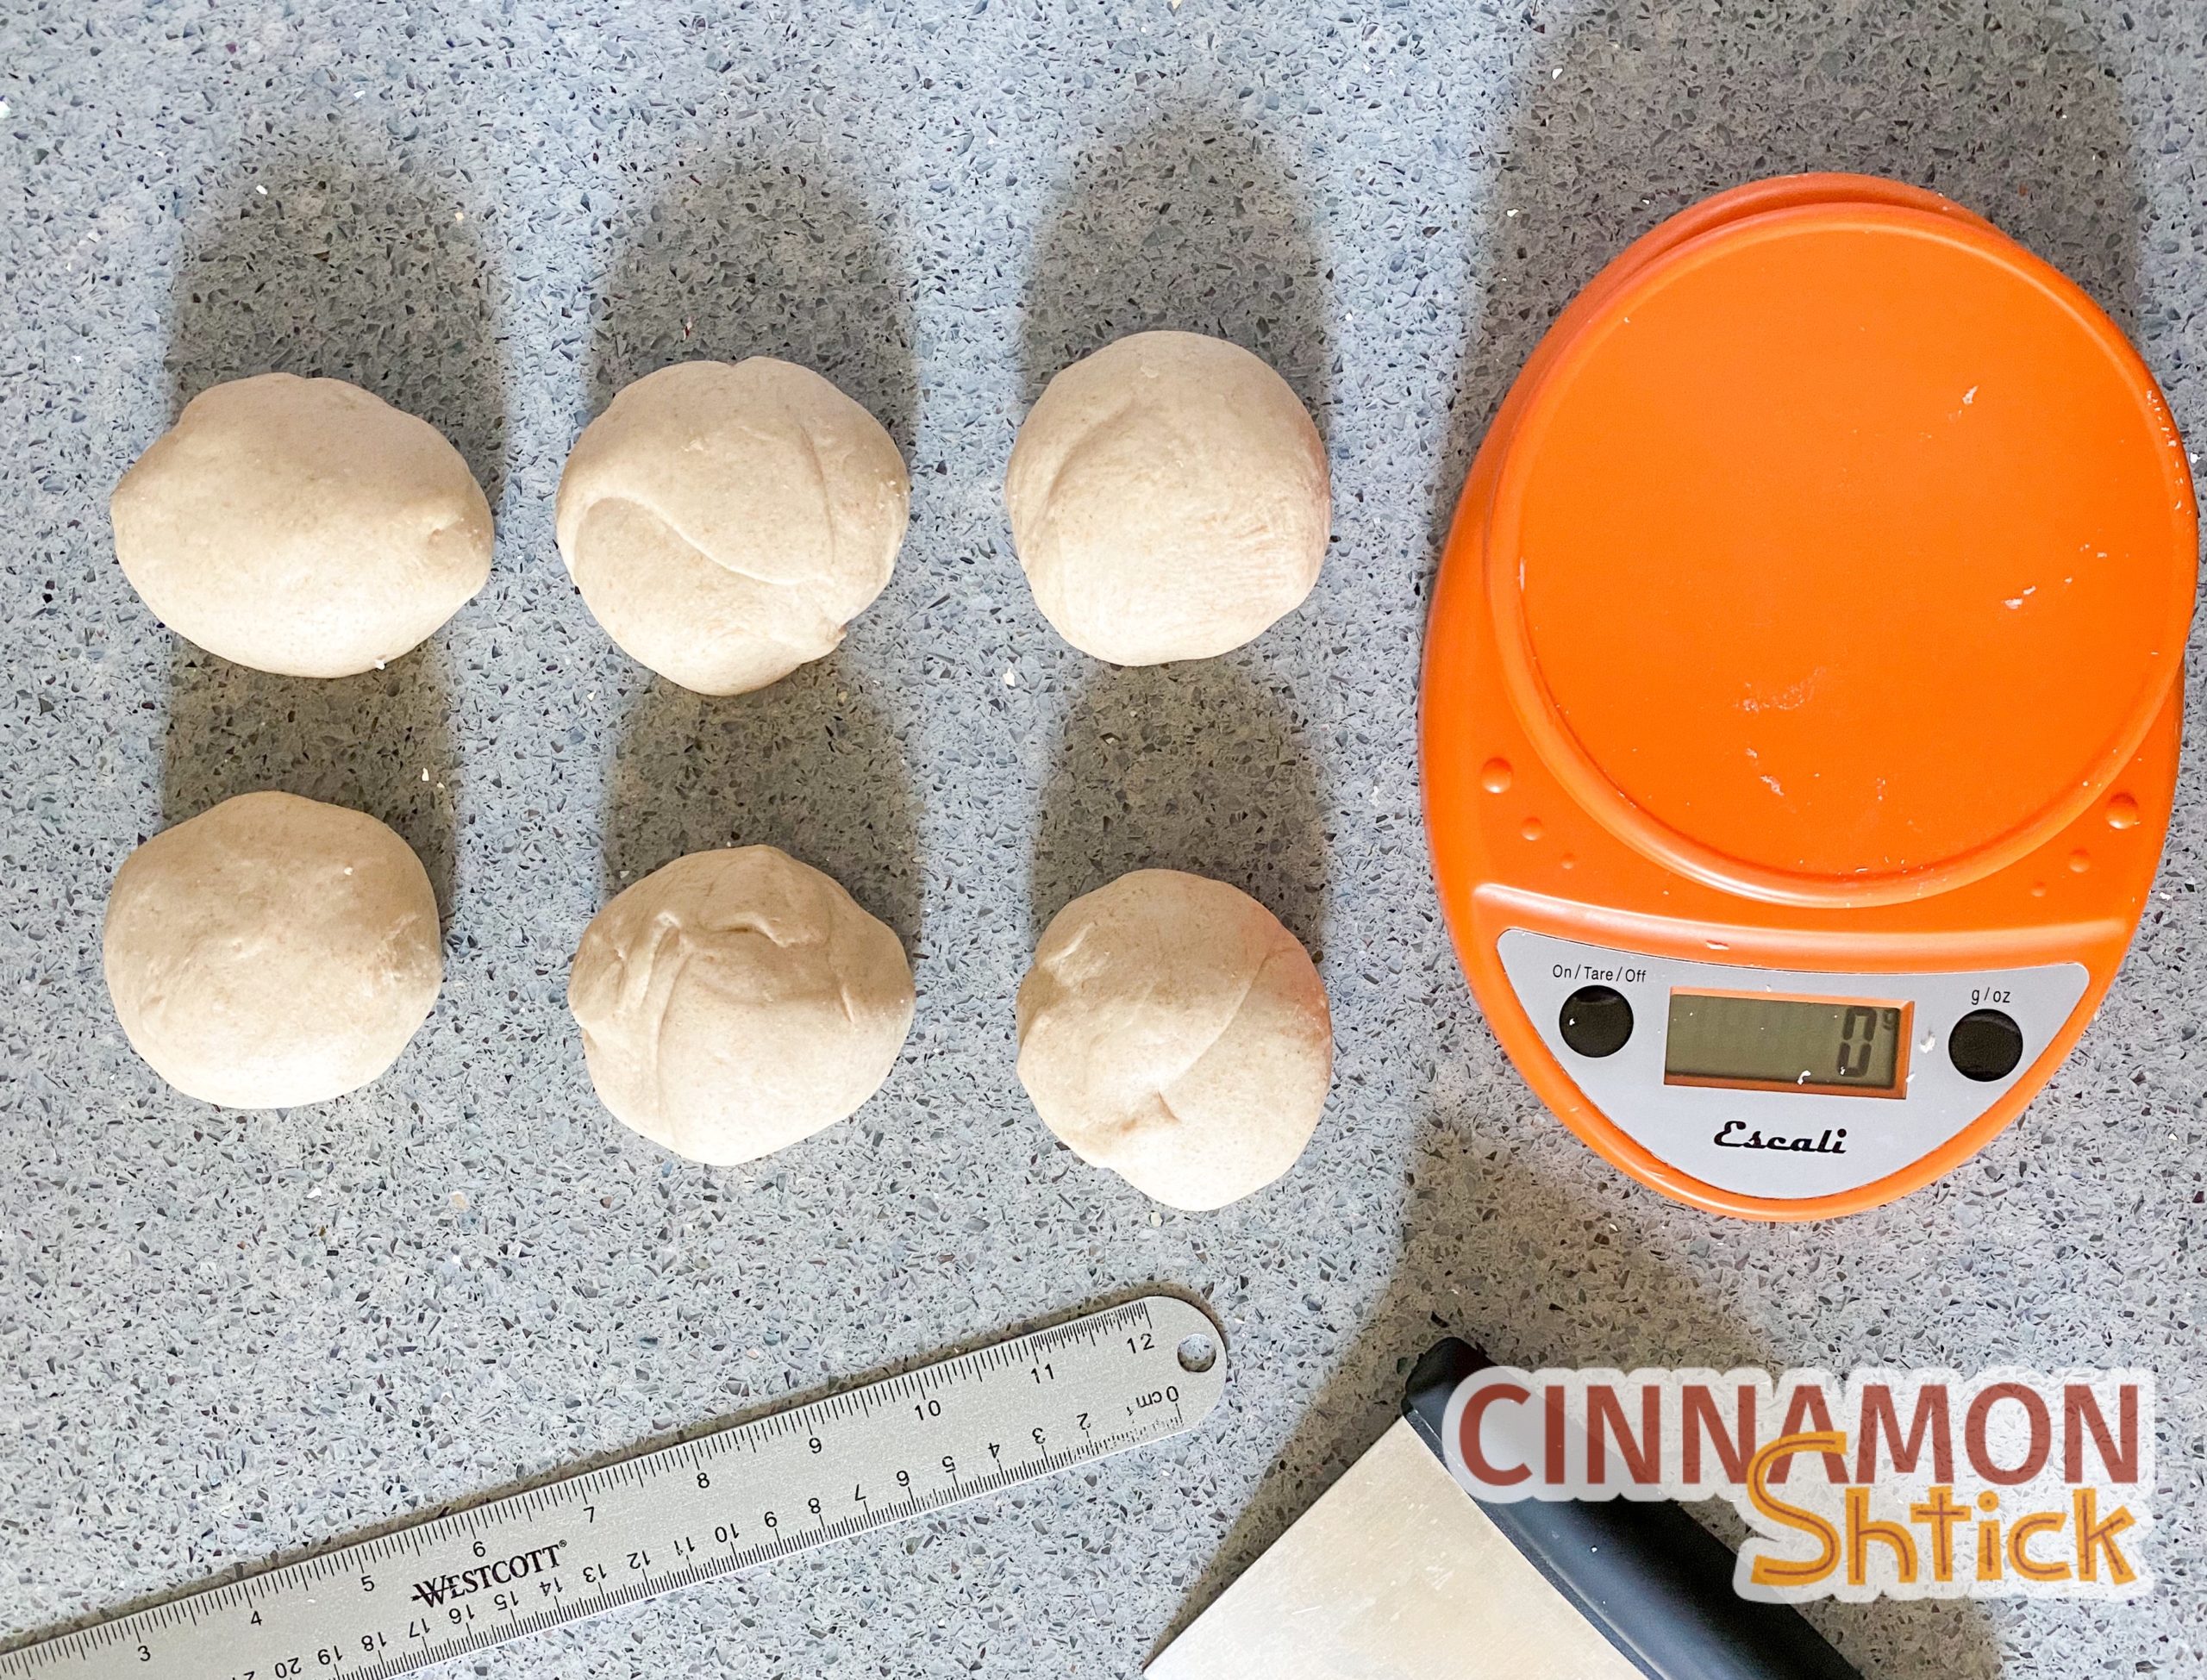
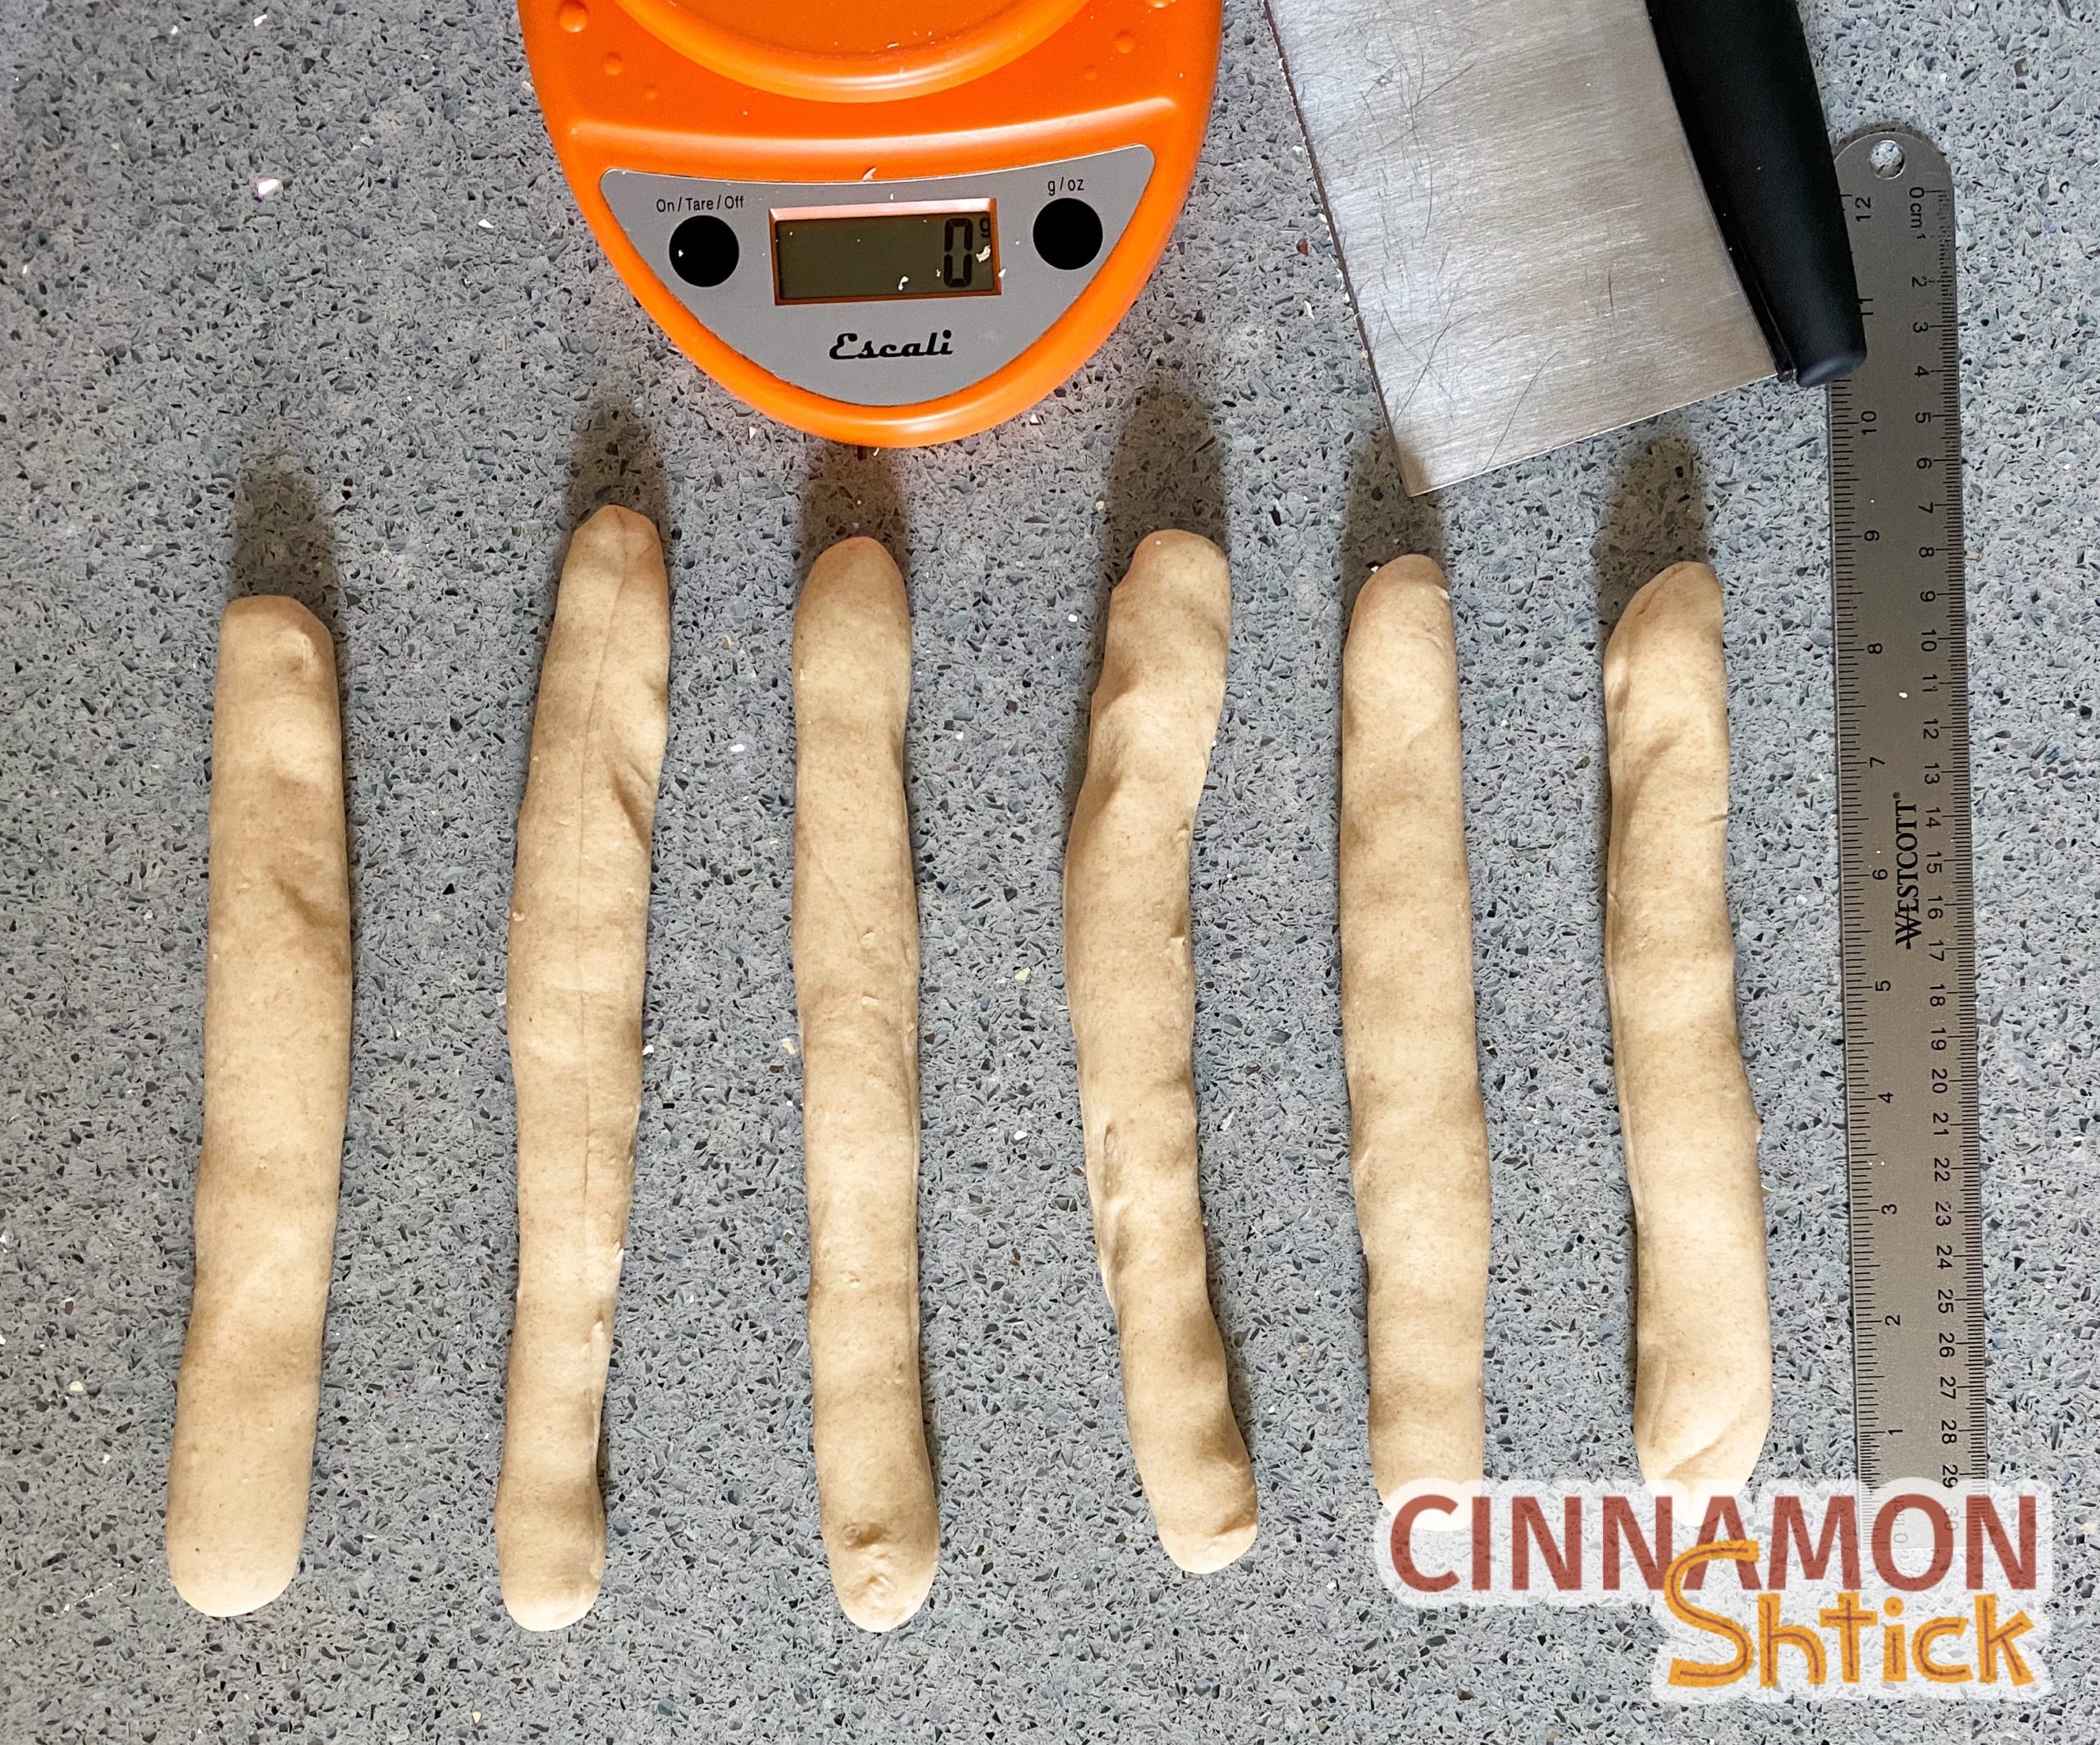
- Divide the dough into equal portions, each approximately 120 g. for six bagels. (If you want your bagels to each be equal, weigh the full entire dough and divide the weight by the number of bagels you wish to make.) Shape each one into a ball, covering each with plastic wrap. Taking one dough ball at a time, flatten the ball into an oval with your fingers so that the long part of the oval is horizontal in front of you. Fold over the top third onto itself. Make another fold over the remaining portion of the dough. With both your hands, roll the dough into a rope, approximately 8-9 inches long. Cover with plastic wrap. Repeat with remaining dough balls. Allow the six ropes to rest for 15 minutes.
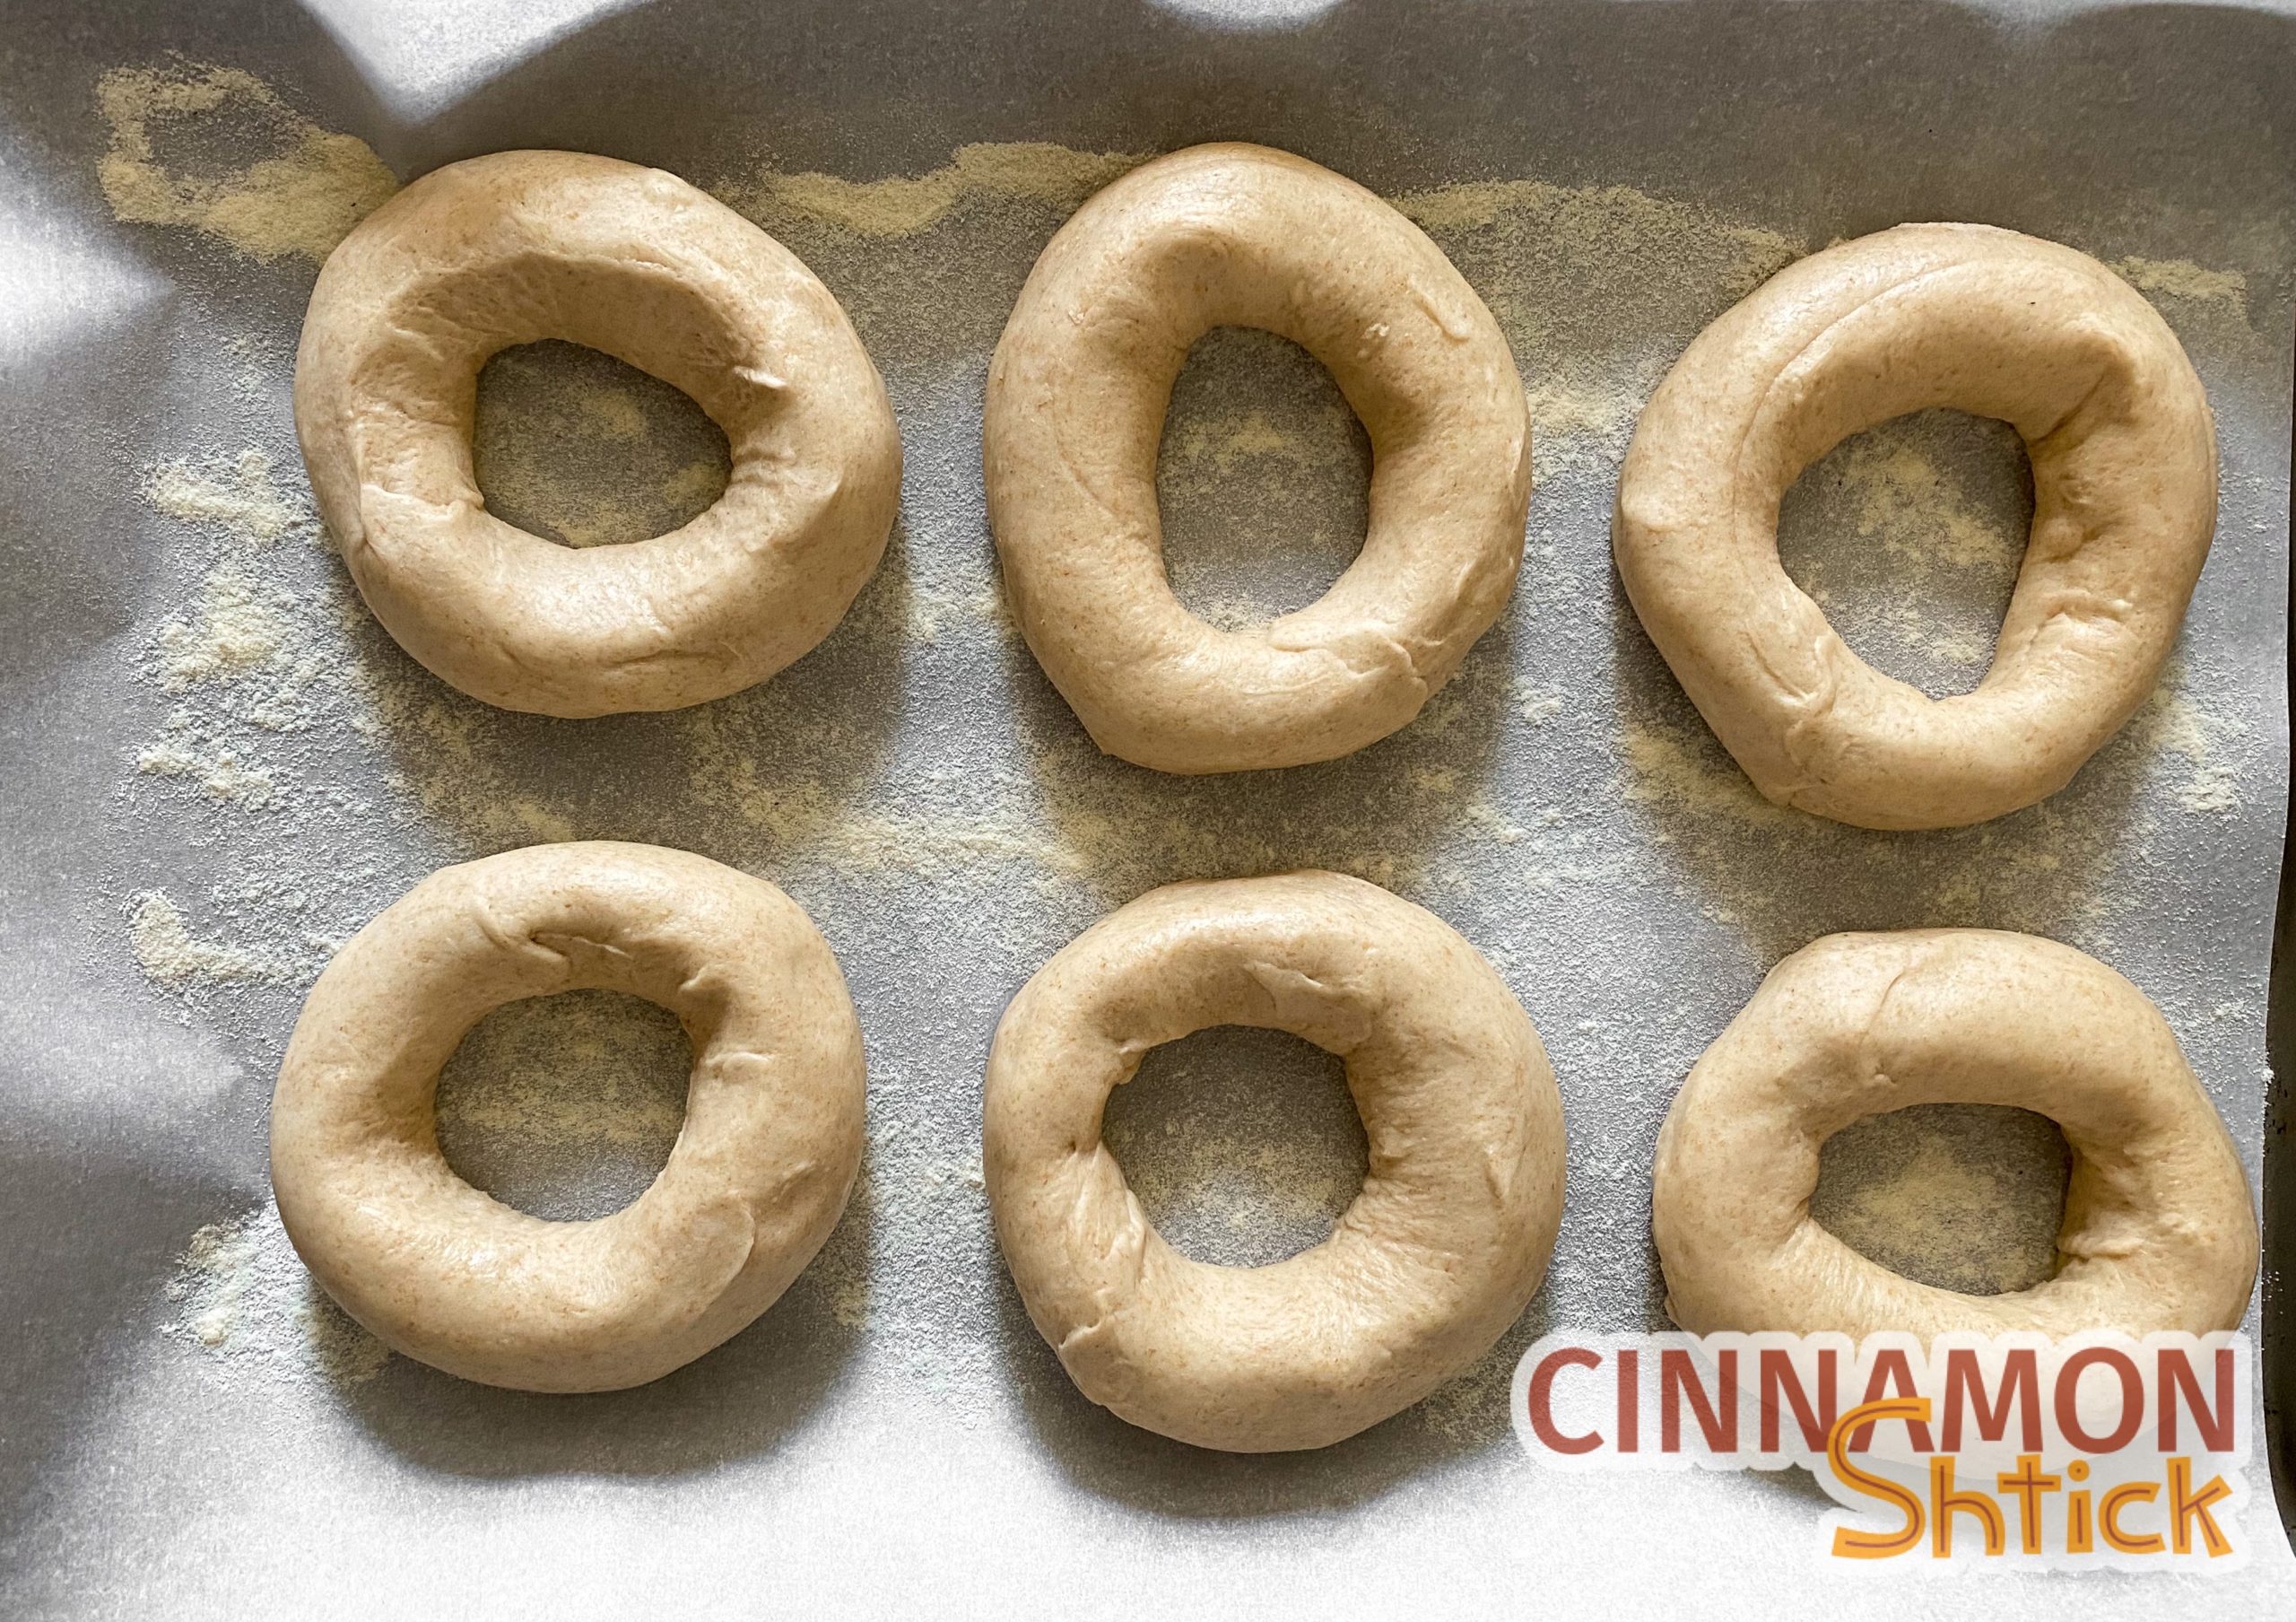
- Attach the ends of each rope to form bagels. Place each bagel on a baking sheet lined with parchment paper and lightly dusted with semolina flour. (Alternatively, you can use all purpose or bread flour or you can lightly grease the parchment with non-stick spray.) Lightly spray non-stick spray on plastic wrap and use that to loosely cover the bagels. Allow them to rise at a warm room temperature for approximately 4-8 hours. The bagels will not double in size, but they should be slightly fluffy. To be sure they have risen enough, place one bagel in a bowl filled with warm water. If it floats within 10 seconds, they have risen enough. If they have not, allow them to rest an additional 30 minutes and keep checking. (Note: brush off as much of the water as possible after each float test. Before returning the bagel to the baking sheet, dust it lightly with more semolina or other flour or lightly grease the area where that bagel was with non-stick spray to avoid sticking.) Place the tray, tightly covered in plastic wrap, in the refrigerator overnight. (Note: I have allowed them to rise as long as 8 hours and they still did not pass the float test. I put them in the refrigerator overnight and allowed them to rest at room temperature for approximately 4-6 hours the next day when they finally passed the float test.)
- In the morning, remove the tray from the refrigerator and loosely cover the bagels in plastic wrap lightly coated with non-stick spray. Allow them to rest in a warm room temperature setting for at least one hour. You may want to do another float test to be certain that they are ready to be boiled and baked. The bagels will not rise much, but they should be slightly puffy.
- Approximately 30 minutes before you plan to boil the bagels, preheat the oven to 425°F. Line a baking sheet with parchment paper and set aside.
- Using a pot large enough to comfortably hold 2 or 3 bagels at a time, bring a pot of water with 2 tbsp. of non-diastatic malt powder to a boil. Place 2 or 3 bagels at a time into the boiling water for 30 seconds. Flip each bagel and boil for an additional 30 seconds. Using a strainer or a slotted spoon, remove each bagel from the water and place on top of a bed of seeds, if coating them in seeds or Everything Seasoning, and coat the bagels in the topping. Place each bagel on the prepared baking tray. Repeat with the rest of the bagels.
- Bake the bagels for 16-20 minutes, until the tops are browned.
Video
Notes
- If your kitchen runs on the cool side, you can place the bagels in a cool oven (meaning, the oven has not been turned on for at least several hours) with just the light on. The light gives off enough heat to turn the oven’s temperature to approximately 85°F. Just be sure not to turn the oven on while your bagels are resting in there!
- Once baked and cooled, the bagels can be stored in the freezer for months. I recommend slicing them before freezing. To defrost, wrap each bagel individually in foil, place in cold oven, and turn oven on to 350°F. Within a few minutes of your oven reaching 350°F, your bagels should be defrosted and nicely warmed, begging for butter, cream cheese or jam to be shmeared all over them.
2 Comments
Pingback: Whole Wheat Challah - Cinnamon Shtick
Omg these are amazing! I recommend having a mixer with dough hook. I did it by hand and it is hard, long kneading. But in the end- TOTALLY worth it. Plus hopefully I burned off a bagel in the process. Better than the bagel shops around here by a long shot!