

This post may contain affiliate links. As an Amazon Associate, I earn from qualifying purchases. For more information, please visit my Privacy Policy.
(This post includes instructions for making a wet caramel. To learn to make dry caramel, check out my post How to Make Dry Caramel.)
Who does not love caramel?! I mean, really! It is soooooo good with so many types of desserts, pastry products and confections. It’s such an important component in my world, that I am devoting not one, but two entire blog posts about how to make it.
We need to get real about how to make caramel.
There are some “big time”, very reputable recipe bloggers out there with various, but similar recipes for making things like caramel sauce. I take no issue with those recipes, as mine is just as similar. I do, however, take issue with their instructions on how to cook the sugar base.
Why make it inefficiently?
In a nutshell, those bloggers have us cook sugar, stirring it frequently or constantly, watching as it melts, crystalizes into clumps, melts again, then turns to the dark amber color we all know and love. This is certainly one way to make it. However, it is not efficient. I have done this method, and I even made a video of it on my personal Instagram account — before I went to culinary school and learned the more efficient methods used by actual pastry chefs.
Why am I poo-pooing that common blogger stirring method? Well, it takes more than double the amount of time than the two other preferred methods. By stirring the sugar throughout the process, you are actually causing the sugar to crystalize. The sugar first melts, then by stirring it, you are agitating it, causing it to crystalize and form chunks. Then you have to wait for it to melt again, and finally cook it to the caramel stage. Who’s got time for all that? I sure don’t!
How to make caramel like pastry chefs do!
So, what are these two methods that will change your life forever and ever? Drum roll please … They are called wet caramel and dry caramel.
Once you know how to make it with these two methods, I suspect (I never guaranty anything – that’s the lawyer in me) you will not go back to the stirring method for the simple reason that the wet and dry methods are time savers.
Before we dive into these methods, let’s take a step back to basics:
What is Caramel?
In its simplest form: cooked sugar. Once it reaches that amber color we all quickly recognize, it develops the flavor we all know and love. Do not confuse it with butterscotch. They are made in a similar fashion, but butterscotch is brown sugar cooked with butter. (More on that in a future post, and know that there WILL be a Butterscotch Ice Cream Post eventually!)
When baking or creating desserts, we rarely use the cooked sugar just as-is. If you cook sugar to the caramel stage and allow it to cool, it will harden. At that point, it is not such a wonderful mouthfeel. One time we use it in that form is when building a croquembouche, which is basically a tower of filled cream puffs, “glued” together with hot caramel. Generally, we add liquid and fat to cooked sugar, such as cream, milk, water and butter, to give it the mouthfeel we enjoy in items like Caramel Sauce and Salted Caramel Ice Cream.
SAFETY FIRST!
Cooked sugar is VERY hot! Caramelization begins at 320° F. For sake of comparison, water boils at 212°F. Be careful at all steps, whichever method you use. Here are some safety tips:
- It is a wise idea to wear oven mitts, especially if you are not wearing long sleeves. (Any splatter on your skin could cause a serious burn.)
- It’s also a smart idea to keep a bowl of ice water next to you, just in case some of the hot mixture splatters on your hand, so you can immediately immerse it in the ice water.
- As you cook the sugar, it will smoke. In fact, it is done just after it starts to smoke. You may want to open a window before you get started.
- If you are in the middle of cooking the sugar and something comes up that requires your immediate attention (say, a screaming kid), turn the flame off and move the pot to an area on the stovetop that is not hot. You may actually be able to continue where you left off when you return, but, more importantly, you will prevent what’s in the pot from burning and possibly causing a fire if you have to walk away.
- Finally, use common sense: do not taste caramel until it has fully cooled!
Wet caramel
Wet caramel requires just two ingredients: sugar and water. The use of water is why we call it wet caramel. Seriously, it takes less than 10 minutes to make.

Use Either the Wet Caramel or the Dry Caramel Method
You can use these methods interchangeably in any recipe, as the end result is the exact same caramel. If a recipe tells you to use the wet method, there is no reason you can’t skip the water and make the dry method. Conversely, if a recipe has you use the dry method, there is no reason why you can’t cover the sugar with just enough water to make the wet method.
Whichever method you use to make caramel, never take your eyes off it throughout the process. It can take just seconds for it to go from perfect to burnt. Once it’s burnt, there is no way to recover it. You will need to start all over. Luckily, it only takes less than 10 minutes to redo.
Frequently Asked Questions About Making Wet Caramel
Should I use the wet caramel or the dry caramel method?
You can use these methods interchangeably in any recipe, as the end result is the exact same caramel. If a recipe tells you to use the wet method, there is no reason you can’t skip the water and make the dry method. Conversely, if a recipe has you use the dry method, there is no reason why you can’t cover the sugar with just enough water to make the wet method.
How to Make Wet Caramel
Equipment
- Medium sized pot
Materials
- Sugar
- Water Just enough to cover the sugar
Instructions
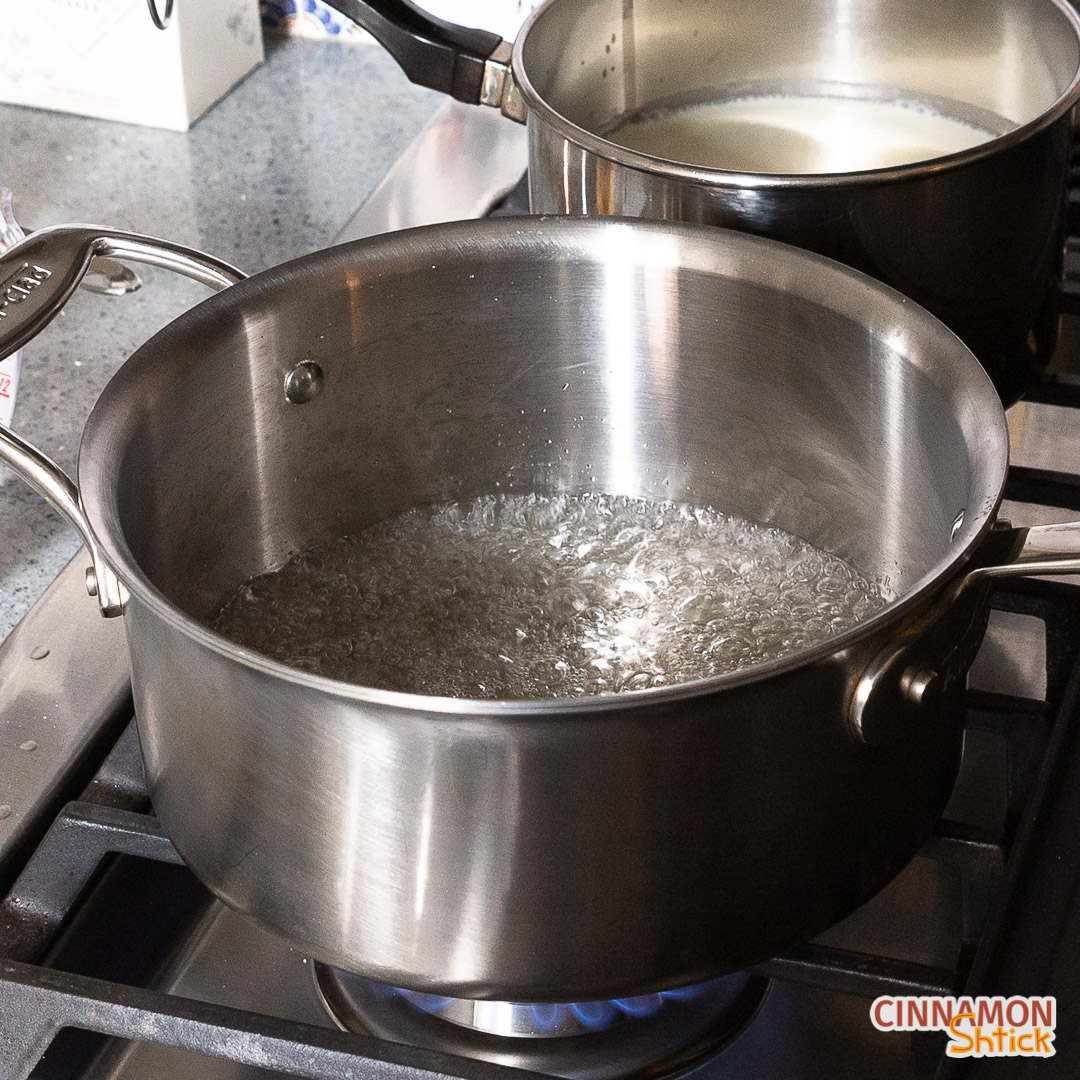
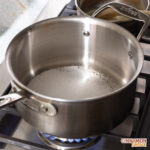
- In a medium-size pot, spread whatever amount of sugar is called for in the recipe you are making and use enough water to just cover the sugar. Generally, for 200 grams (1 cup) of sugar, use 58 grams (¼ cup) of water. The amount of water, however, does not need to be precise. You simply need enough to hydrate the sugar. If you use more water, it will just take longer to cook the mixture until you reach caramel stage.
- If any sugar crystals get stuck to the side of the pot at any time during the cooking process, wet a pastry brush with water and slide it along the sides of the pot, without allowing the bottom of the pastry brush to submerge into the mixture.
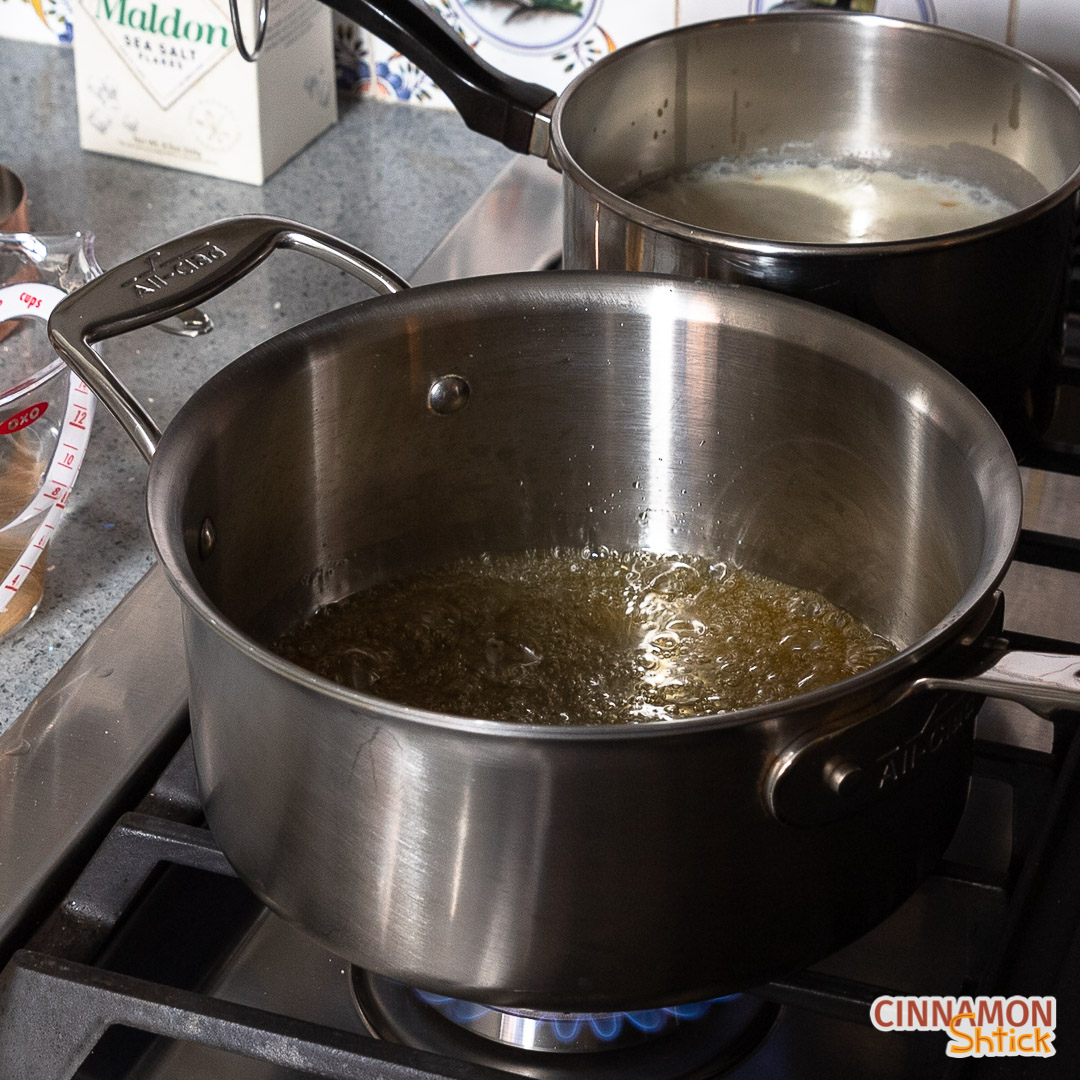
- With medium-high heat, let it cook, cook, cook. The water will evaporate, and the sugar will start cooking, eventually turning to a light amber color. Carefully swirl -- but do not stir (remember, we do not want the sugar to crystalize or to start clumping before it is all melted) -- the pot to move the mixture around. Some parts of the pot are hotter than others, which is why you will see the amber color in parts of the pot and clear liquid in other parts.
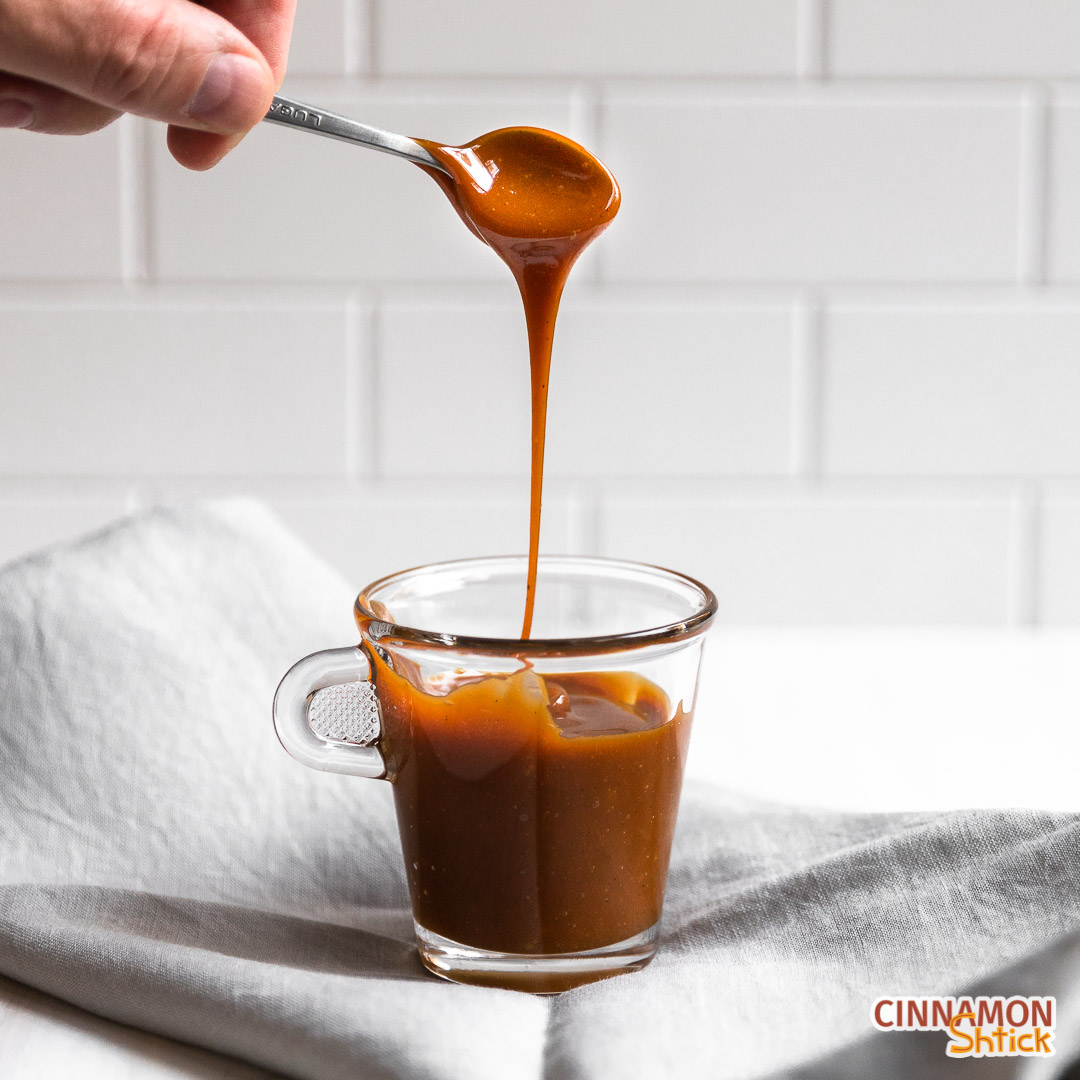
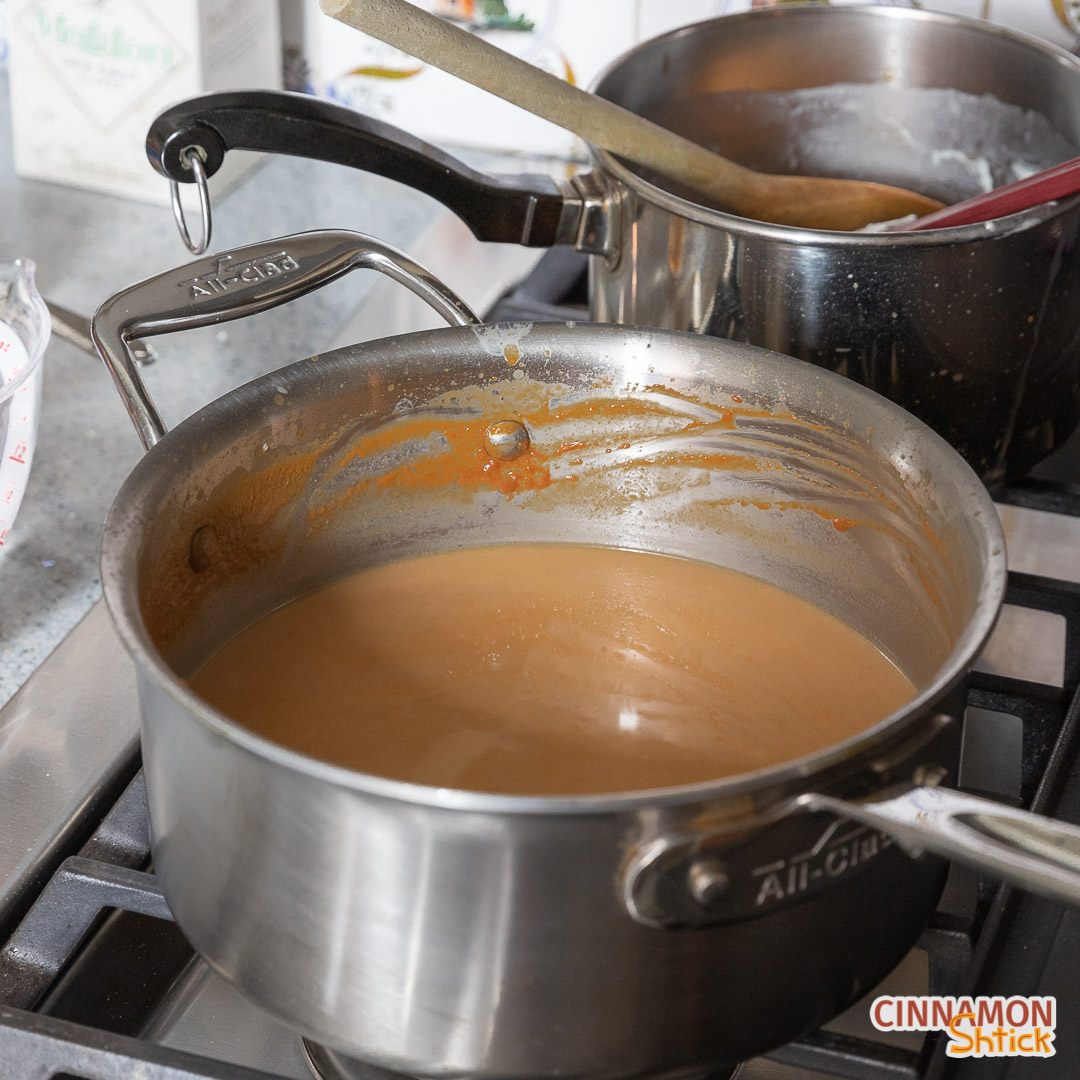
- Once you get to the amber color you like (ideally, it should be dark, reddish-brown in color and lightly smoking), take the pot off the heat and use immediately. (By immediately, I mean immediately add any cream/butter or pour the caramel onto a heat proof surface right away. Keeping it in the hot pot will cause your caramel to continue to cook and likely burn.) If you are making Caramel Sauce, quickly, carefully and slowly mix your cream in. The caramel will bubble up like crazy, so just add a little at a time.
- The entire process takes less than 10 minutes. Boom.
2 Comments
Pingback: How to Make Salted Caramel Ice Cream Recipe | Wet vs Dry Caramel
Pingback: Salted Caramel Sauce - Easy to Make and Delish on Ice Cream and Cake