

This post may contain affiliate links. As an Amazon Associate, I earn from qualifying purchases. For more information, please visit my Privacy Policy.
Since I (like everyone else) find myself at home these days, I started to play with sourdough recipes. I am relatively new to sourdough because my pastry arts culinary program really focused on yeasted doughs. (In their defense, there is only so much they can pack into the course, and I did the program part-time. Sourdough requires much more time than we had.) Thanks to this found time, I have learned lots about creating and maintaining a sourdough starter.
This pandemic was not my first time trying to work with sourdough. I started making a few different sourdough recipes over the past couple years. I created a starter, many times now, using the recipe in Eric Kayser’s The Larousse Book of Bread. (I had the amazing opportunity to meet Mr. Kayser at his original U.S. location in New York’s Upper East Side a couple years ago when they re-opened that location after a fire. Super nice guy, and his breads are outstanding! And the recipes in his cookbook are truly wonderful. He uses a combination of starter and yeast, which helps you feel more confident your bread will actually rise.)
I like his starter recipe because it technically can be ready in a few days, although I have learned (with my new found time during this pandemic) that it really needs several more days than that. Through lots of research and trial and error, I kind of have the hang of it now. There are many blogs out there about how to create and maintain a starter. I am certainly no expert. But, since I am a novice at it, I thought it might be helpful for y’all to share what I have learned. My hope is to break it down a bit into a simple timeline.
Do Not be Intimidated by Sourdough Starter!
I am going to share a ton of information with you here. Please do not be intimidated! Remember, people have been making breads with a sourdough starter of sorts since at least Biblical times. So, trust me. You can do this!
We are going to work from Mr. Kayser’s recipe. He says the starter is ready on Day 4, but I do not believe that to be the case. His book very clearly explains how to create the starter, but it just stops there. I have tried reaching out to him to ask him how he recommends maintaining the starter, but I have not had success. Hence, my crazy research the past few weeks. In a nutshell, here is what I learned so that you do not need to repeat all my failures and research:
What is a Sourdough Starter?
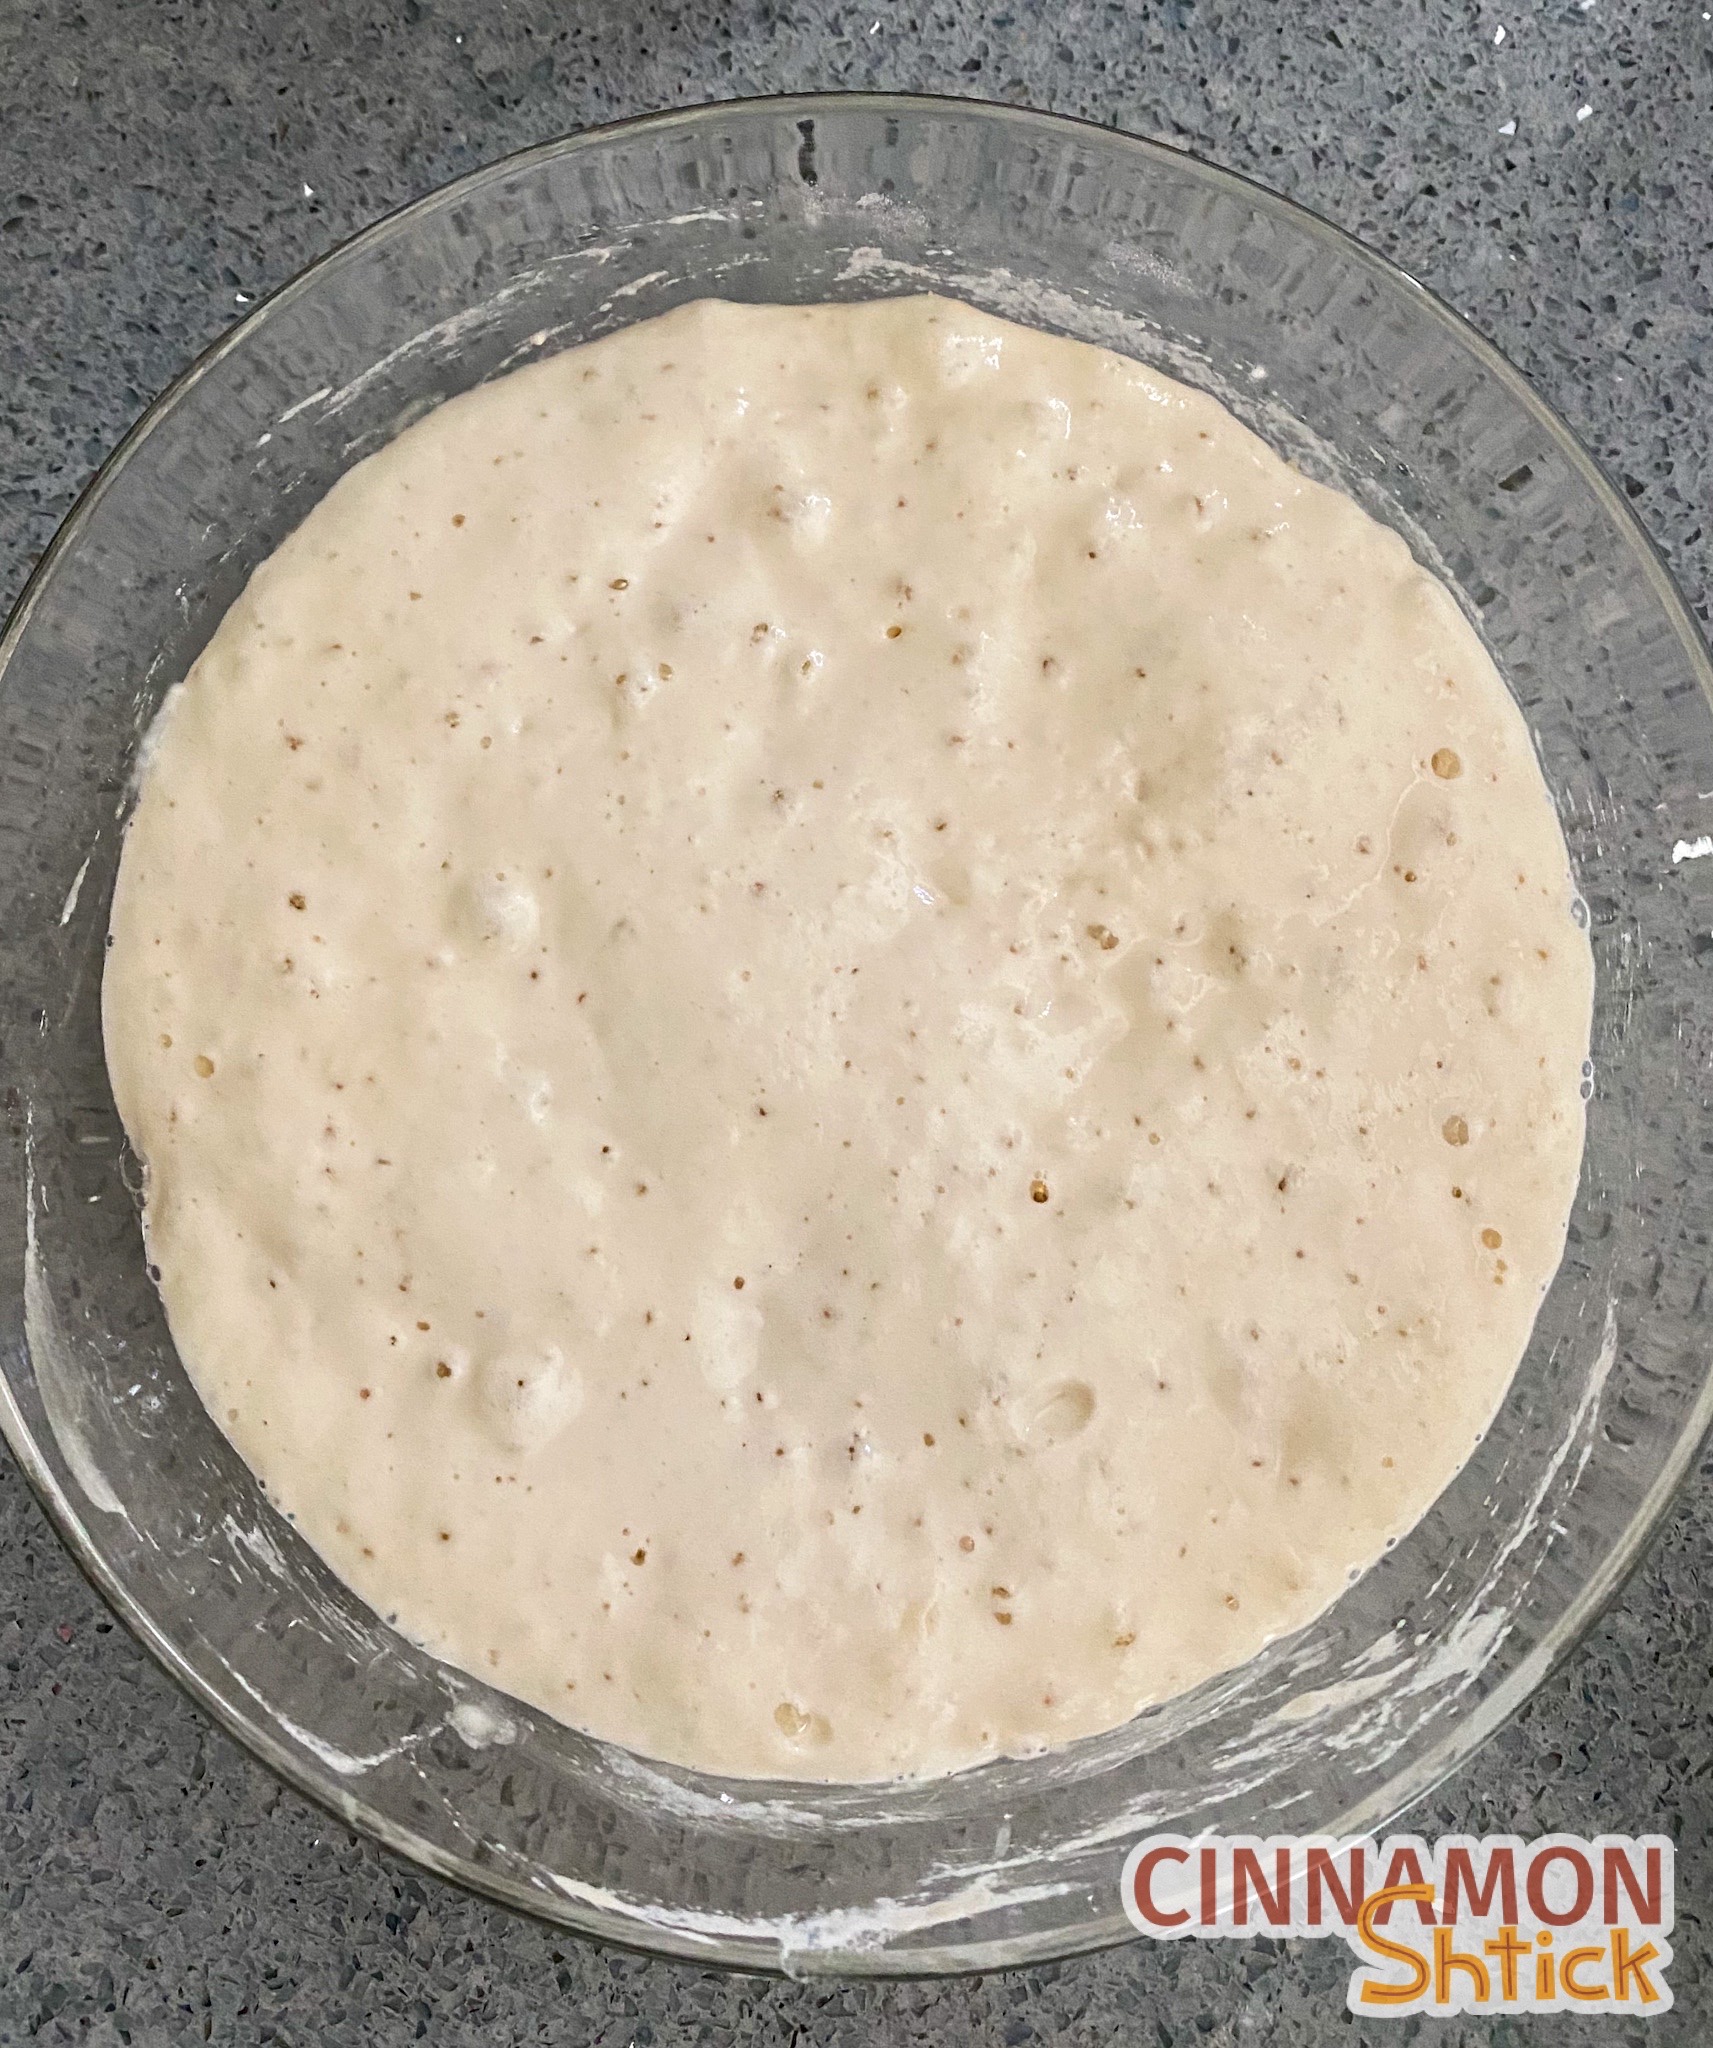
Quite simply, a starter is equal parts flour and water. As the flour is hydrated by the water and sits, it activates natural yeasts found in the air and in the flour. This process is called fermentation where the lactic acid bacteria feed on the starches and create carbon dioxide (which creates the bubbles you will see in the starter) and alcohol, leaving a sour smell and taste. If you forget to feed your starter for a while, you may see some brown liquid form on top. That is the alcohol (called hooch). Just pour it off and mix the starter.
The starter recipe we are using here is called 100% hydration because it is equal parts (in weight) water and flour. Most recipes out there use a 100% hydration starter. However, many artisanal bakeries may use what is called a stiff levain, which means that the starter is more flour than water. (A 100% hydration starter will contain more acid and therefore smell and taste more sour than a stiff levain.)
What Type of Flour Should You Use?
To create a starter, you can really use any type of grain based flour. I read that flours made from spelt, rye, rice, einkorn and wheat all work well. King Arthur’s starter uses all purpose flour, which is in the wheat category. I also read that using bread flour (again, a wheat flour) works best. Then I read elsewhere that whole wheat (yes, still a wheat flour) works best. I have no idea what is best or who to believe, but I do know that they all render a similar result such that you end up with a starter that you can use with any mixture of flour your bread recipe calls for. And that’s the endgame. All that being said, never use bleached flour.
Mr. Kayser uses rye flour to create his starter. I suspect he does so because rye has more nutrients than a wheat flour which may help get the starter to become active quicker. I really like using rye because, if you use the discard or use some of the starter with rye in it, the rye just adds wonderful flavor. If you cannot find rye, you can certainly substitute whole wheat, bread, or all purpose flour to create your starter. It may just take some additional days to get the starter fully active if you use all purpose flour.
Once your starter is fully active and you are feeding it twice daily, you can use only all purpose flour. If you plan on baking something with it that you would like to add more flavor, you can certainly feed it a few times with another flour, like rye or whole wheat, which will also likely get it even more active. You can also use part all purpose and part something else like rye or whole wheat. Experiment! You can always switch back to all purpose.
Can You Use Tap Water?
Absolutely. Living in New York City, I have access to great tap water which is all I use. That said, bear in mind that if your tap water is highly chlorinated, the chlorine can interfere with yeast cultivation. If that’s the case, use filtered water.
What if I Forget to Feed My Starter?
Sourdough starters are resilient. Once you have an active starter (approximately 10 days after you first created it), don’t sweat it if you forget a feeding. Just feed it when you can, and it should come back to life. If you know you won’t be using your starter for some time, you can store it in the refrigerator. (More on that below.)
How Do I Store My Starter?
Once your starter is active (it has been approximately 8-10 days since you created your starter), you have some alternatives to storing your starter, depending on how often you intend to bake with it:
On Counter
If you are going to use your starter at least once in the next week, I recommend keeping it on the counter. I actually reduced the amount that I kept to 20 g., so I was mixing 20 g. of starter with 20 g. room temperature (approximately 70°F) water and 20 g. all purpose flour. When I knew I wanted to bake with it, I started increasing the amounts two or three feedings before I planned to use it.
In Refrigerator
If you are not going to use your starter for at least one week, store it in the refrigerator. You can store your starter in the refrigerator for as long as you want, provided that you feed it regularly, approximately once per week. Pick one day that you know you will be home for a couple hours. Saturday mornings are my time. Take your starter out of the refrigerator, remove however much you want (I remove 20 g.), and mix that amount with equal amounts of room temperature (approximately 70°F) water and all purpose flour. (So I remove 20 g. starter and mix it with 20 g. water and 20 g. flour). Cover it completely and let it sit on the counter for 1-3 hours so it starts to activate. Then return it to the refrigerator.
Make this a weekly ritual if you take a break from baking with it. If you want to start baking with your starter again, simply remove it from the refrigerator, feed it just as described above, and continue feeding it twice per day for a couple of days until it is fully active. I recommend feeding it at 12 hour intervals at least three times before baking with it so that you ensure it is really active when you use it. I also find it helpful to feed it the first two times out of the refrigerator with rye flour, as the nutrients in rye flour activate the starter even more than all purpose flour.
Dehydrated
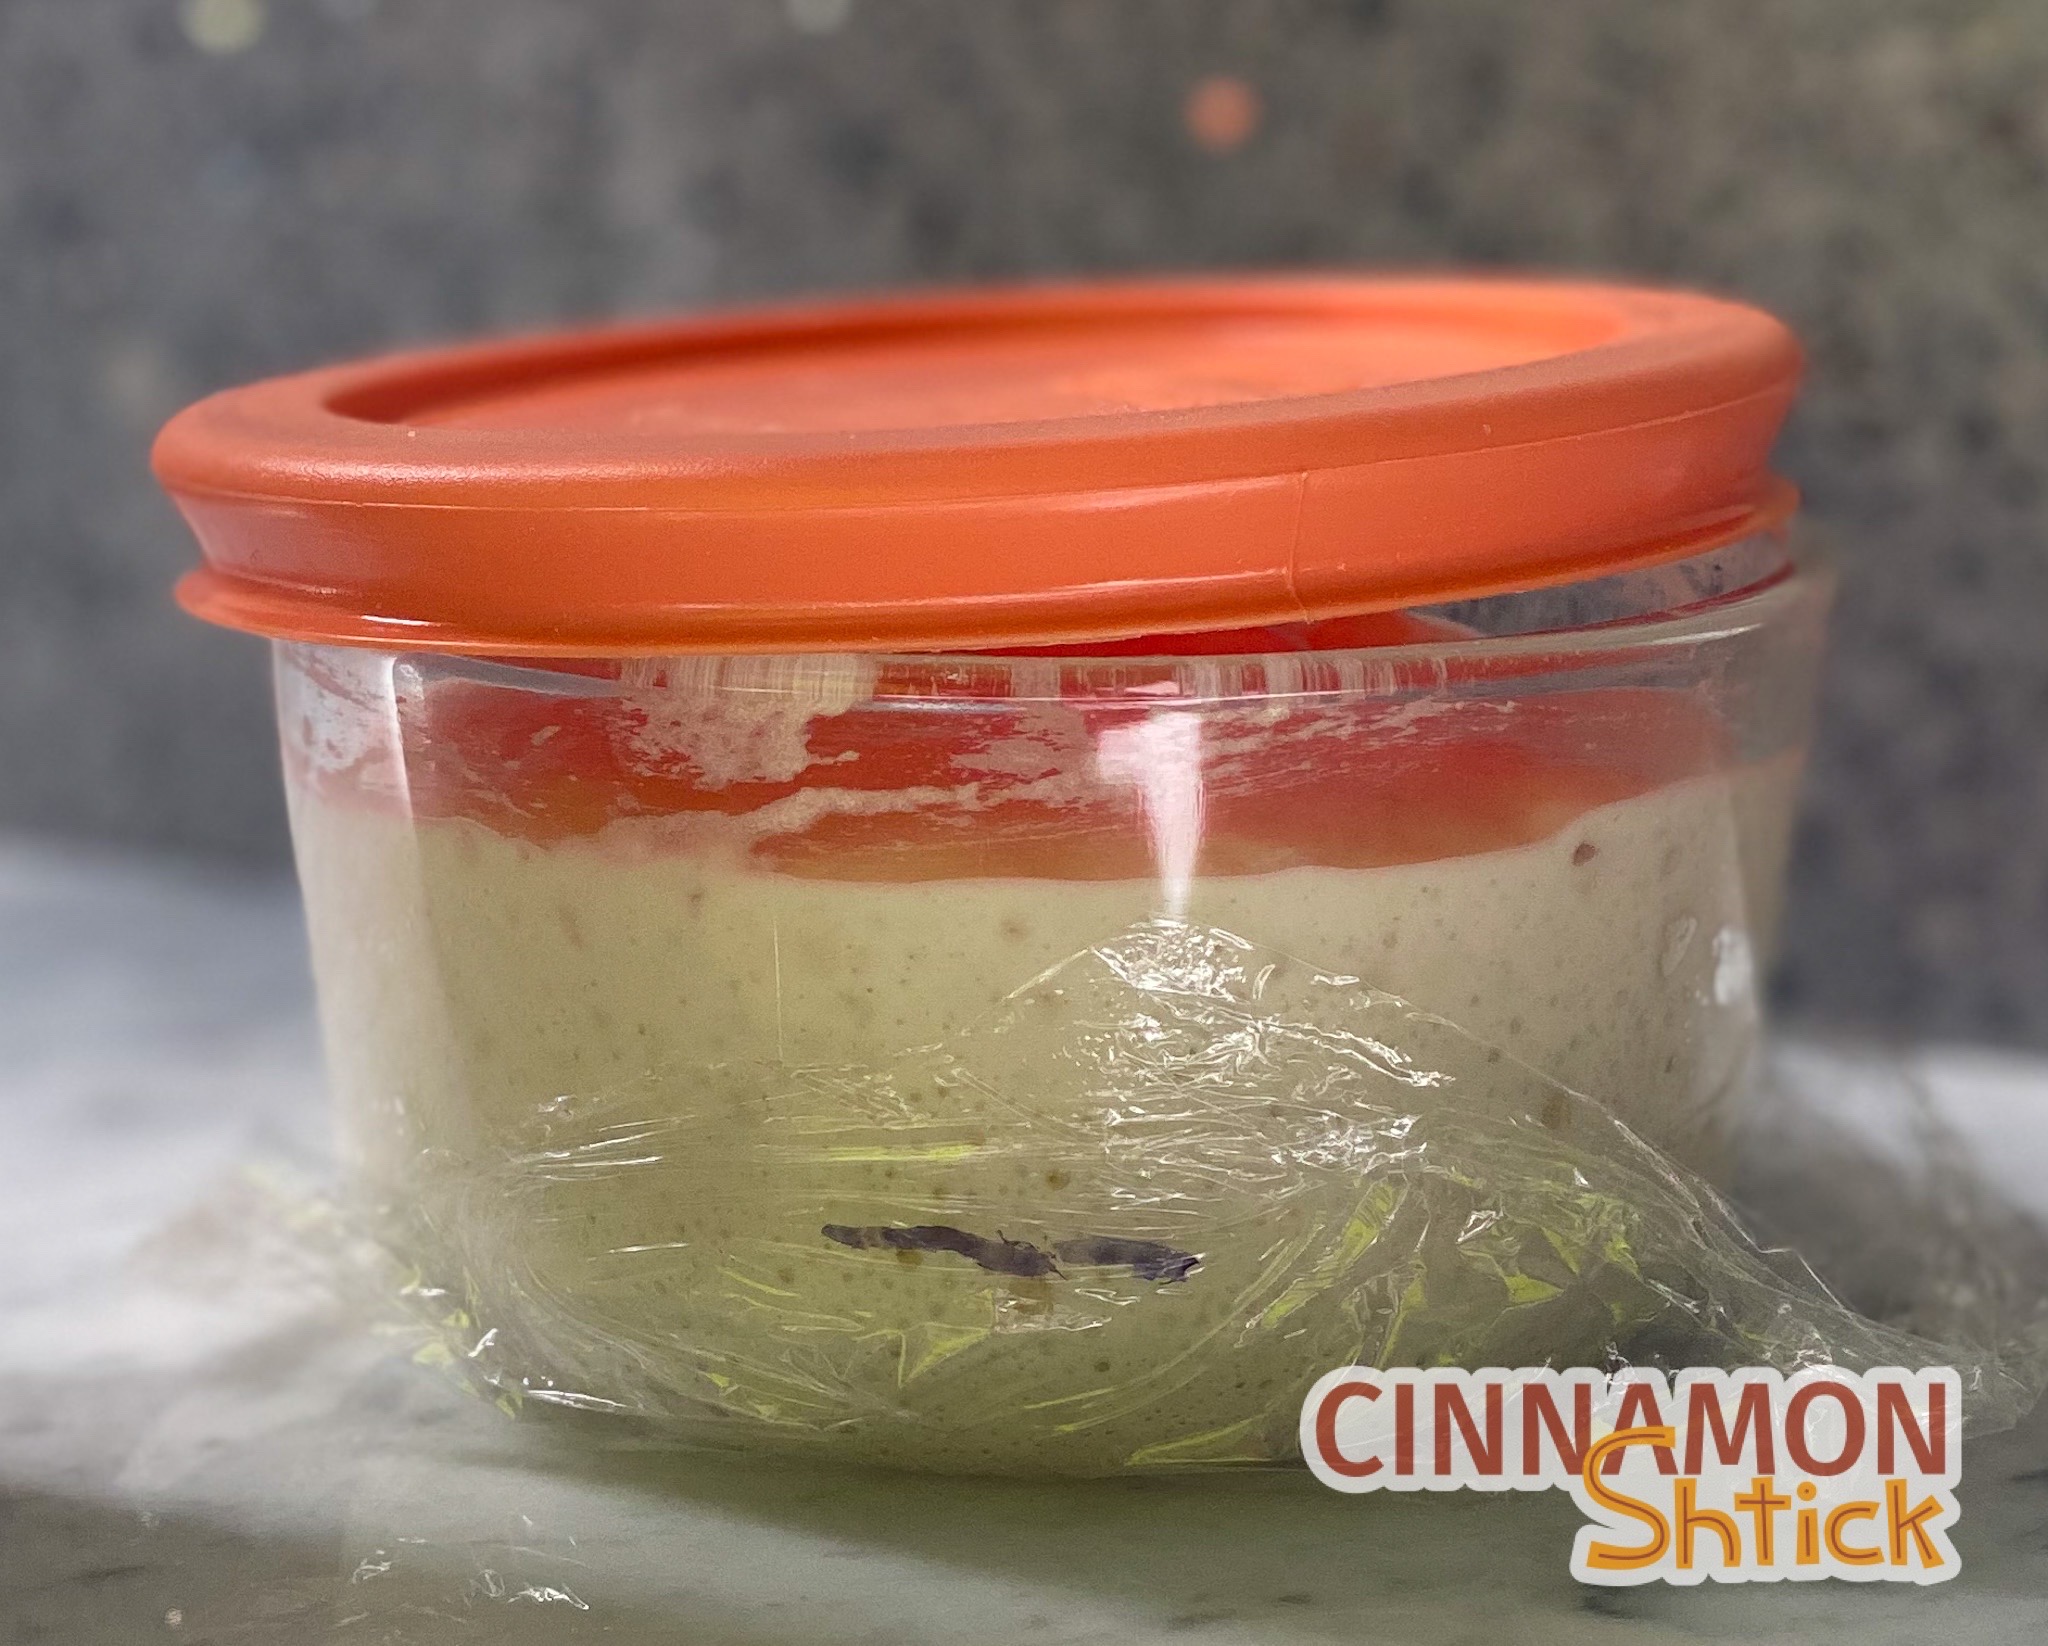
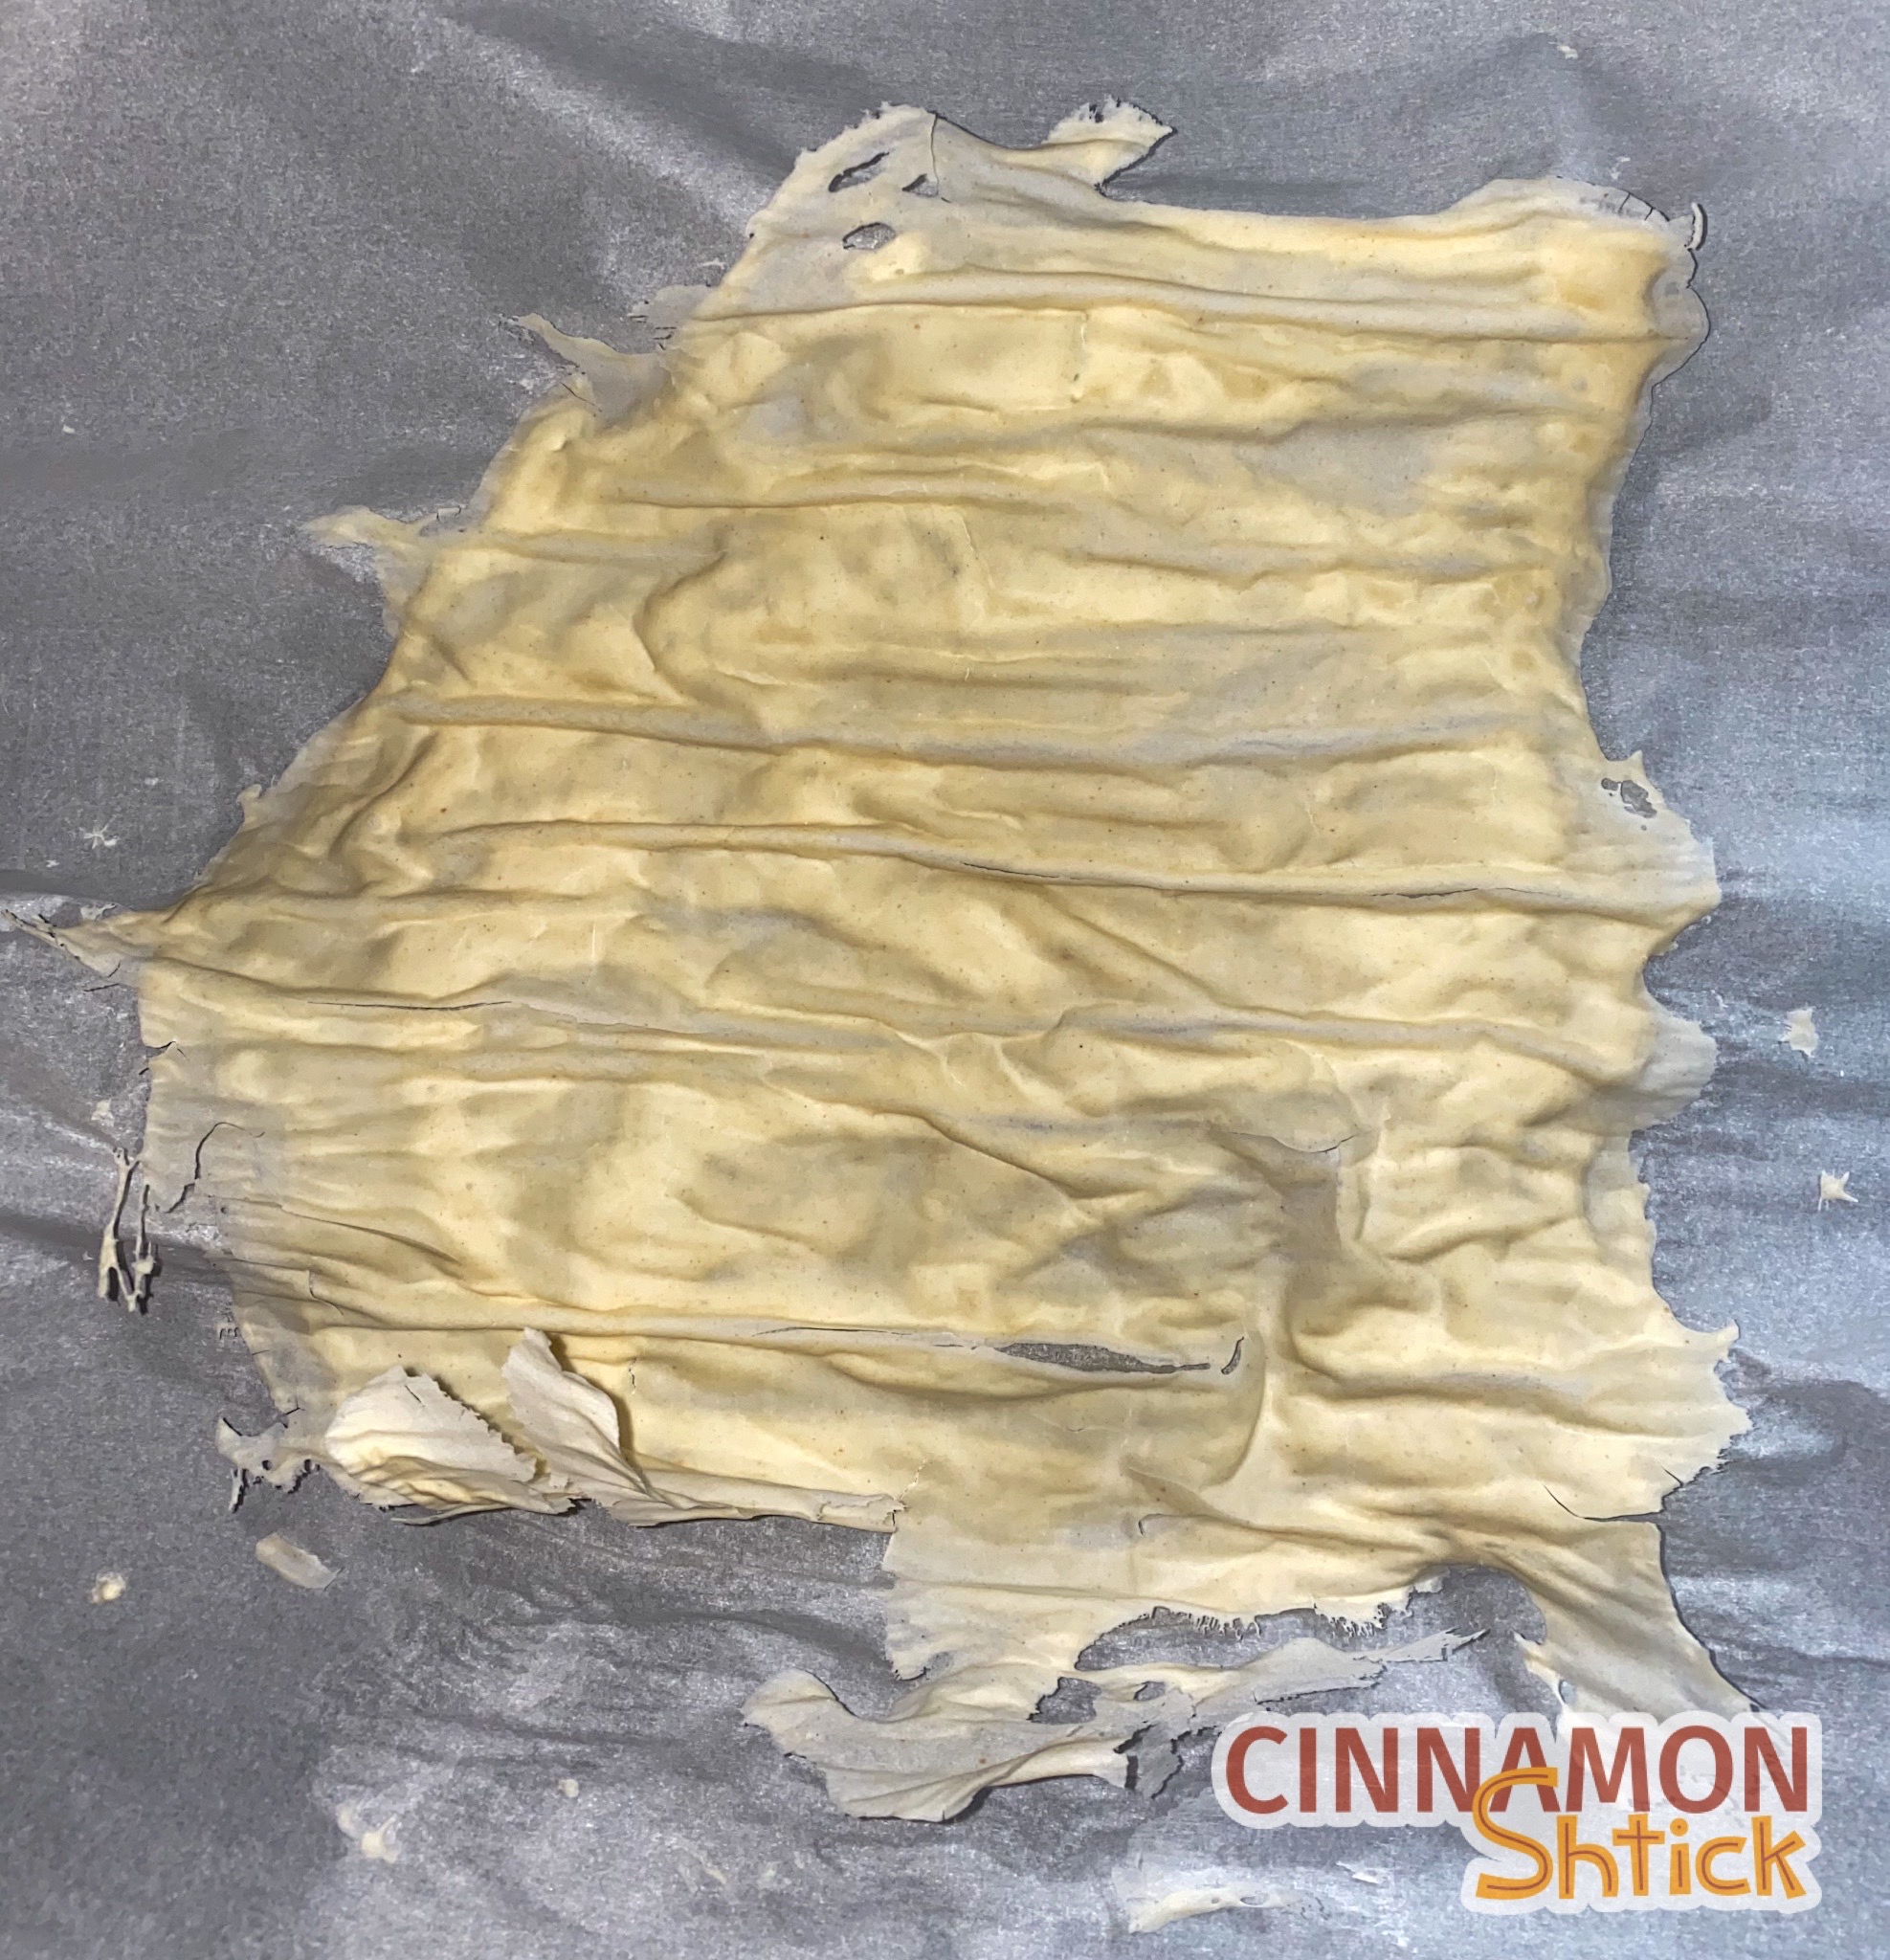
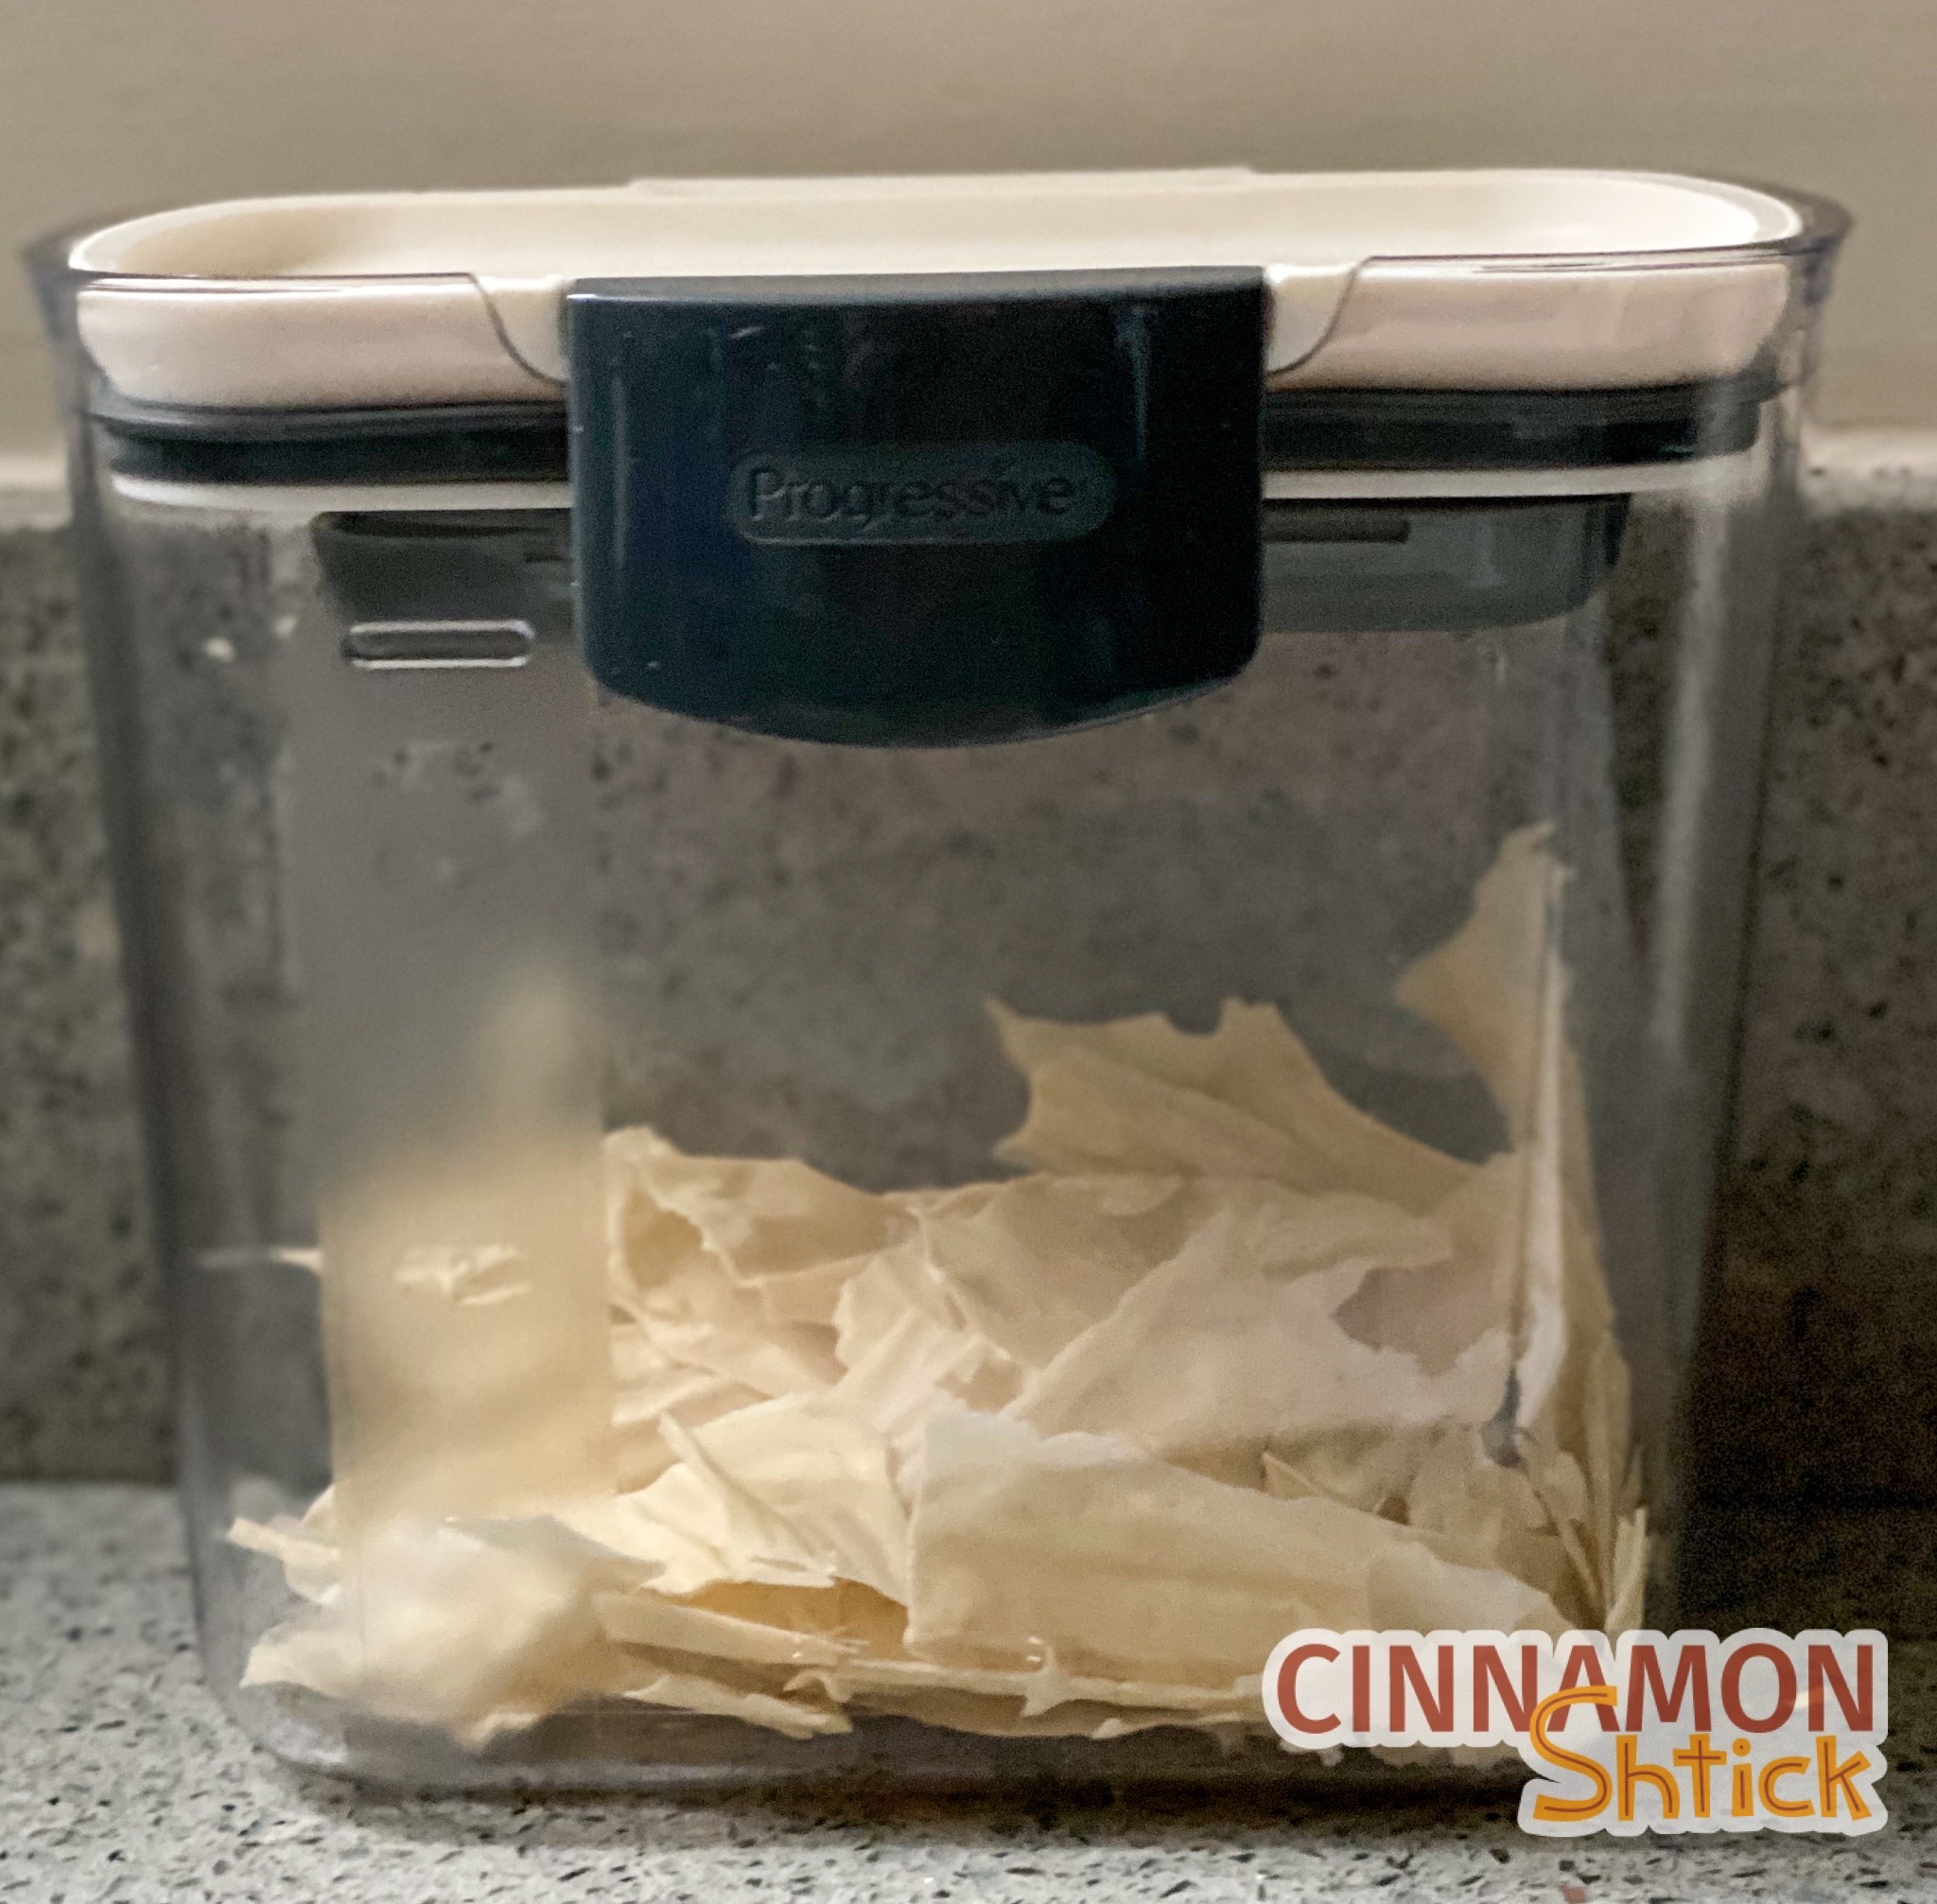
Another way of storing your starter for later use is to take some of it (a few hours after feeding it) and spread it thinly on a piece of parchment paper. Let it sit for a couple days to dry out completely. It will be brittle. Once it is fully dried out, break it up into pieces and store in an airtight container in a dry, dark place (like in a cabinet). Your dried up starter will last probably for years, if not longer.
How to Reactivate Dehydrated Sourdough Starter:
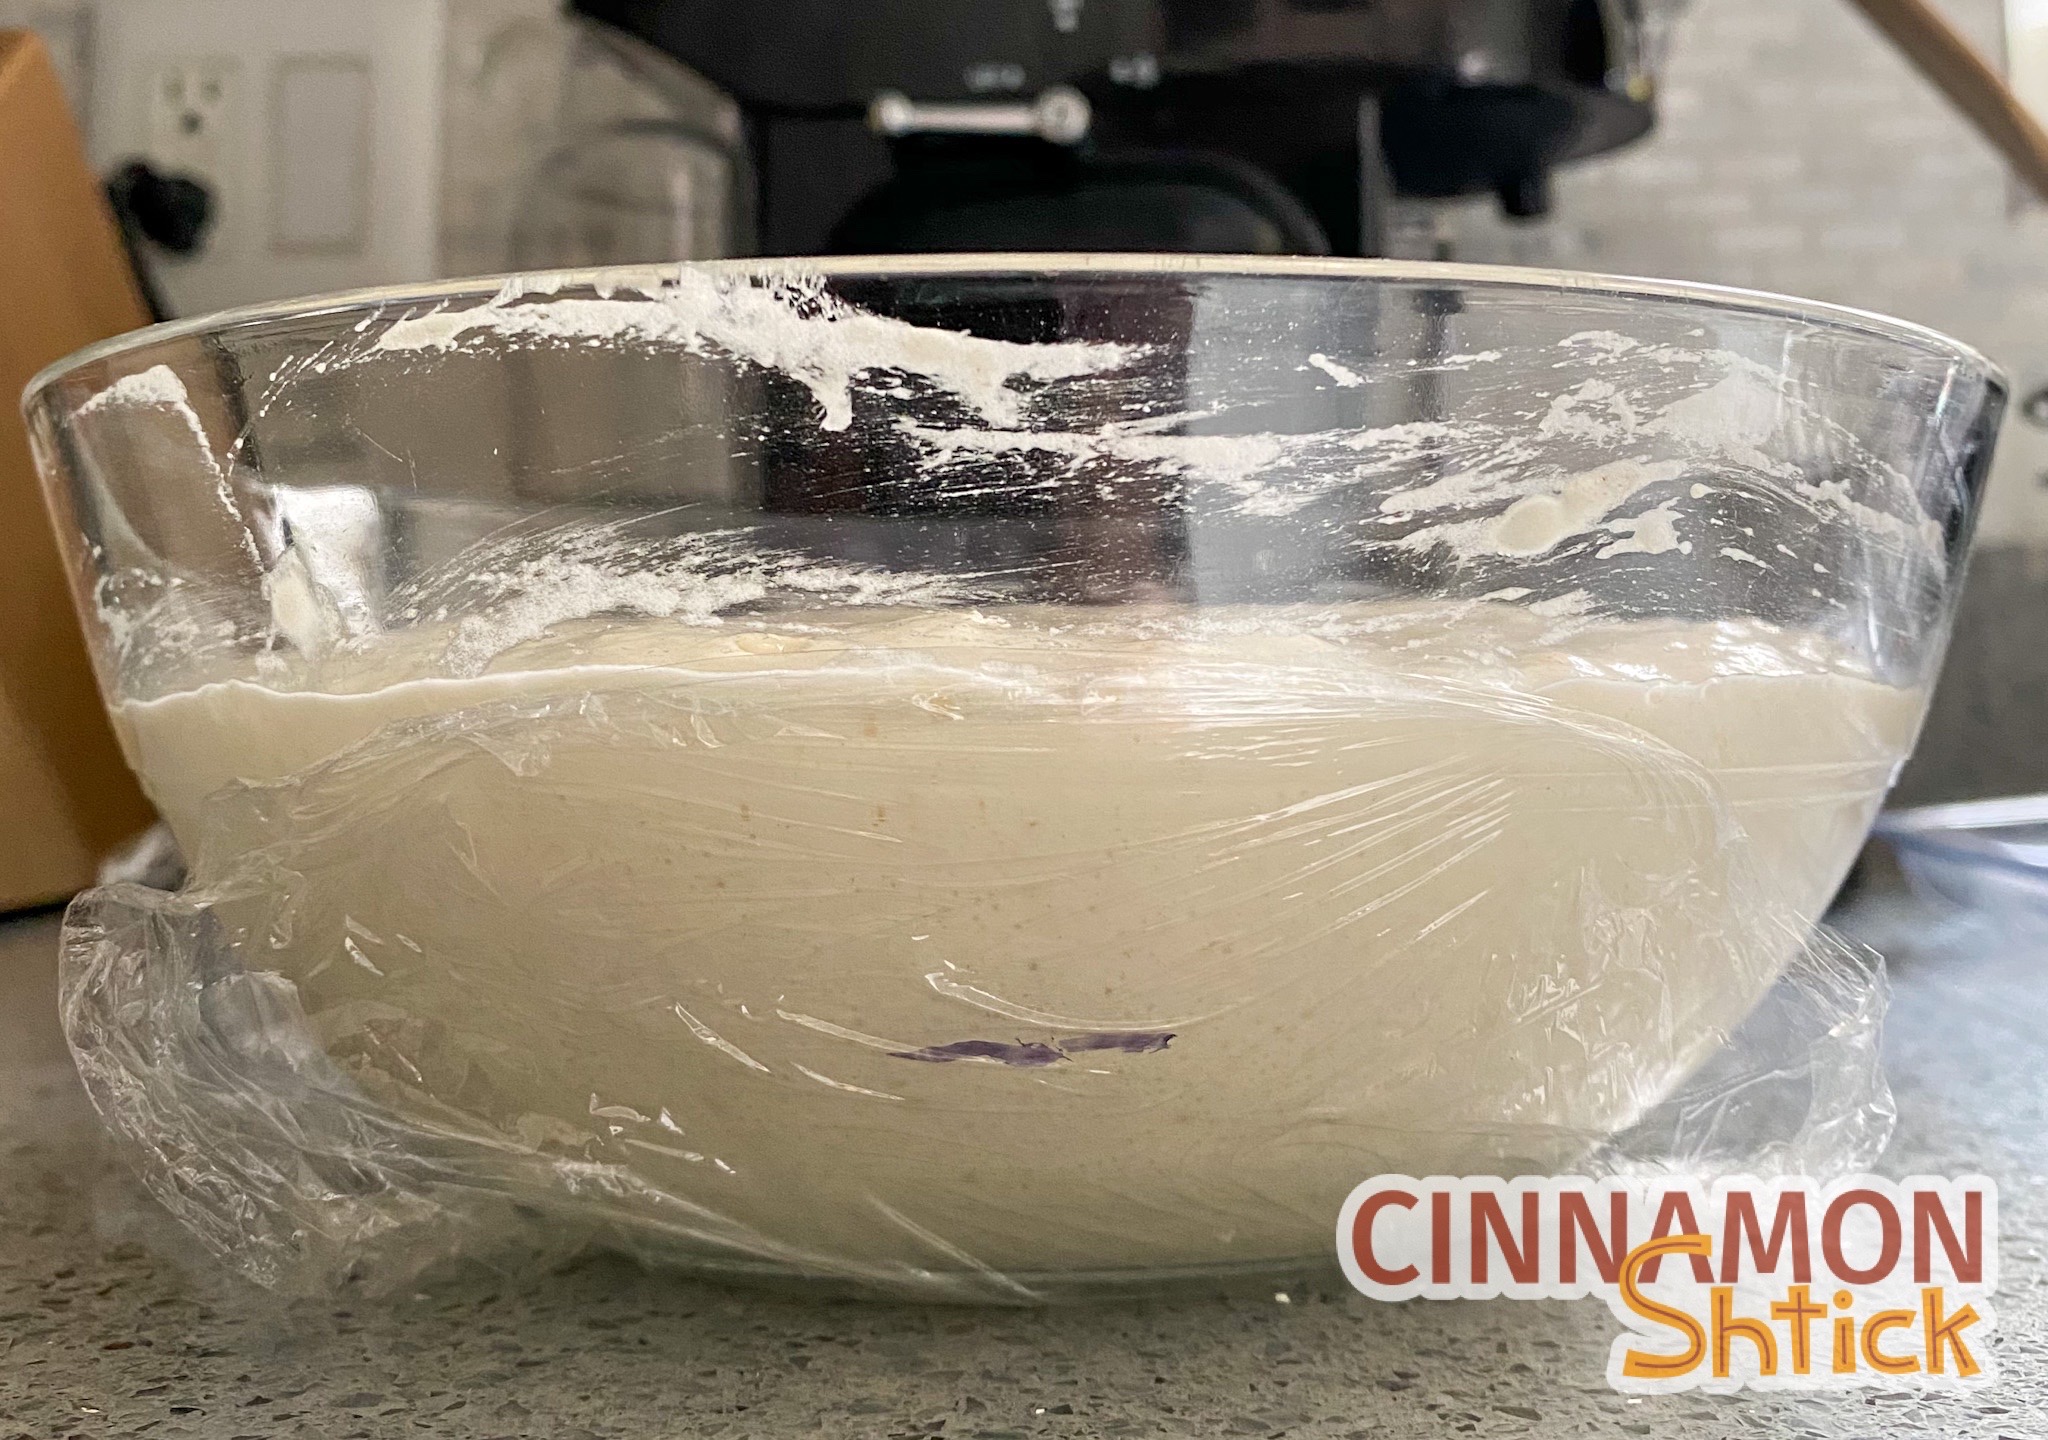
- Weigh out some of it. I recommend starting with 30 g. Place it in a glass bowl or jar and add to it double the amount in weight of room temperature (approximately 70°F) water. In other words, cover the 30 g. of dried pieces of starter with 60 g. of water. Over the next three hours, gently stir the mixture occasionally to dissolve the dried pieces of starter.
- Once the pieces are mostly dissolved and the mixture is smooth, add all purpose flour in the same weight as the initial dried pieces of starter. With my example, I would add 30 g. of all purpose flour. Cover as usual, and place in a warm area. If you are not using your oven, turn the light on and store the mixture in there, but make sure not to turn the oven on! Alternatively, find a warm place in your home for it to sit. (If your room temperature is on the cooler side, it just may take a little longer.) You want to let it sit for at least 24 hours. It should start to bubble.
- Feed the entire mixture again by adding water and flour in the same amount as the weight of the initial dried starter. For my example, I would add 30 g. room temperature (approximately 70°F) water and 30 g. flour. Place back in a warm spot to get it bubbly again, approximately 8 hours. Add the same amount of room temperature (approximately 70°F) water and flour. For my example, an additional 30 g. water and 30 g. flour.
- Approximately 12 hours later, discard half of it, and return to feeding as normal.
What Else Should I Know Before I Create My Sourdough Starter?
- For the first three days, you will need to set aside approximately 3-5 minutes. Not time consuming at all! I recommend starting the process in the evening or just before you go to sleep so that you can consistently feed your starter at the same time each day. The timeline below assumes that you start at night. If you start in the morning, on Day 4 you will start feeding your starter twice a day.
- Starting on the morning of Day 5 (or the evening of Day 4 if you started the process on Day 1 in the morning), you will feed your starter twice each day, approximately every 12 hours.
- Always use a glass bowl or jar. Using a metal or plastic bowl could interfere with the natural fermentation process. Make sure whatever you use has room equal to at least three times the size of your starter. At its most active point after any feeding, your starter could triple in volume!
- Always clean your bowl or jar when you feed your starter. While you want to create an environment that actively creates natural yeast, you do not want mold. I switch between two different small Pyrex bowls when I feed my starter so I always have a clean one ready to go for the next feeding. (If the starter has dried up on your bowl or jar, just soak it in hot (not boiling) water. Boiling water will cook it onto your bowl or jar and make it more difficult to remove. Hot water from the tap should work just fine.
- Mr. Kayser’s starter recipe uses a bit of honey the first two days. You want to make sure you use what is called clear honey, which simply means that the honey is in liquid form. If your honey is more solid (called cloudy), it just means that it has crystallized. Simply place the jar of honey in warm water for approximately one hour. That should get it to return to a liquid form.
- Store your starter each day at warm room temperature (approximately 80°F is ideal) in a dark area on your countertop. If your kitchen runs on the cooler side, place your starter in the oven with the oven light on. That should get it to somewhere between 80°F and 85°F, which is ideal. If it gets hotter than that, turn the light off but leave the starter in the oven. MAKE SURE NOT TO TURN THE OVEN ON WHILE YOUR STARTER IS IN THERE! That would be the end of your starter.
- Before adding flour and water each day, stir your starter. You can also stir your starter several times within the hours after feeding it because you will just be aerating it more, which is a good thing. (I have done this a couple times. There was a noticeable difference of how much more active the starter became.)
- While you can throw the discard away (I know, seems wasteful, but it is what it is, People!), there are lots of things you can do with it. King Arthur Flour’s website has lots of great recipes, like sourdough pancakes, sourdough crumb cake, sourdough raisin bread. (I have made all of these and they are wonderful!) I also have made Ruth Tam’s (http://cooktildelicious.com) sourdough crackers with discard. I’m also mildly obsessed with Anela Malik’s sourdough discard everything pretzels (https://www.feedthemalik.com/post/recipe-sourdough-discard-everything-pretzels). For those recipes, just store your discard in the refrigerator and add to it each time you feed your starter. The discard will last at least one week in the refrigerator, and I’ve read that you can keep and use starter for weeks, if not months.
- When discarding your starter that you are not saving, throw it in the garbage. Do not throw it down your drain. When a flour and water mixture dries up, it is like cement.
- If your bread has tons of holes in it when you slice it, pat yourself on the back! That’s a sign that you did it very right!
I know. That was a ton of information. Bookmark this page as a resource as you create your sourdough starter. There won’t be a quiz on any of this! Honestly, the best way to learn about a sourdough is to make it yourself. So, let’s do it!
Day 1:
In a glass bowl or jar (people tend to use mason jars), mix 20 g. of rye flour with 20 g. of room temperature (approximately 70°F) water. Then add 5 g. honey. (I am intentionally not providing conversions to U.S. measurements. It will be more confusing and less precise. For this reason and all the reasons I explain in my post Weighing vs. Measuring, do yourself a favor and buy a scale!) Cover the mixture with a towel or loosely covered plastic wrap so that air can circulate into the mixture. If using a mason jar or pyrex bowl, place the cover on top, but do not close it. (You want some air to circulate in there.) Leave it for 24 hours.
Day 2:
There likely will not have been much activity, and the mixture will look like a gray clump. Stir it and remove 20 g. of the mixture into a clean bowl or jar, discarding the rest of the mixture. Add 20 g. lukewarm (approximately 70°F) water, 20 g. rye flour, and 5 g. honey. Cover the same way you did for Day 1 and leave it for 24 hours.
Day 3:
There should be some noticeable bubbles on the top of the mixture. (That’s a very good thing!) Stir it and remove 20 g. of the mixture into a clean bowl or jar, discarding the rest of the mixture. Add 20 g. lukewarm (approximately 70°F) water and 20 g. rye flour. Cover the same way you did for Day 1 and leave it for 24 hours.
Day 4:
Stir it and remove 20 g. of the mixture into a clean bowl or jar, discarding the rest of the mixture. Add 20 g. lukewarm (approximately 70°F) water and 20 g. all purpose flour. Cover the same way you did for Day 1 and leave it for 12 hours.
Day 5, Day 6 and Day 7:
Repeat the steps of Day 4 (feeding every 12 hours). During these days, start to take notice of how long it takes for your starter to reach its peak, , meaning how long it takes before it starts to deflate. This usually takes between 4-6 hours, depending on the temperature the starter is stored at.
Day 8:
By this point, your starter should be active enough to start baking with it. (I continued the above process for two more days before I used my starter to make my first sourdough bread. I used a King Arthur Flour recipe which resulted in a beautiful bread!) If you’re planning on baking with your starter on Day 8 (or any day), plan ahead so you can build up the amount of starter you need. Also plan ahead so that you give your starter sufficient time to activate before you use it. Let me break down these last two sentences for you with these two important concepts to keep in mind:
First, if you know you will need, for example, 227 g. of starter for the recipe you are making, and you want to make the dough on Thursday, then on Wednesday evening, mix 30 g. of your starter (discarding the rest) with 30 g. lukewarm (approximately 70°F) water and 30 g. all purpose flour. Then, on Thursday morning, do not discard any of your starter and add to it 90 g. lukewarm (approximately 70°F) water and 90 g. all purpose flour. Once mixed, measure out the 227 g. you need for your recipe and cover as usual (and follow the directions in my next point). Store the remaining stater as usual and continue to feed it as usual.
Second, and this is the sticking point for me that many blog posts did not make clear, note the following:
TO USE YOUR STARTER, YOU WANT IT TO BE AT ITS PEAK OF ACTIVITY.
What does that mean? It means that you generally need to wait approximately 4-8 hours (and sometimes longer) after feeding it to use it in recipes that rely on the active yeast in your starter. So, in the example I just gave, you would be able to use your 227 g. of starter approximately 4-8 hours after you fed it.
In other words, if you feed your starter at 9 a.m., you should wait until at least 1 p.m. to mix your dough. You will see your starter rise and get bubbly during these 4-8 hours. Generally, your starter should at least double in volume and more likely triple in volume. Here’s the tricky part: you want to use your starter before it starts to deflate. When you go to feed your starter, you will see that it rose and sunk, evidenced by some starter stuck to the sides of the bowl or jar. That is the reason for the 4-8 hour window.
You need to get to know your starter to know how long it will take for it to reach its peak. That said, do not worry about being super precise about this. If you use your starter slightly before it has reached its peak, it should perform just the same, but your dough may taste slightly sweeter. If you use it just after it has reached its peak, your dough may be slightly tangier. In most recipes, you will probably not know the difference.
6 Comments
Pingback: Sourdough Everything Bagels - Cinnamon Shtick
Pingback: Honey Whole Wheat Sourdough Bagels - Cinnamon Shtick
I have never made any sourdough bread in my life, but after reading everything you had to say about making it, and explaining certain things to do & not to do, etc you made it sound so easy- plus it didn’t sound too hard to do! I’m no longer scared to try it! So please, I haven’t started my starter yet, but Thank You in advance for explaining it all! I am so appreciative of your doing that! Very much! I will try to let you know how I did but I now have faith that I won’t have any problems thanks to your advice and information!!! My husband has stage 4 lung cancer- so I really haven’t had time to do much of anything, He says he will help me start the sour dough starter- which I’m so happy to hear, cause I encourage him to do things instead of just being in bed doing nothing! And he does do many things daily, and this will be fun for us also!!! 🥹😘😃
You said that Kayser uses a combination of sourdough and yeast to ensure the dough rises. But it doesn’t go together, does it? If we make sourdough, it is precisely to do without yeast. We all know that it takes a few hours, if not almost a day, for sourdough dough to rise properly. It’s part of the game. Because the result cannot be compared with yeast bread. We are on another planet with sourdough!
It’s not uncommon for bakers to use sourdough with commercial yeast. The sourdough provides deeper flavor and some of the rise while the commercial yeast ensures a rise within a shorter time period, which makes it more efficient for some bakeries. By way of example, Kayser’s bread is outstanding. As a home baker, when I make sourdough bread of any kind, I usually make it 100% sourdough with no commercial yeast, but there is certainly nothing wrong with adding commercial yeast.
Thank you, thank you, thank you for the wonderfully detailed instructions and numerous examples. I have tried to make a starter a couple of times and failed. After reading your information, I am excited to try it again. We love bagels but live in a tiny town in rural southern Indiana, so we are not close to anywhere that has good bagels. I can’t wait to get started.