

This post may contain affiliate links. As an Amazon Associate, I earn from qualifying purchases. For more information, please visit my Privacy Policy.
Salted Caramel Ice Cream is always such a great treat! It is an ice cream flavor that transcends the seasons, but is particularly wonderful in autumn and winter.
My niece recently came over to enjoy my Stovetop Apple Cinnamon Cake, and specifically requested a Salted Caramel Ice Cream to pair with it. Perfect. I have always maintained that she is rather brilliant.
How to Make Caramel
With that incentive, I figured it was time to tackle caramel on this blog. There are two efficient ways to make caramel: wet caramel and dry caramel. For a full explanation, visit my blog posts: How to Make Wet Caramel and How to Make Dry Caramel.
I wrote this recipe using the wet caramel method, but like all caramel-related recipes, you can make the caramel for the ice cream base with either the wet caramel or the dry caramel method.
It’s Easy to Make Caramel Ice Cream
Making Salted Caramel Ice Cream may seem a bit daunting at first, but it’s actually not that difficult. It’s just about being organized. So, let’s break it down:
Mise en place
This is French (fancy, right?) for “putting in place”. In culinary school, we were taught, and expected to, mise en place before starting to make anything. It seems like an obvious thing to do, but most of us home bakers tend to just gather ingredients as we progress through the recipe. Not wise, especially when making something like ice cream, and even more especially when making Salted Caramel Ice Cream. The key to success for this Salted Caramel Ice Cream is to weigh out/measure all your ingredients and gather any necessary tools before you get started. This includes pots, bowls, strainer, whisk, thermometer, etc. Be organized!
Make caramel
Whether you use the wet caramel or dry caramel method, once you turn the flame on, also turn the flame on under the pot holding the milk and cream. Once the caramel is cooked, you will be adding the hot milk/cream mixture into the caramel. Doing so while it is all hot will help reduce the risk of the caramel seizing. No sweat if it seizes — just keep cooking until it melts into the milk/cream mixture.
Also, be careful when pouring the milk/cream mixture in the caramel. It will bubble up violently in a rage of madness. (This means you’re doing it correctly.) I recommend adding the milk/cream mixture in a slow stream while stirring. By the time half of the milk/cream mixture is added, the violence should subside. Once the caramel is fully melted and incorporated, bring the mixture to a simmer, then turn the flame off.
Whisk yolks
I don’t just mean whisk the yolks (with the sugar). I mean, whisk the yolks. The mixture will become light, pale yellow and it will thicken up. It should hold a ribbon for several seconds when dropped on itself.
Temper the yolks
Once your yolks are whisked — and I mean, whisked, slowly add about half of the caramel/milk/cream mixture into the yolks while constantly whisking the yolks. If you just pour the hot liquid into the yolks without whisking, you end up with scrambled eggs. Then pour the tempered egg mixture back into the pot with the rest of the caramel/milk/cream mixture, and, stirring constantly, cook until it reaches 185° F. It should not take more than a minute or two to get there. I highly recommend a Thermapen thermometer from ThermoWorks. I literally use it to take the temperature of anything I make, from ice cream to breads to tempering chocolate.
Chill
Pour the mixture through a strainer into a clean bowl over an ice water bath. (Straining it will ensure smooth ice cream, as it will pick up any unintended scrambled pieces of egg.) Stir every few minutes. It should be at room temperature in about 10 minutes. Place plastic wrap directly on the surface of the ice cream base and refrigerate at least four hours and up to twenty-four hours before churning. (I prefer letting it sit in the refrigerator overnight and churning the next day.)
Churn
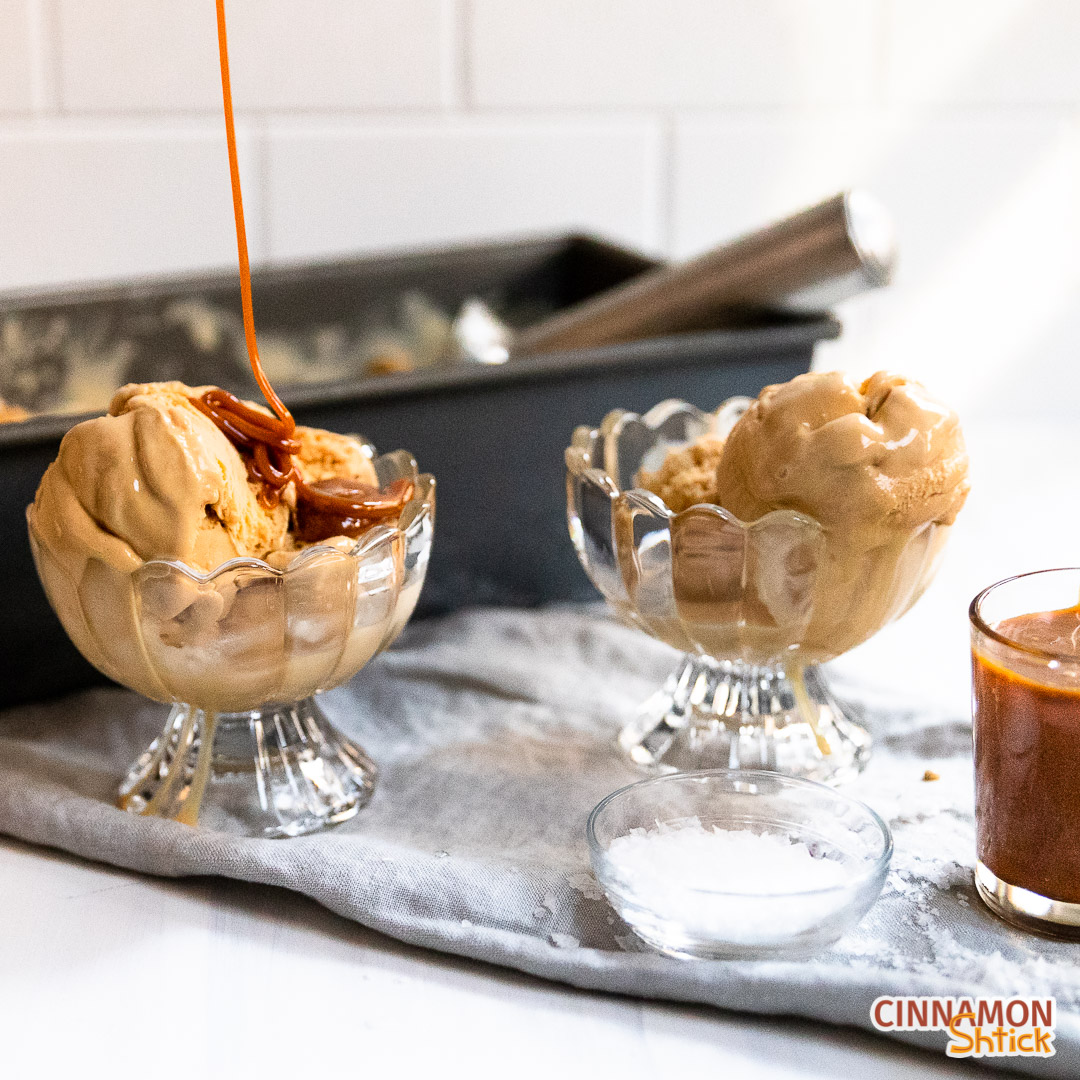
Follow the manufacturer’s instructions of your ice cream maker. Depending on your ice cream maker, when it comes out of the machine, it will likely be in soft-serve stage. Freeze for at least 4 hours before serving. For extra caramel delight, serve with Salted Caramel Sauce!
Looking to use up the leftover egg whites? Check out my Chocolate Egg White Cake.
Frequently Asked Questions About Making Salted Caramel Ice Cream
Wet vs. Dry Caramel to make salted caramel ice cream?
You can use either the wet caramel or the dry caramel method to make caramel, including for this Salted Caramel Ice Cream.
Salted Caramel Ice Cream
Ingredients
Caramel:
- 200 g. sugar (1 cup )
- 58 g. water (¼ cup)
Ice Cream Base:
- 550 g. whole milk (2 cups plus 2 tbsp. )
- 255 g. heavy cream (1 cup plus 1 tbsp.)
- 1 tsp. vanilla extract
- ¼ tsp. flaky sea salt (such as Maldon)
- 50 g. sugar (¼ cup)
- 6 egg yolks
Instructions
- Fill a large bowl half way with ice. Pour cold water over the ice so that the bowl is no more than ⅔ high. Place a clean bowl on top of the water bath. Place a strainer over the empty bowl.
- Caramel: Pour the sugar into a medium (3 quart) pot. Carefully pour the water over the sugar, trying not to let any of the sugar ride up the sides of the pot. Carefully stir, just to hydrate all the sugar. If any sugar crystals ride up the sides of the pot, use a pastry brush dipped in water and run it along the sides of the pot without allowing the bottom of the pastry brush to touch the mixture. This will cause any sugar crystals to fall into the rest of the mixture.
- On a medium-high heat, cook the sugar mixture. Swirl the pot or stir occasionally, using the wet pastry brush to wipe any sugar crystals that run up the sides of the pot. Once the mixture starts to boil, do not stir the mixture again. Just carefully swirl the pot. Cook until amber/light brown/dark red in color. It should be lightly smoking. It will go from caramel to burnt quickly, so pay close attention.
- Ice Cream Base: When you first put the heat on under the sugar and water for the caramel, in a smaller pot on high, heat the milk, heavy cream and salt just until it comes to a boil. Remove from the heat and stir in the vanilla, keeping the mixture in the pot.
- As soon as the caramel is cooked, turn the flame off and carefully and slowly, with a wooden spoon, stir in the heated milk/cream mixture, just a little at a time. The entire mixture will bubble up violently (so be careful and add the milk/cream in small batches) and the caramel may seize. On medium heat, heat the mixture, stirring frequently, until the caramel is melted and the entire mixture is combined and smooth and comes to a simmer. Turn the heat off and let it sit for a minute or two.
- Meanwhile, in a small bowl, whisk the yolks with the remaining 50 g. (¼ cup) of sugar until it is pale yellow, thick, and forms a ribbon on itself.
- With the bowl holding the egg/sugar mixture secure on the counter (if no one is around to hold it, place it on a rubber mat or wet a dishtowel and wrap it around the base of the bowl), slowly pour half the heated liquid mixture into the eggs, whisking constantly. Once fully incorporated, pour the contents of the bowl back into the pot. Over a medium-low heat, stir the mixture constantly with a wooden spoon until it reaches 185°F or a line holds when you drag your finger across the back of the wooden spoon. (It should only take a minute or two reach the correct temperature.)
- Immediately remove the pot from the heat and pour the cooked mixture through the strainer into the empty bowl sitting in the ice water bath. Stir the mixture as it sits in the ice bath every 2 to 3 minutes until the mixture has completely cooled. This usually takes about 10 minutes.
- Pour into a container. Cover with plastic wrap directly over (touching) the mixture. Cover and place in refrigerator for 4-24 hours.
- Follow your ice cream manufacturer’s directions to churn the ice cream. Transfer the ice cream to a freezer container. Cover with a piece of parchment paper or plastic wrap directly on the surface. Cover container and freeze.
Notes
- I wrote this recipe using a wet caramel, but you can alternatively make the caramel using the dry caramel method.
- I do not go too heavy on the salt in this recipe. You could certainly up it a bit to your preferred taste.
2 Comments
Pingback: Salted Caramel Sauce - Easy to Make and Delish on Ice Cream and Cake
Pingback: How to Make Caramel - Wet vs. Dry, Make like Pastry Chefs