This post may contain affiliate links. As an Amazon Associate, I earn from qualifying purchases. For more information, please visit my Privacy Policy.
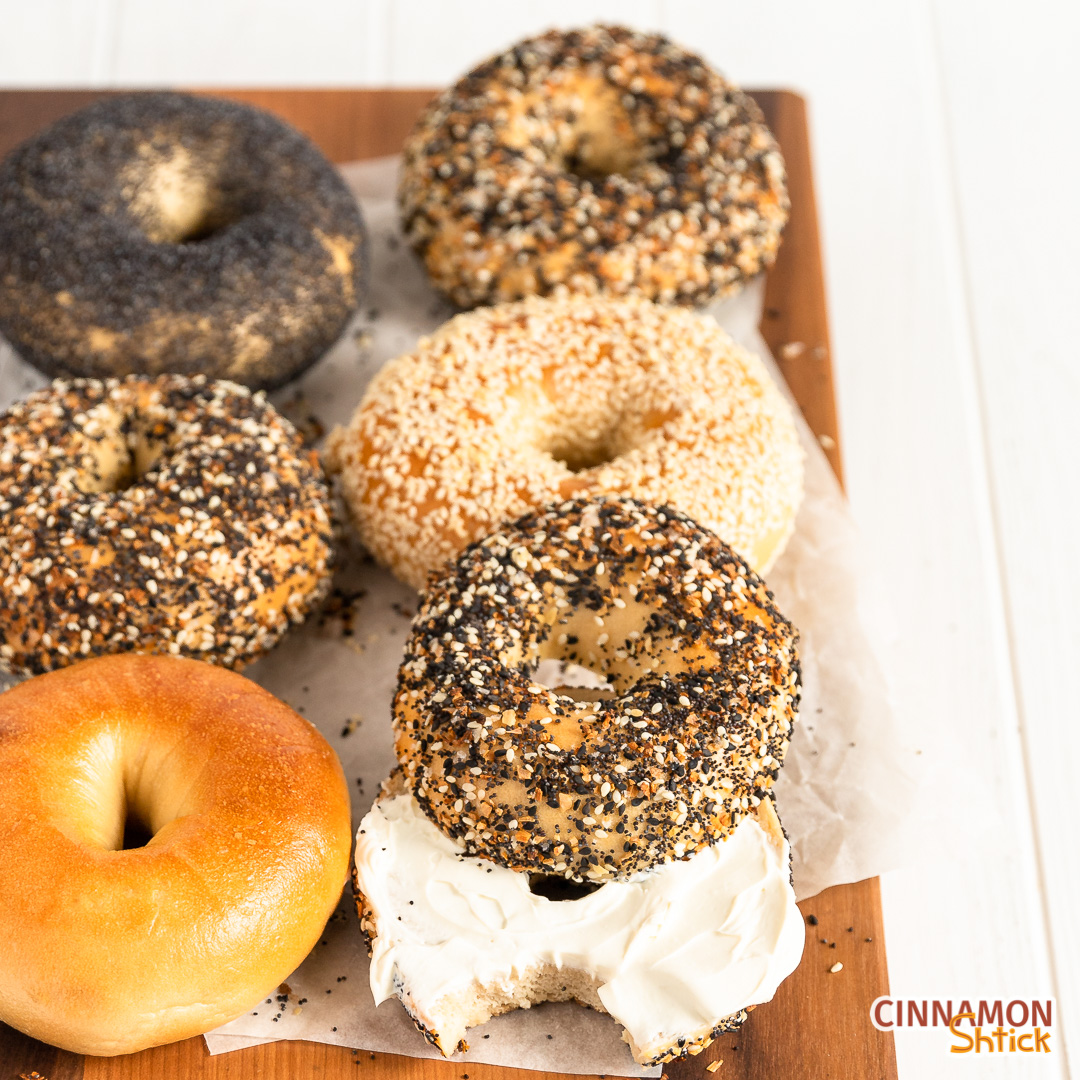
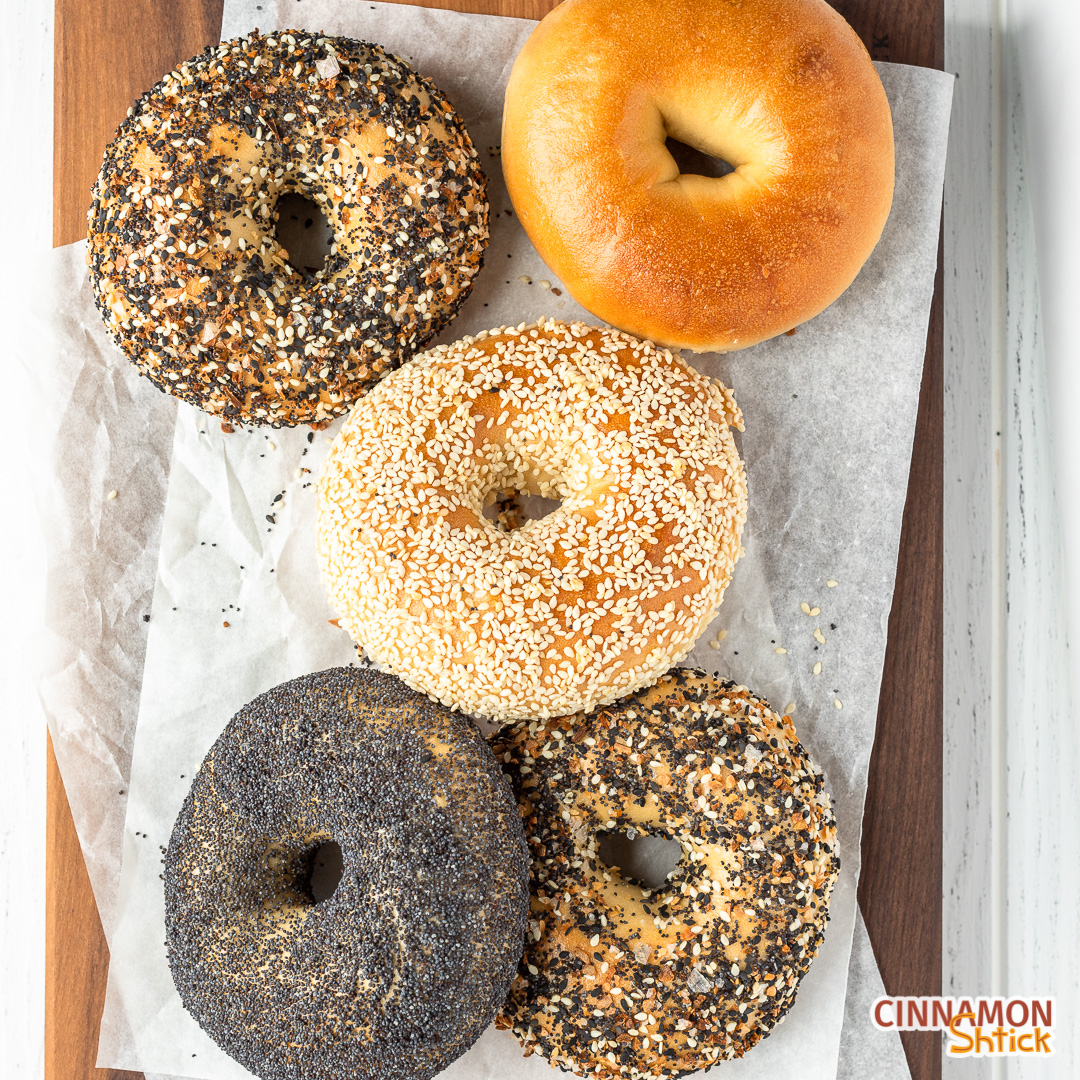
This recipe is, in my opinion, the best New York Bagel recipe (or, as some say, New York style bagel recipe) out there. Slightly crusty, perfectly chewy, ready for butter, cream cheese, lox, jam, sandwich fillings … however you like your bagels. I now prefer these homemade bagels rather than to buy them. (Reminder, I live just outside of NYC and work in NYC, so it’s not like I don’t have access!) I adapted this recipe from the bagel recipe I was provided in culinary school at the International Culinary Center (which is now part of the Institute of Culinary Education.)
What is a New York Bagel?
When making a New York Bagel or a New York style bagel, I insist on including one critical ingredient: malt. I have said it before and I’ll say it again: A true New York bagel requires (yes, I said it: requires) malt, whether in syrup or powder form. Malt is essential, whether in homemade bagels or store-bought.
What is Malt?
Malt is a sweet derivative of roasted barley. In this recipe (and most bagel recipes), we use non-diastatic malt, which means that the malt was heated to the point of killing the enzymes contained in it. Diastatic malt therefore has active enzymes in it and is used in bread recipes to assist with rising and conditioning the dough. Non-diastatic malt, which is more commonly used in bagels, simply provides a touch of sweetness and deeper color in the bagels without affecting the rise or dough consistency.
Malt is not a key ingredient in this recipe in terms of the structure of the bagel. It is, however, a key ingredient in terms of flavor. There are recipes out there that use “substitutes” for malt such as molasses and brown sugar. Those bagels may come out good, but they are not (I repeat NOT!) true New York bagels.
Non-diastatic malt comes in two forms: powder or syrup. In culinary school, we only used powder. The advantages of using powder are that powder has a much longer shelf life, can be stored at room temperature, and is much easier (i.e., less messy) to use. The con of using malt powder is that it seems to not be as readily available. I buy mine online at King Arthur Baking Company and sometimes on Amazon.
Barley malt syrup can be found on store shelves, usually at Whole Foods. I like using the syrup because I think it imparts a darker color to the bagels. I dislike using the syrup because it is very messy. Also, because the syrup has a more limited shelf life once opened, if I don’t plan on making bagels too often, I prefer the powder to avoid waste Check labels, but barley malt syrup is generally non-diastatic.
Can I Use Substitutions?
Remember: a substitute is just that. It is a second-best replacement for an ideal ingredient. If you are going to take the time and energy to make something, don’t you want it to be the best? I do. So, if you are going to make these bagels, plan in advance and buy the barley malt syrup or the non-diastatic malt powder. If you do not want to buy the malt, I suggest you make a different bagel recipe.
How to Make New York Bagels
This homemade bagel recipe comes together very easily with a mixer. I use a KitchenAid 5 Quart Professional. If you have a less powerful mixer like the KitchenAid Artisan, the dough may be too stiff and cause your motor to overheat and turn off at some point during the kneading process. If the motor sounds like it is overworking, I suggest turning it off and finish kneading by hand. It’s actually a good workout and is quite therapeutic!
If you do not have a mixer, you can knead the bagel dough by hand. However, be forewarned that it is a real workout, as bagel dough is dense. It will take approximately 20 minutes of constant kneading to fully develop the gluten in the dough.
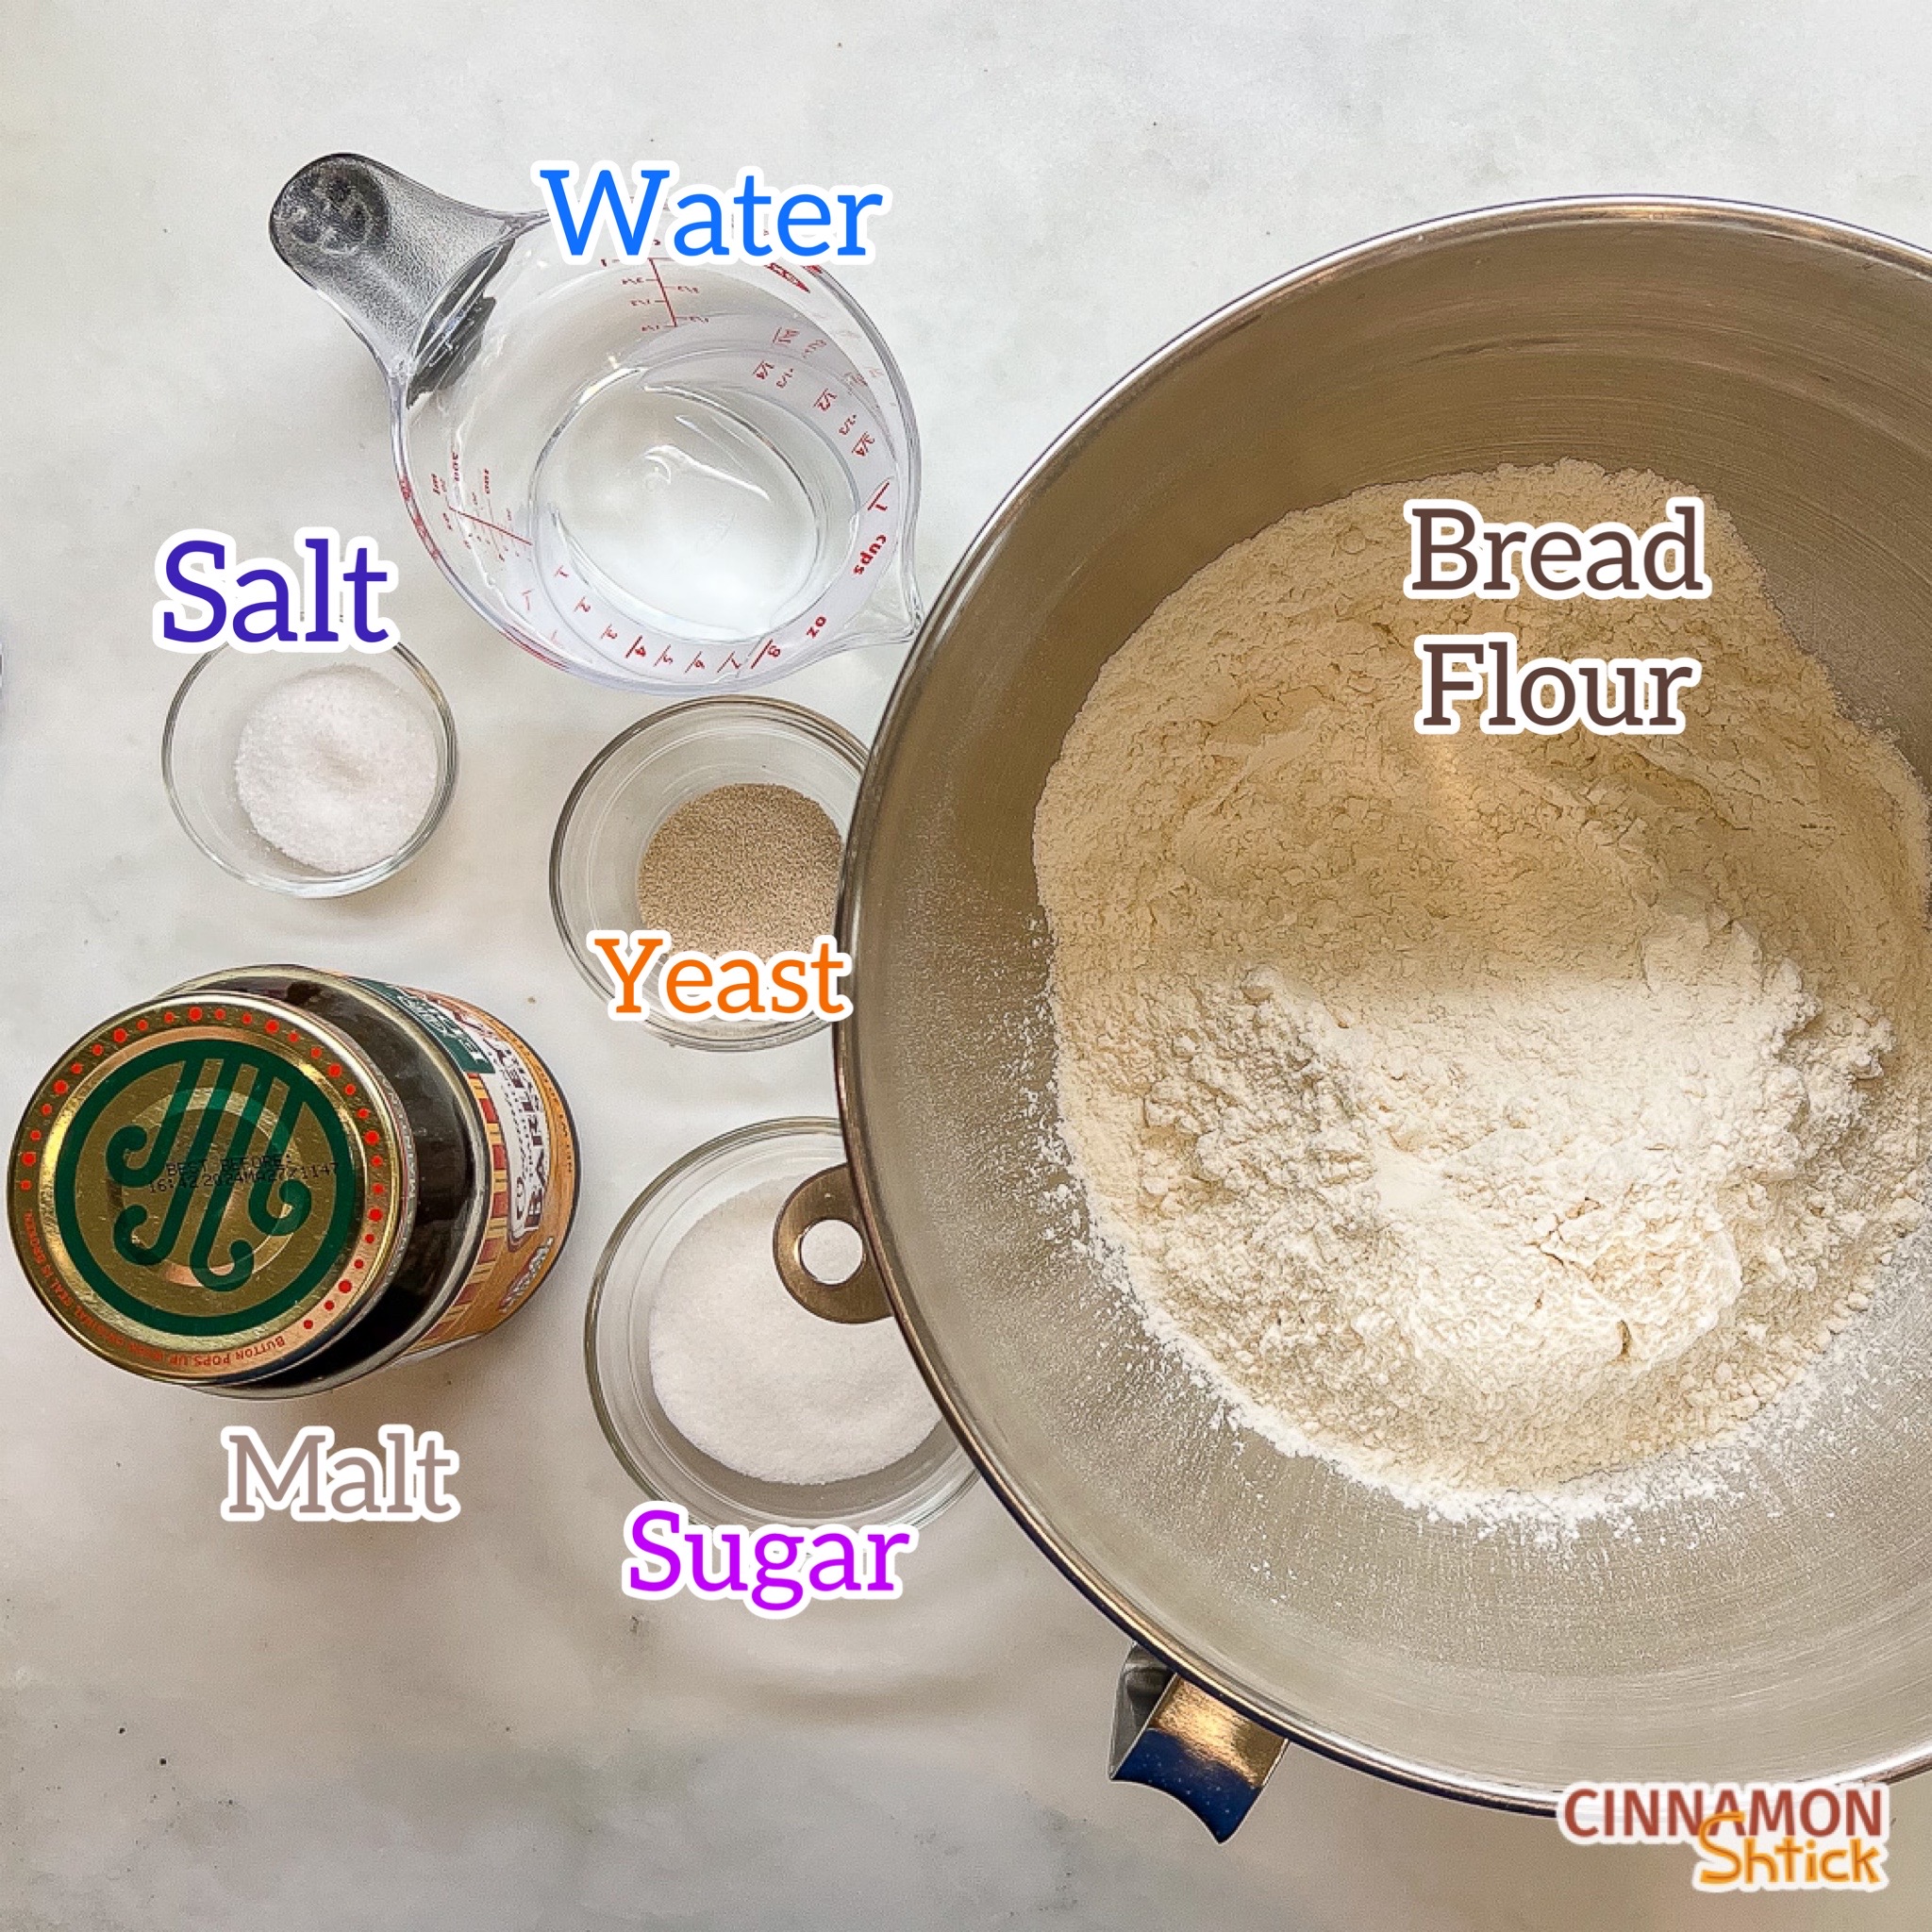
With only six ingredients, these bagels are super simple to make:
Mix New York Bagel Dough Ingredients
You can use active dry or instant yeast. (I prefer instant yeast, as it is much easier to work with.) Knead all ingredients except the salt. It will take a few minutes for the dough to come together. Resist the urge to add more water. If, after about 3 minutes, the dough has not come together stop the mixer to scrape the sides of the bowl. If, after another minute, it still is not coming together, add 1 teaspoon of water. Unless you live in the dessert or it’s a particularly dry day, you should not need more water.

Knead and Add Salt
By about the 7 minute mark, slow down the mixer and start adding the salt. (Nerd alert: We wait to add the salt because salt, when first combined with yeast, can kill some of the yeast or slow the yeast development in the dough. Once the dough is formed, the yeast reacts much more kindly to the salt, and it actually helps the yeast develop.) Knead for about 5 more minutes.
Windowpane Test
Do the windowpane test to make sure the gluten in the dough is fully developed. The windowpane test means that you take a small piece of dough, flatten it out with your fingers, and gently pull the dough. If the dough pulls without ripping to the point where it is very thin and translucent, it has passed the windowpane test. If it rips easily, continue kneading, checking for the windowpane test after another minute.

Shape and Rest
Shape the bagels. Divide them into equal portions by weight, rolling each portion into a ball and covering them with a piece of plastic wrap. Remove one ball at a time from the plastic wrap, flatten into an oval, and roll up like rolling a cinnamon roll. Use the palms of your hands to roll the dough against the countertop to shape into logs approximately 8 inches long. Cover the logs with plastic wrap and allow them to rest for 15 minutes. Then join the ends of each log, gently pinching them together. Place on a parchment lined baking sheet and cover with plastic wrap. Check out the video included with this post to see how I shape the Bagels.
Refrigerate overnight
This helps the flavor develop further while slowing down the fermentation process. It also means you can have hot, fresh bagels in the morning!
Boil and Bake
Remove the bagels from the refrigerator and allow them to come to room temperature, approximately 45-60 minutes. In a large pot (I use a 4½ quart pot), bring water to a boil. Add malt to the boiling water. Boil two bagels at a time for 30 seconds on each side. I find using Alexa or Siri takes longer than just setting a timer, so I use a TimeStack from Thermoworks which lets me set multiple timers and to record my voice so I know what the timer is. (They also sell an Extra Big and Loud Timer which is also great.) Use a strainer or a skimmer to flip the bagels and to drain and transfer them from the boiling water. I would avoid using tongs, as pressing into the dough could deflate part of the bagels.
For plain bagels, drain and transfer to a parchment lined baking sheet. If adding any seed toppings, have the toppings set on a piece of foil on a baking sheet. Check out my recipe for the best Everything Seasoning! (I have been buying all my Everything Seasoning ingredients lately from Nuts.com.) Coat the bagels in the toppings and transfer to a parchment lined baking sheet. (Keeping the toppings on foil makes for easy clean up.) Bake for 16-20 minutes, until the bagels are golden brown.

About this Recipe
I have not included U.S. volume measurements for this recipe. Bread formulas are very precise. There is too much disparity when measuring 1 cup of flour. If you are going to make my bagels, I want you to end up with a desired result – not a rubbery, dense bagel. If you still need to buy a scale (shame, SHAME!), see my post on Weighing v. Measuring for some recommendations.
For a fun spin on this recipe, check out my Stuffed Onion Bagels Recipe.
If you’re a fan of Egg Bagels, I got you covered there too!
And Cinnamon Raisin Bagel fans, I probably hold you closest to my heart!
My newest bagel recipe is for Blueberry Bagels.
Frequently Asked Questions About Making Bagels
Do I have to use malt to make bagels?
To make a true New York Bagel, there should be malt. If you do not have malt or do not want to buy malt, this is not the recipe for you.
Can I double this New York Bagel recipe?
Yes, you can easily double this recipe to get a dozen bagels. However, depending on the type of electric mixer you have, you may have to knead the dough by hand. A more powerful mixer like the KitchenAid Professional series can handle kneading a double batch of this recipe. The Artisan series will not and kneading that much dough could damage the motor.

Bagels
Ingredients
Bagel Dough:
- 3 grams active dry or instant yeast
- 235 grams water
- 25 grams sugar (divided, if using active dry yeast)
- 455 grams bread flour
- 20 grams non-diastatic malt powder, plus approximately 2 Tablespoons for water bath (if using malt barley syrup, use 10 grams in the dough and 1 Tablespoon for water bath)
- 10 grams salt
Instructions
- In a mixing bowl fitted with the dough hook, combine the yeast, water and approximately 1 teaspoon of the sugar. Gently stir to hydrate the yeast. Allow to sit until foamy, 3-5 minutes. Add the bread flour, rest of the sugar, and 20 grams malt powder or 10 grams malt barley syrup. (If using instant yeast, combine all ingredients except the salt and continue from here.) Knead on a medium-low speed for about 7 minutes. Then, with the mixer on a low speed, slowly add the salt. Once combined, increase the mixer to medium-low, and continue kneading an additional 3-5 minutes. The salt should be fully absorbed (you should not feel the salt when you touch the dough) and the dough should be very smooth.
- To make sure the gluten is fully developed, do a windowpane test. Take a small piece (approximately 1 teaspoon) of dough and stretch it between your fingers. It should form a “window pane”, meaning it should get thin enough that it is translucent without ripping. If it is not at that point yet, continue kneading in the machine at 1 minute intervals or knead by hand until it passes the test.
- Divide the dough into six equal portions, each approximately 122 grams (If you want your bagels to each be equal, weigh the full entire dough and divide the weight by 6 for the total number of bagels.) Shape each one into a ball, covering each with plastic wrap. Taking one dough ball at a time, flatten the ball with your fingers into an oval/rectangle, approximately four inches by six inches, so that the long part of the oval/rectangle is horizontal in front of you. Roll the dough up like cinnamon rolls. With the palms of both your hands, roll the dough against the countertop into a rope, approximately 8 inches long. Cover with plastic wrap. Repeat with remaining dough balls. Allow the six ropes to rest for 15 minutes.
- Attach the ends of each rope to form bagels, gently pinching the ends together. Place each bagel on a baking sheet lined with parchment paper. Place the tray, tightly covered in plastic wrap, in the refrigerator overnight.
- In the morning, remove the tray from the refrigerator and allow the bagels to come to room temperature, approximately 45-60 minutes.
- Approximately 30 minutes before you plan to boil the bagels, preheat the oven to 425°F. Line a baking sheet with parchment paper and set aside.
- If you are going to coat the bagels in seeds, arrange them on a foil lined sheet and set aside.
- Using a pot large enough to comfortably hold 2 or 3 bagels at a time, bring a pot of water with 2 Tablespoons of non-diastatic malt powder (or 1 Tablespoon barley malt syrup) to a boil. (I use a 4½ quart pot and fill it up approximately half way with water.) Place 2 or 3 bagels at a time into the boiling water for 30 seconds. (See note, below, if the bagels are sticking to the parchment paper.) Flip each bagel and boil for an additional 30 seconds. Using a strainer or a slotted spoon, remove each bagel from the water and place on sheet with seeds, coating each bagel with seeds. Place bagels on the prepared baking tray. Repeat with the rest of the bagels.
- Bake the bagels for 16-20 minutes, until the tops are browned.
Notes
- Some people spread corn flour or semolina flour on the parchment paper before placing the bagels on the baking sheet before refrigeration to prevent the bagels from sticking to the parchment paper. If the bagels stick to the parchment paper just prior to boiling, I prefer to avoid the additional mess and instead just cut the parchment paper into squares (each square holding a bagel) and boil the bagels with the parchment squares on them. After a few seconds in the boiling water, you can easily remove the parchment with tongs.
- Once baked and cooled, the bagels can be stored in the freezer for months. I recommend slicing them before freezing. To defrost, wrap each bagel individually in foil, place in cold oven, and turn oven on to 350°F. Within a few minutes of your oven reaching 350°F, your bagels should be defrosted and nicely warmed, begging for butter to be shmeared all over them.


14 Comments
Lovely recipe ! So much clearer on how to make bagels at home
This recipe was easy and the bagels were fabulous! Chewy outside and a soft inside. I will be definitely be making these over and over. Thanks!
These were delicious and so fun to make! Fabulous recipe.
Wow! these Bagels are irresistible, I’m sure my kids would be delighted with these.:) Can’t wait to make it with them on the weekend. Thanks!:) YUM!!
Thank you for a comprehensive and thorough recipe with all the tips for making the best New York bagels. Now I’ll try to find malt powder or syrup so that I can make this recipe. These bagels are making my mouth water!
I am such a huge fan of bagels! I love the taste of the dough so much and after trying your recipe, I can finally make them at home, whenever I want! Thank you so much!
Honestly the best bagel recipe I’ve ever tried, so simple and they were perfect!
The bagels turned out absolutely perfect. No need to go to a bagel shop when you have this recipe and bread flour!
These bagels are so soft and fluffy! Way better than store bought and so delicious.
Wow! This looks so delicious, and I am so excited to make this for everyone. I’ll be saving this recipe. Thank you!
First attempt with this recipe.
If I use active dry yeast is it okay to add the salt with the flour immediately? Directions aren’t clear.
There is no period indicated to let the dough rise. Is this correct?
I have been making Montreal style bagels because you can make them start to finish in a few hours, no overnight waiting. I’m looking forward to trying these NY style bagels.
Generally, never add salt directly with any kind of yeast. Salt can kill or slow yeast when they first interact. Adding the salt in once the yeast is incorporated into the rest of the dough avoids those issues. And that is correct — there is no “first rise” for these pages. Once you shape the logs, they sit for 15 minutes before you form them into circular bagels. Then go in the fridge overnight. The overnight fermentation in the fridge allows them to rise much slower which helps enhance the flavor.
Delicious perfect NY bagel! I followed the recipe exactly, except used honey instead of the malt.
So happy you enjoyed your bagels!