
This post may contain affiliate links. As an Amazon Associate, I earn from qualifying purchases. For more information, please visit my Privacy Policy.
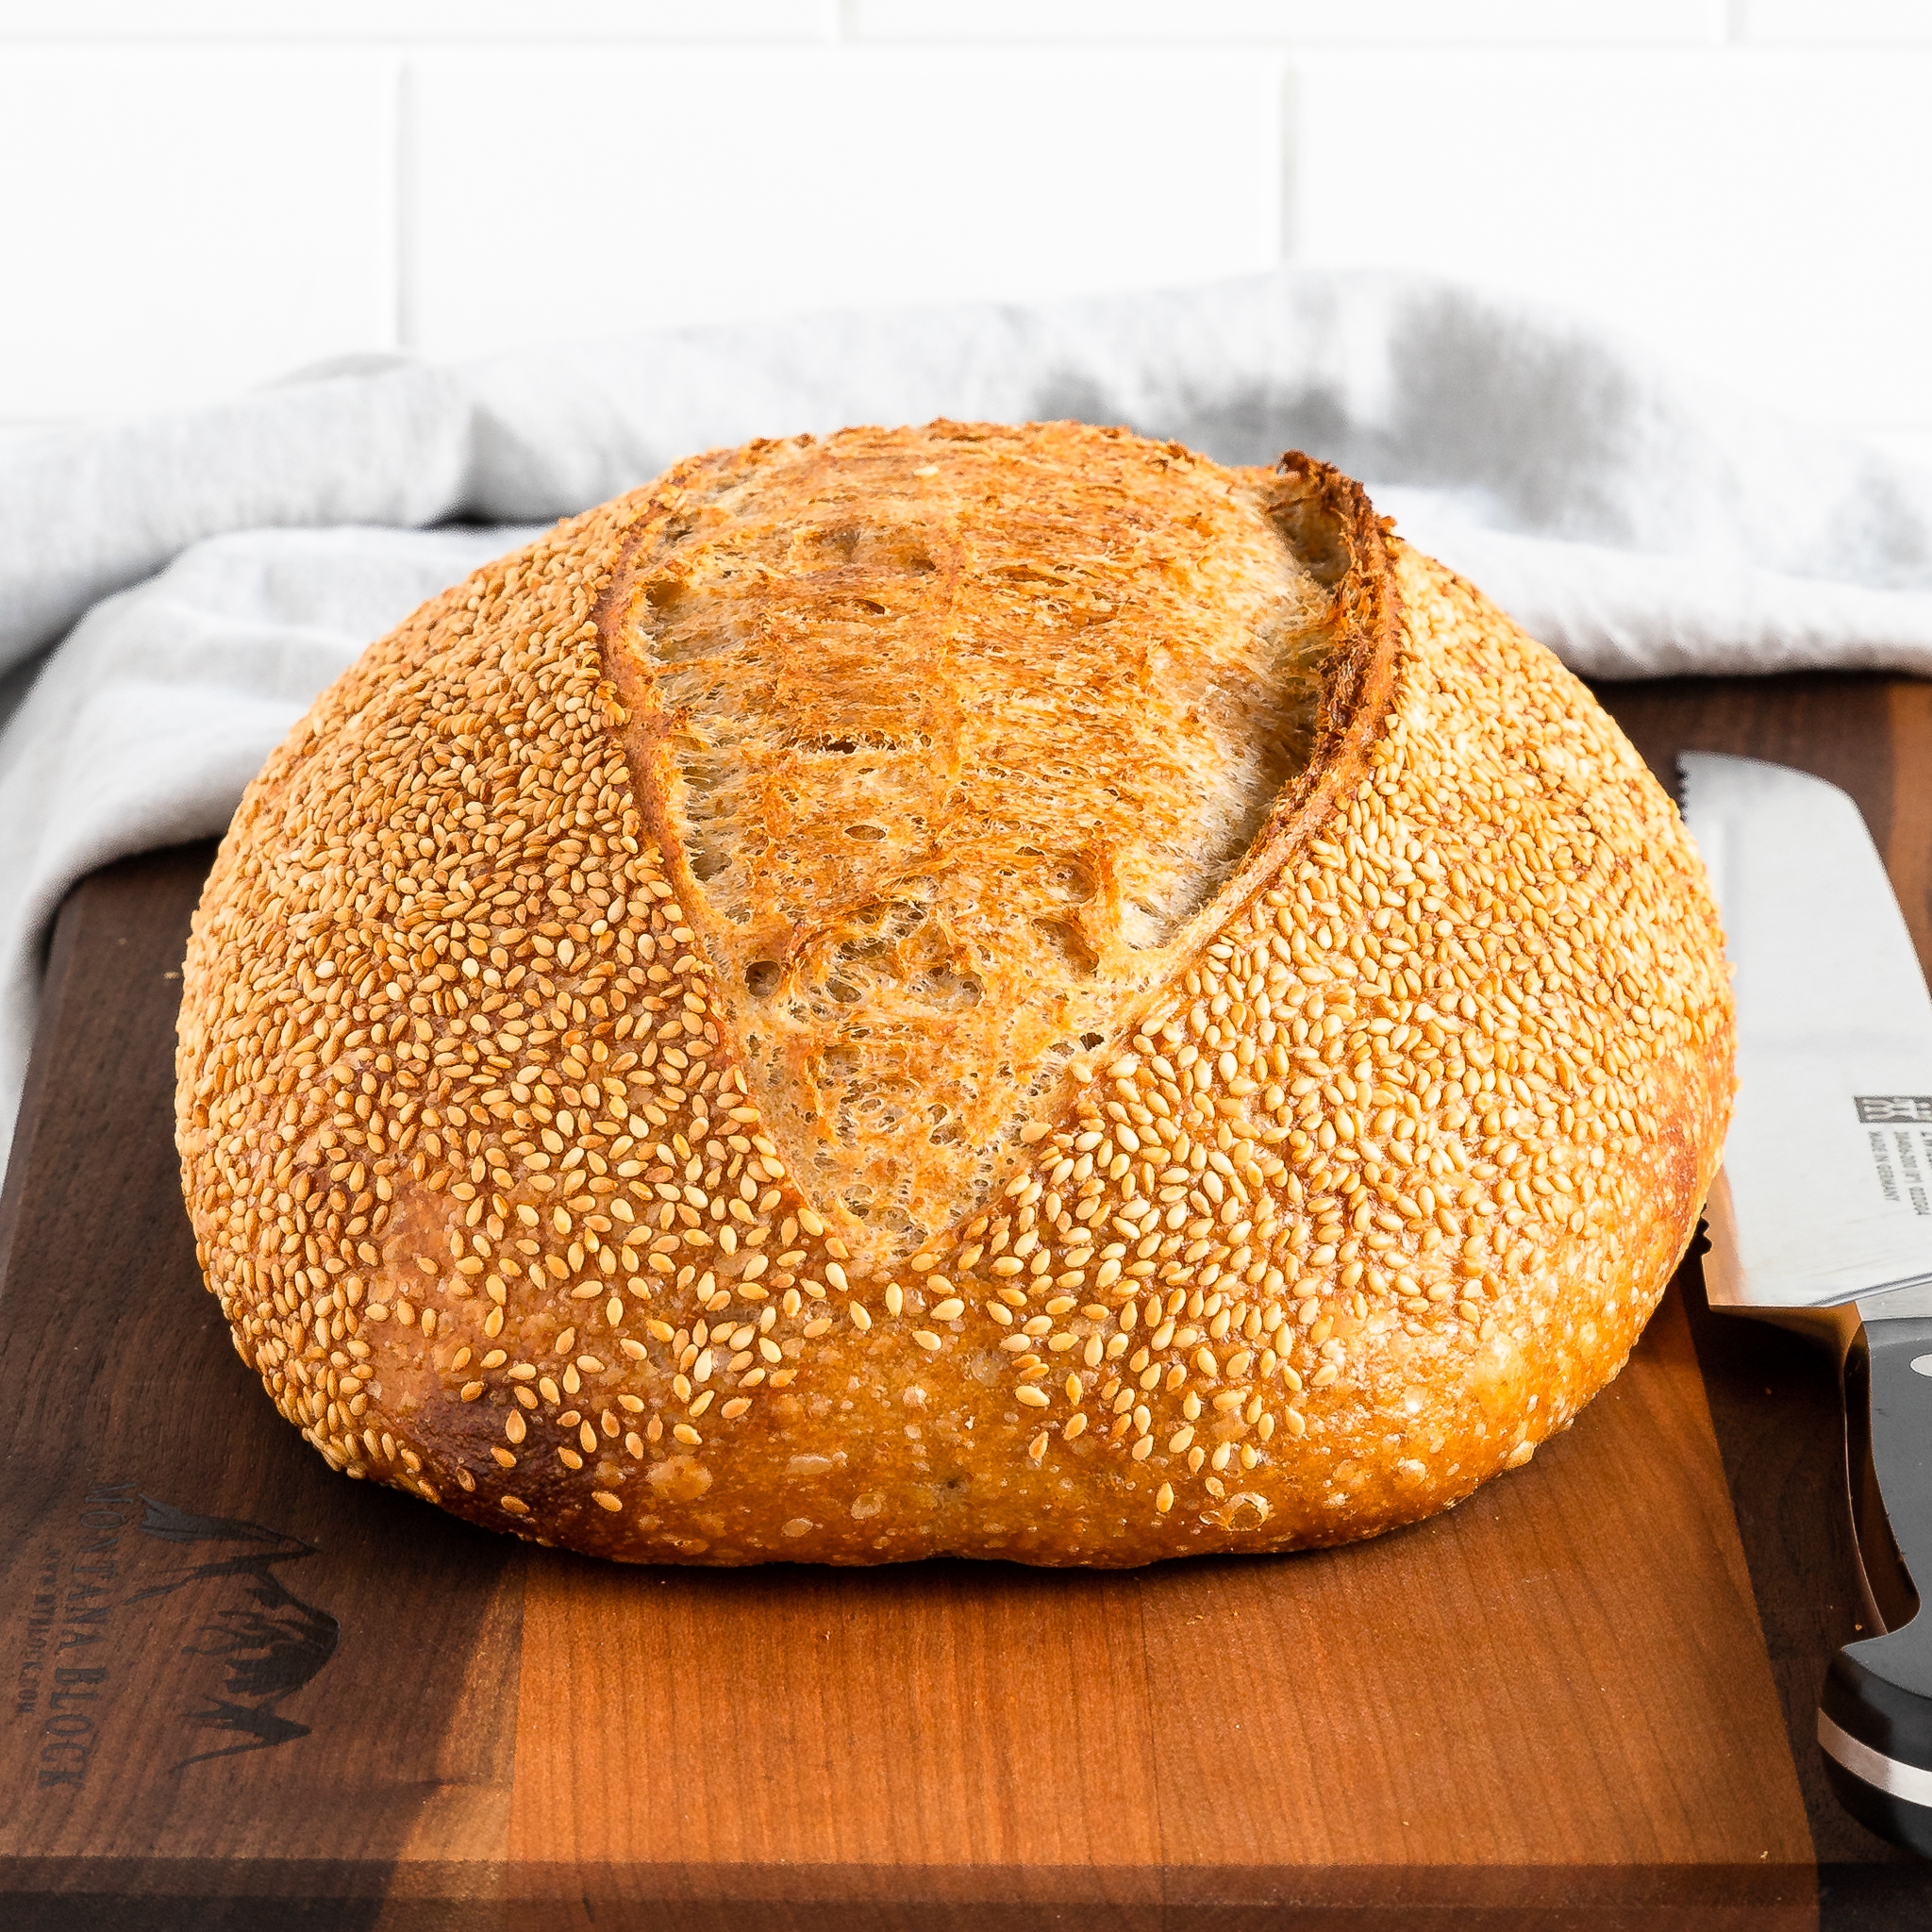
Semolina Spelt Sourdough is one of my favorite sourdough breads to make. It is a huge success every time I make it, and makes for a perfect beginner’s sourdough recipe. The addition of both semolina and spelt make wonderful contributions to the flavor profile of this loaf. I love coating it in sesame seeds, which makes it look pretty with the addition of another complementary flavor.
What Ingredients are in Semolina Spelt Sourdough?
The ingredient list to make this loaf is short and easy:
- Bread Flour. You could probably use all purpose in place of the bread flour, but I think the extra protein content in the bread flour is what contributes to the success of this loaf.
- Semolina Flour. Semolina is made from durum wheat, which is a different wheat that all purpose and bread flour are made from. It has a wonderful flavor. Because it has a high protein content and gluten, we don’t use too much of it in this recipe. Just enough to add flavor and contribute to the gluten structure.
- Spelt Flour. Spelt has a nutty, earthy flavor and a gluten structure that is different from all purpose and bread flour, making it more elastic.
- Water. Always a key ingredient in bread making, make sure your water is free of chemicals and at the correct temperature when you add it to the flour. (More about this below.)
- Sourdough Starter. This is just flour and water, fermented and regularly fed. For more on how to create and maintain a sourdough starter, check out my Sourdough Starter Guide.
- Salt. So important in bread making. Salt does more than add flavor. It slows the fermentation of the yeast, which contributes to the flavor of the bread.
How to Make Semolina Spelt Sourdough
Here are all the details to make this beginner’s sourdough recipe:
1. Know when your Starter is Ripe
This sourdough bread is based on using a sourdough starter at 100% hydration. That means that it was created with equal parts (by weight) of flour and water, and fed at 1:1:1 ratio of starter:water:flour, also by weight. If you are new to sourdough and feeding your starter, check out my Sourdough Starter Guide.
Your starter is ready to use, meaning ready to mix into the dough, when it has tripled in volume. I say tripled in the approximate sense. If you use it just before it peaks, your dough will be slightly on the sweeter side. If you mix the dough shortly after the starter peaks, it will be slightly more sour.
Get to know your starter. Watch it when you feed it. If your kitchen is on the cooler side, it will take longer. If your kitchen is on the warmer side, it will take less time. The temperature varies based on the weather and whatever sort of heat or air conditioning you have going on in your home. For example, in the winter, with the heat running, my starter tends to ripen faster than in the summer when I have the air conditioning constantly running. Temperature is everything here, so check it regularly as you get to know your starter.
In the winter, I tend to feed my starter at 9:30 a.m., autolyse at 3:30 p.m., and mix the dough at 4:30 p.m. My kitchen is warmer in the winter due to the heat running.
However, in the summer, I can usually feed my starter just before I go to bed, between 10:30 p.m. and 11:00 p.m., autolyse when I wake up (between 8:00 a.m. and 9:00 a.m.) and mix the dough an hour later. My kitchen is cooler in the summer due to the air conditioning running.
These are just example time lines. You have to determine the timeline that works for you based on how long it takes for your starter to ripen.
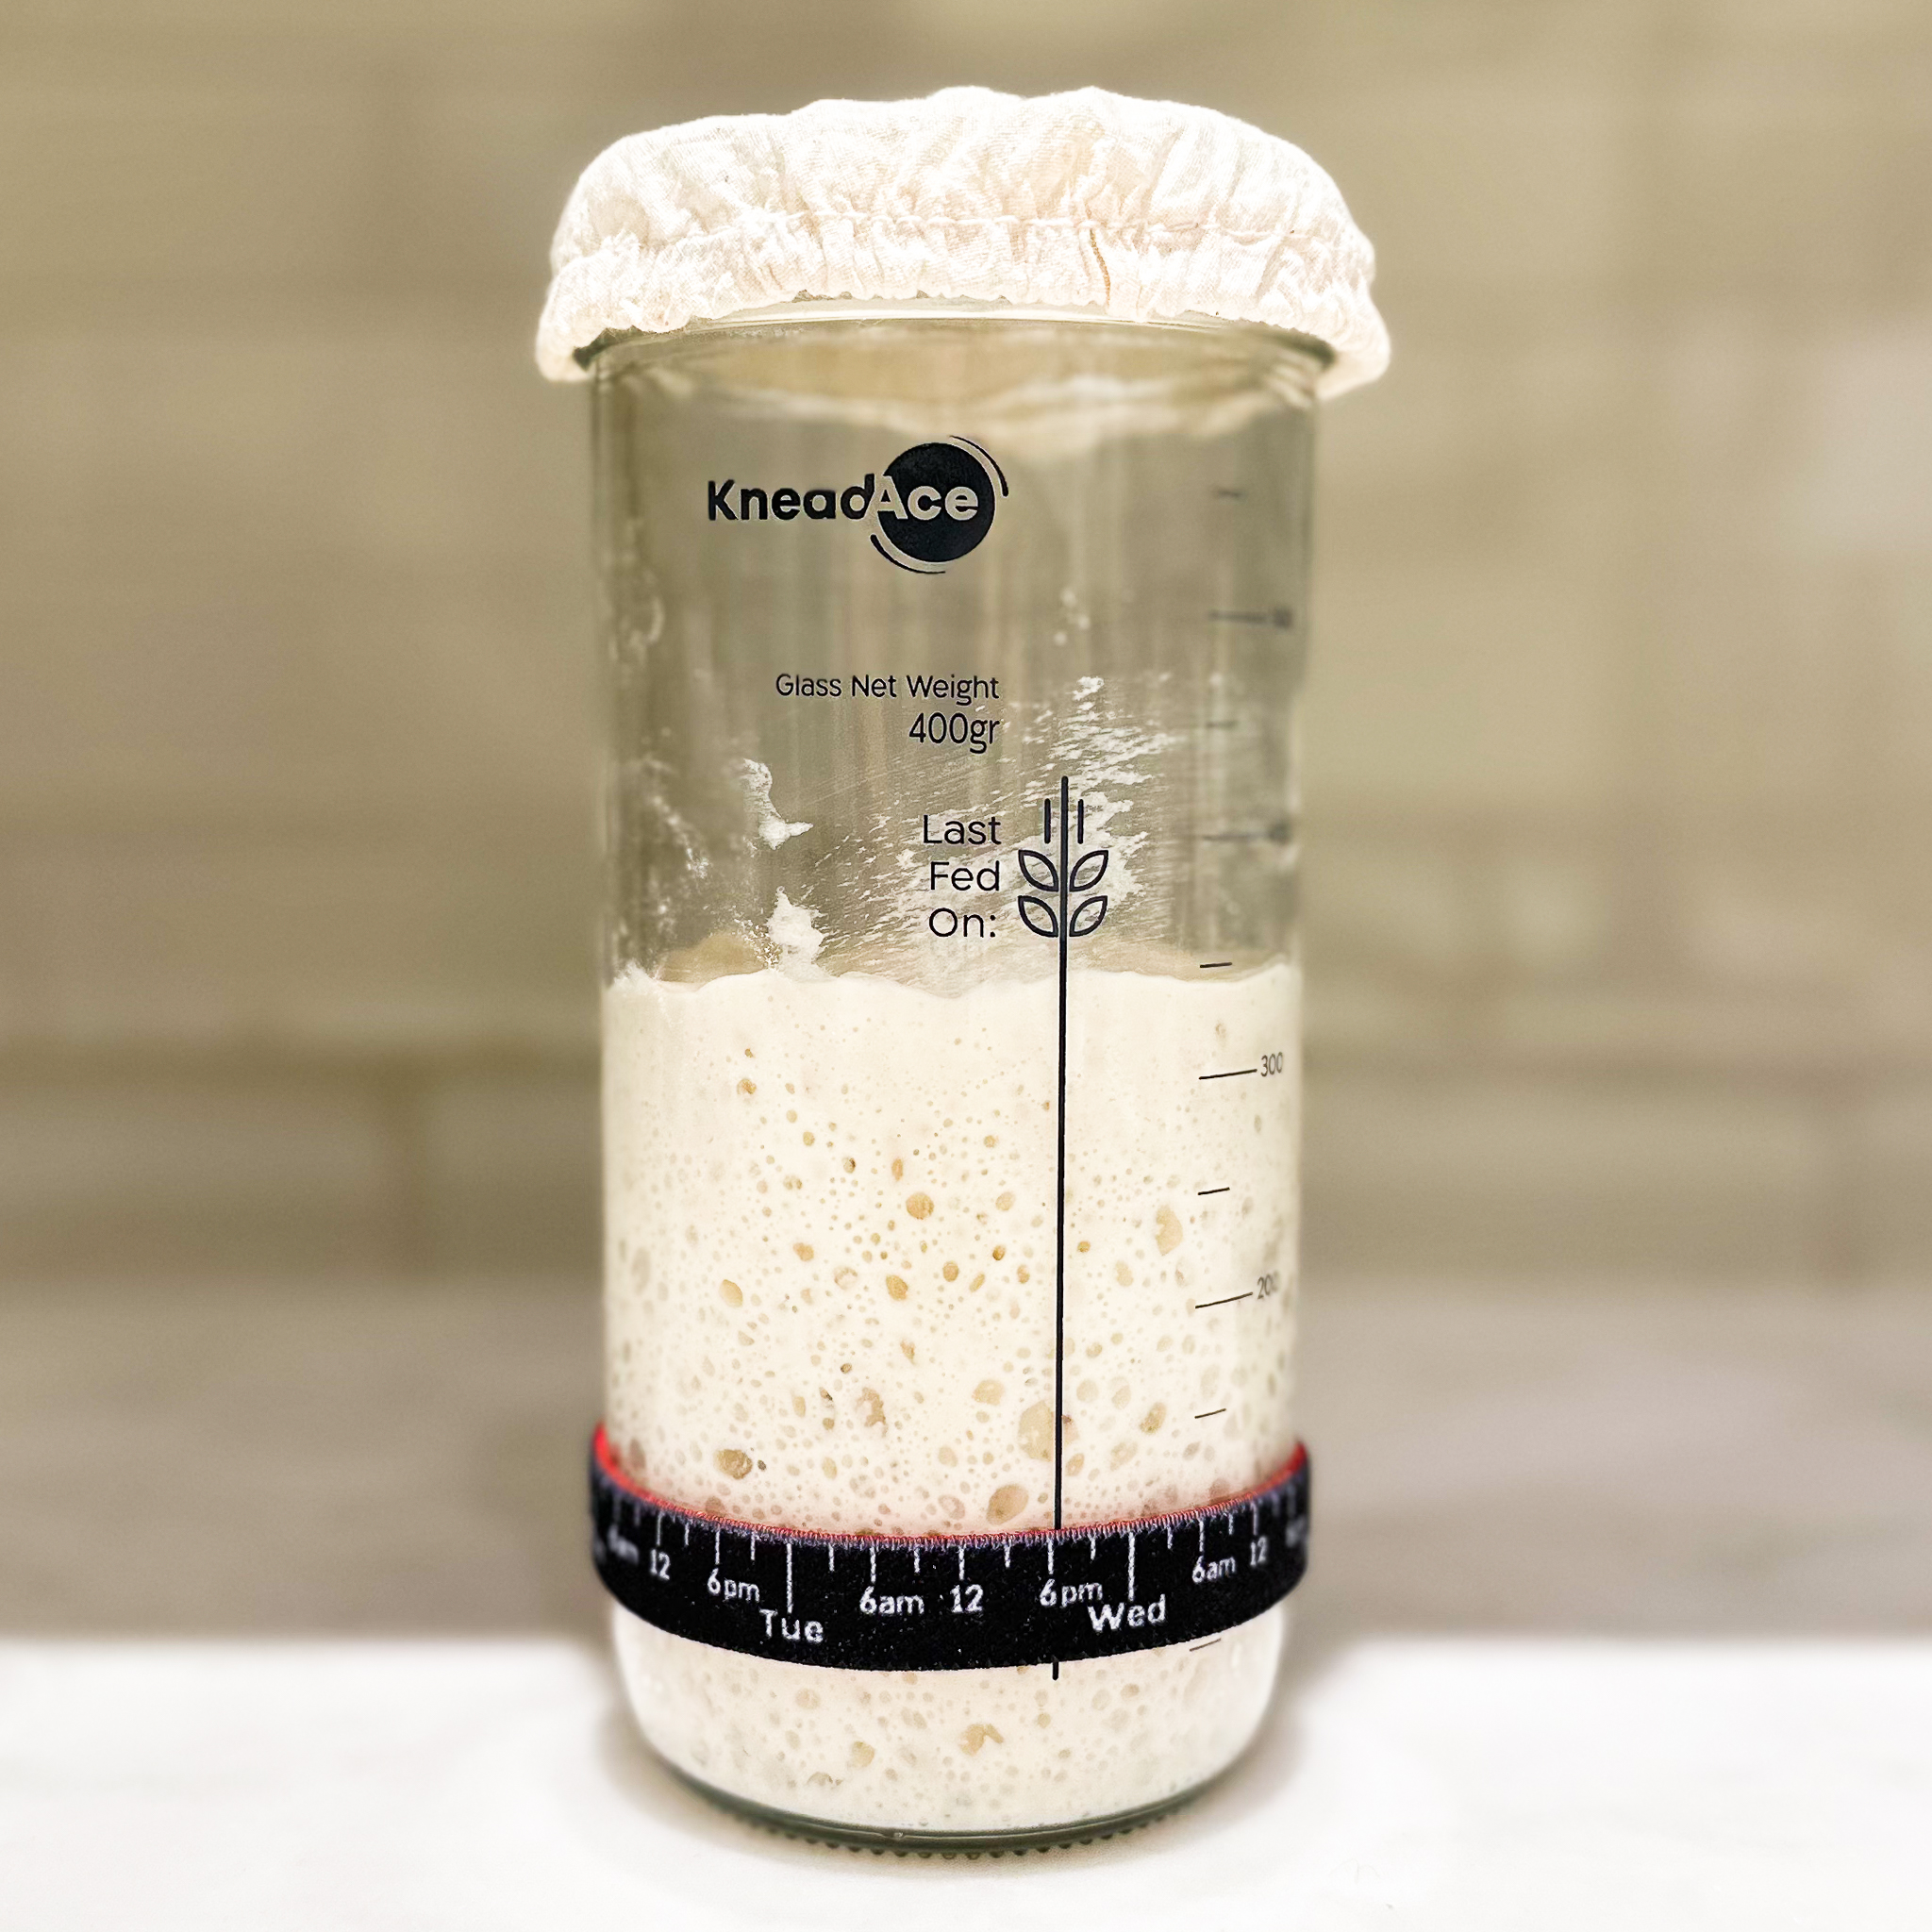
I have been using the KneadAce jar pictured below to store my starter in. The top of the band was where the fed starter was just after mixing.
2. Autolyse and Temperature
Because you have a general idea as to when your starter will be ripe, you can judge the time to autolyse, which means mixing all the flour in the recipe with most of the water..
Mix the water in until the flour is no longer visible. My preferred tool for this is a Danish dough whisk. Cover it, and allow it to sit for one hour before you add the starter to it. Autolyse is important because it provides time for the water to hydrate the flour, which actually shortens the time needed for bulk fermentation.
An Important Note about Water Temperature
A common mistake many bakers make is that they do not measure the temperature of the water before mixing it with the flour. This is often times why bakers do not obtain ideal results when baking sourdough bread. This is such an easy thing to do. Many sourdough breads ferment at an ideal temperature of 78° F. Based on an ideal temperature of 78° F, here’s the formula:
Goal temperature (78° F) multiplied by 4 = 312° F.
From 312° F, subtract the temperature of your flour (yes, stick a thermometer in your flours after you have mixed them together in a bowl), then subtract the temperature of the kitchen (countertop) where you will leave the dough to rest, then subtract the temperature of your starter (again, stick a thermometer in it), and then subtract 6° F (which represents heat added to the dough from the friction of kneading). The result is the temperature your water should be when you mix it with your flour.
So, for example, when I made this bread, I took 312 and subtracted from it 76 (temperature of my flour), and from that I subtracted 76 (temperature of my kitchen), and from that I subtracted 72 (temperature of my starter), and from that I subtracted 6 (standard degree of friction from kneading) and got 82. I therefore made sure that my water was 82° F when I mixed it with the flour.
3. Mix the dough
Mixing the dough is a hands-on job, although you can start out using a Danish dough whisk if you prefer. Add the ripe starter to the flour and water mixture. Wet your hand, flicking off any excess water. Fold the dough over onto itself as you rotate the bowl. Then, claw the dough by pressing your fingers into it, with the dough pressing against your palm. Be careful not to pinch through the dough. Just claw it, turning the bowl, to incorporate the starter into the dough. If the dough feels sticky at any point, wet your hand again, flicking off any excess.
Once the starter is fully incorporated, sprinkle the top of the dough with the salt and the rest of the water. Continue kneading by folding over the dough onto itself, pressing down into it. Keep rotating the bowl as you go along. You can also do a bunch of clawing to help the salt incorporate into the dough. Wet your hand as necessary to avoid sticking. Keep going until the dough is fully formed, looks smooth, is starting to seem stretchy, and cleans the side of the bowl.
4. Bulk Ferment
Bulk fermenting takes approximately 3½ hours. I have had great success allowing the dough to sit at room temperature. If leaving on the counter, I cover with plastic wrap and pop 3-4 holes on top using a toothpick, just to allow the dough to breathe a bit more.
I also use my Brod and Taylor proofer if my kitchen is running on the cold side. You can put it in the proofer uncovered, provided you have water on the bottom. When I do that, I set the temperature to 77° F. I also have covered it the same way as when I leave it on the counter (plastic wrap with a few holes punched with a toothpick), and set the temperature to 75° F.
Allow the dough to rest for 1 hour. Then do the first of three sets of folds. That just means pulling up one side of the dough and stretching it over the rest of the dough without ripping the dough. Rotate the bowl 90 degrees and do another fold. Do a total of four folds, then allow the dough to rest an additional 30 minutes. Do a second set of four folds, followed by another 30 minute rest, then a final set of four folds, followed by a final rest of 1 hour and 30 minutes.
After mixing the dough and after doing each set of folds, I wipe down the sides of the bowl with a bowl scraper that I keep in a bowl of water.
5. Pre-Shape
Lightly flour your work surface and pour the dough onto the floured surface. The dough should slide out cleanly from the bowl with minimal help. Pull the ends into the center of the dough, pinching it together to form a ball. Lightly flour the top of the ball, and, using a bench scraper, flip it over. Allow it to sit, uncovered, for 30 minutes.
6. Shape and Refrigerate
If using sesame seeds, line a baking sheet with aluminum foil and sprinkle sesame seeds to fully cover an area the size of your loaf. There are various methods to shape a sourdough bread. The point behind all the methods is to create a taut loaf with the outside feeling stretched. If the dough is on the drier side, apply a thin coat of water to it before dipping it upside down onto the sesame seeds. Place in your banneton, cover completely with plastic wrap, and refrigerate overnight.
If you prefer to exclude the sesame seeds, mix together equal parts (by weight) white rice flour and rye flour, and toss in just a bit of bran flakes. Spread this mixture on the cloth of your banneton. This will prevent sticking and add nice flavor and color to the top crust of your loaf.
7. Bake
In the morning, place your Dutch oven in the oven. I use and am a huge fan of the Challenger pan. Heat the oven with your Dutch oven in it to 500° F. Once it reaches 500° F, wait at least a half hour before you bake. A half hour before I bake, I like to remove my dough from the refrigerator and place it in the freezer. This just helps the dough stiffen up, making it easier to transfer it to the Dutch oven and score.
When it’s time to bake, remove the dough from the freezer, remove the plastic wrap, place a piece of parchment over the dough, then place a flat cutting board on top, and flip the dough over right onto the parchment paper on the cutting board. Remove the Dutch oven from the oven and remove the lid. You can score the bread at this point or after you slide the parchment paper with the dough into the Dutch oven. Place 3-4 ice cubes in the Dutch oven and immediately cover it. Transfer the Dutch oven into the oven for 25 minutes. Then remove the cover to the Dutch oven and reduce the heat to 450° F for an additional 10-15 minutes, until the crust is nicely browned.
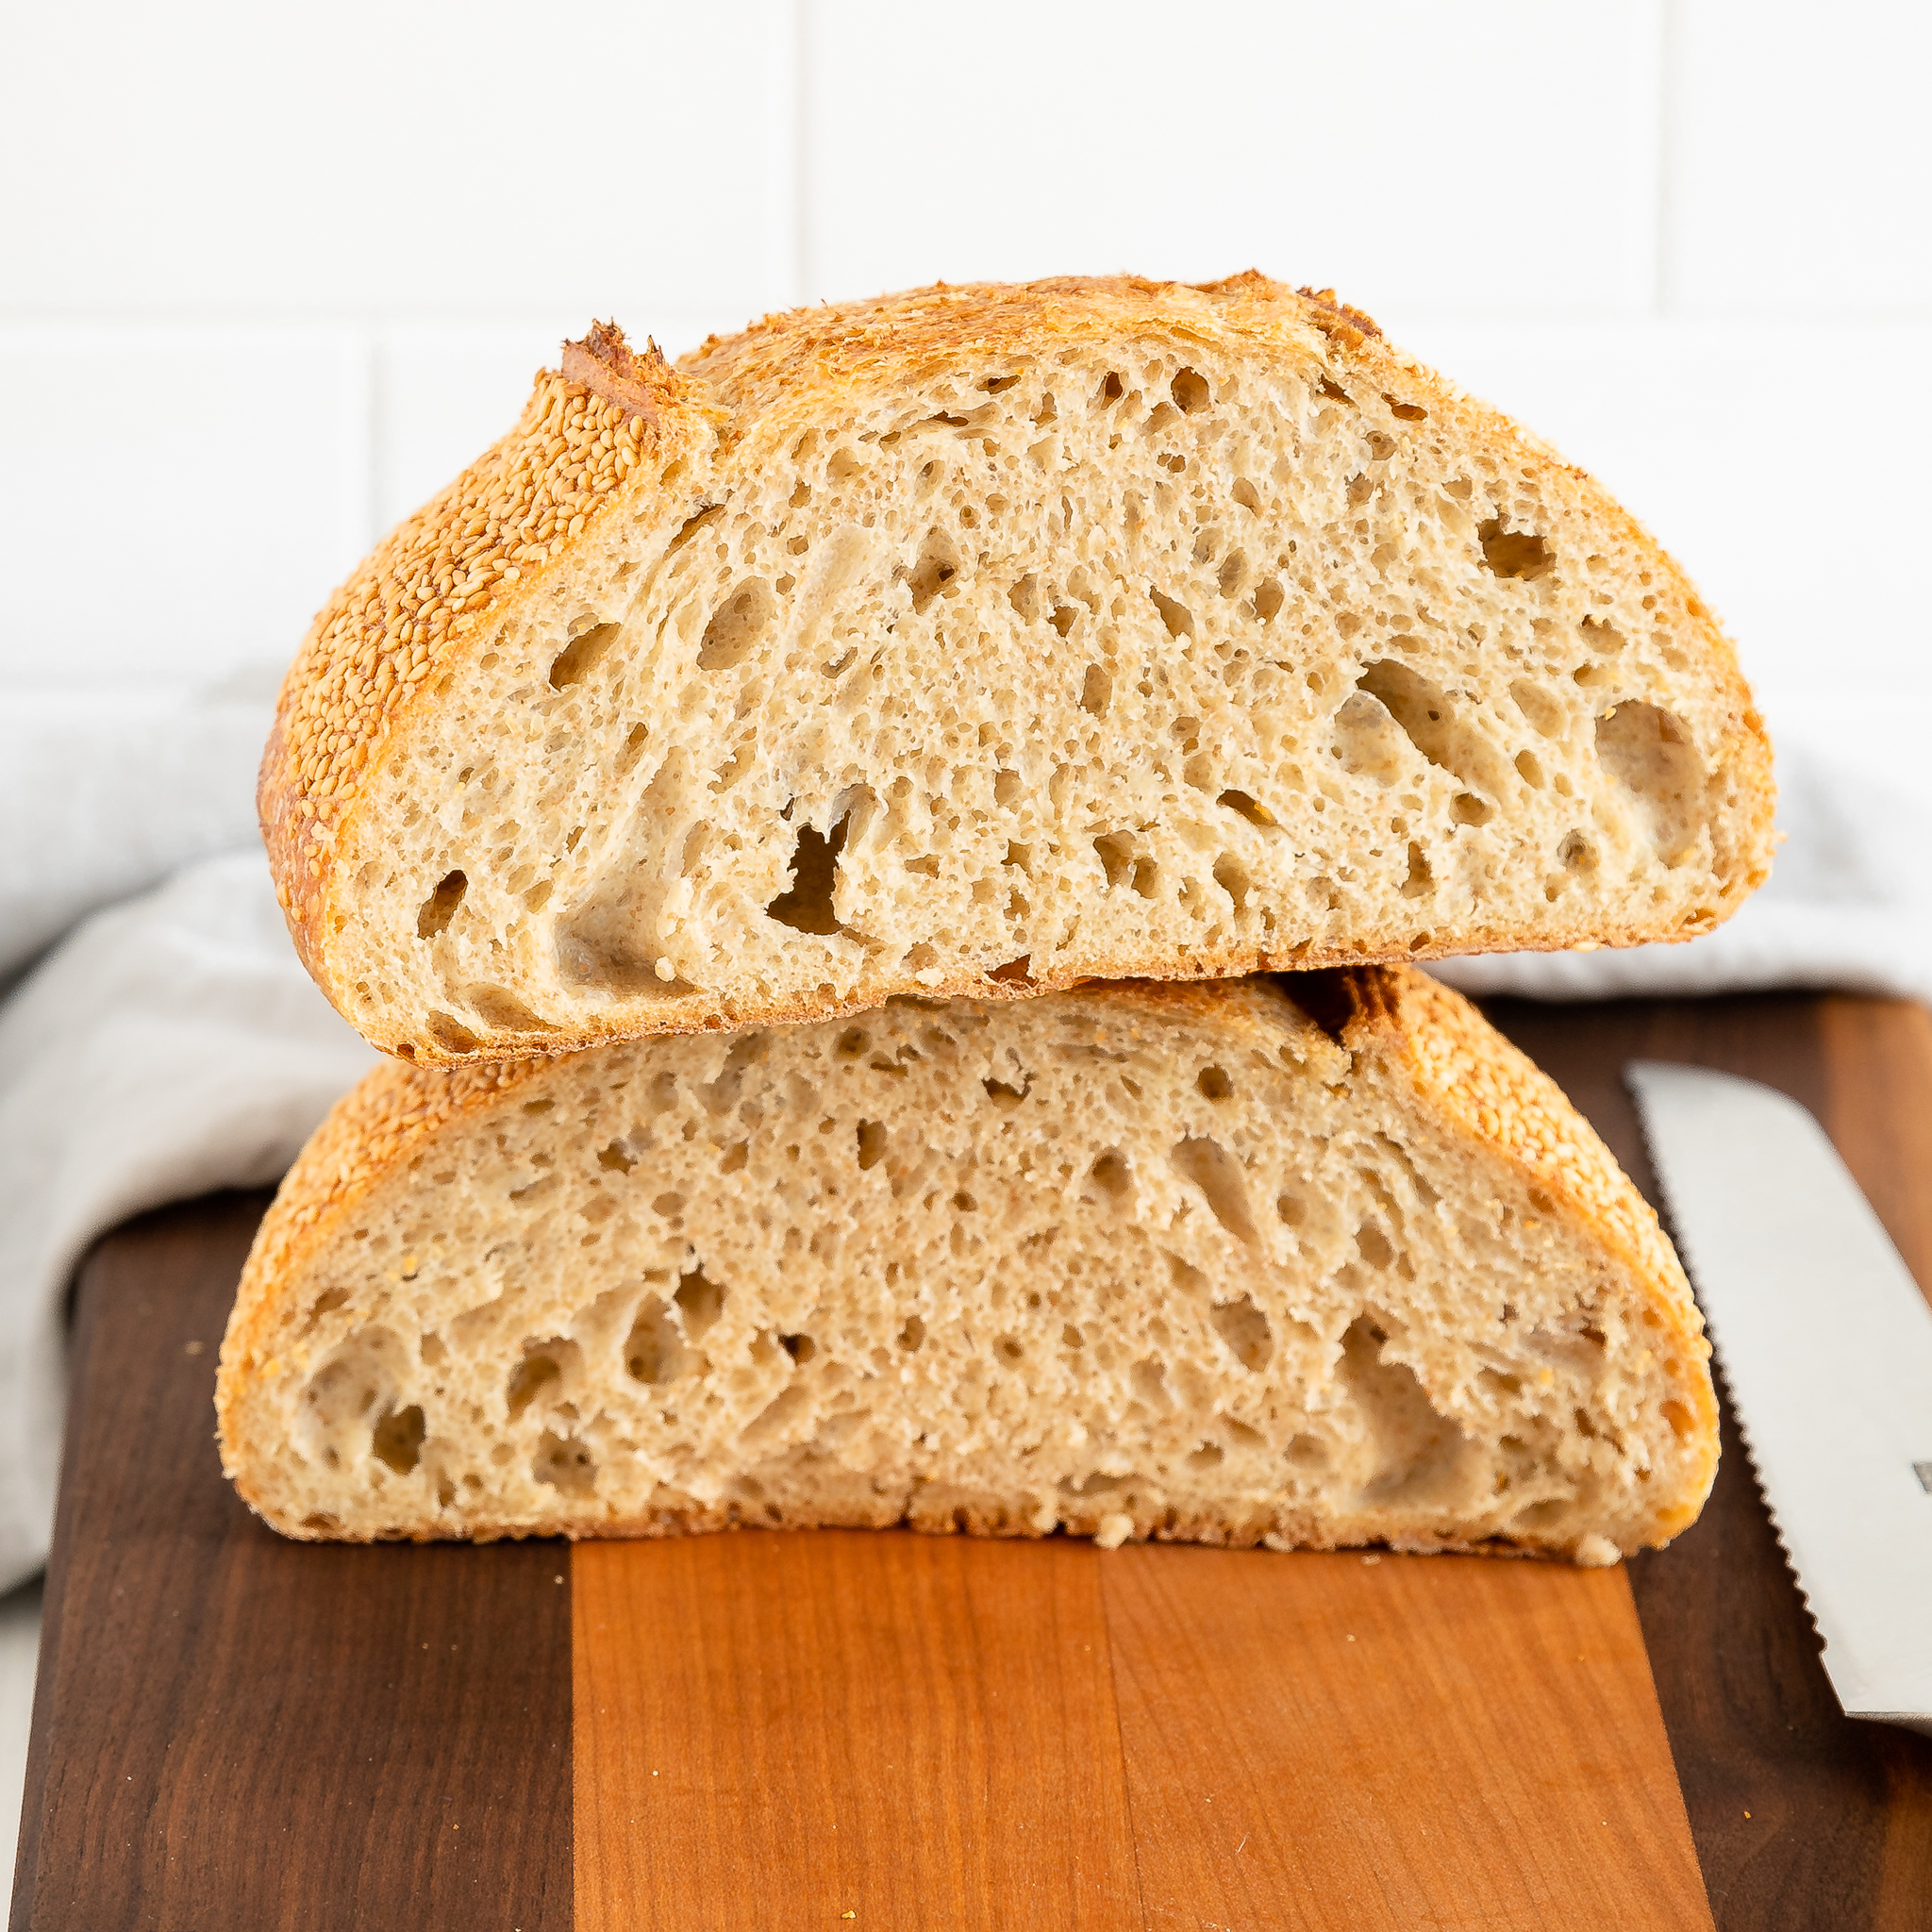
Allow the bread to cool at least one hour before slicing.
Be sure to check out my Lemon Blueberry Sourdough Bread too!
Frequently Asked Questions About Making Semolina Spelt Sourdough
How do I know if I need to add an extra set of folds?
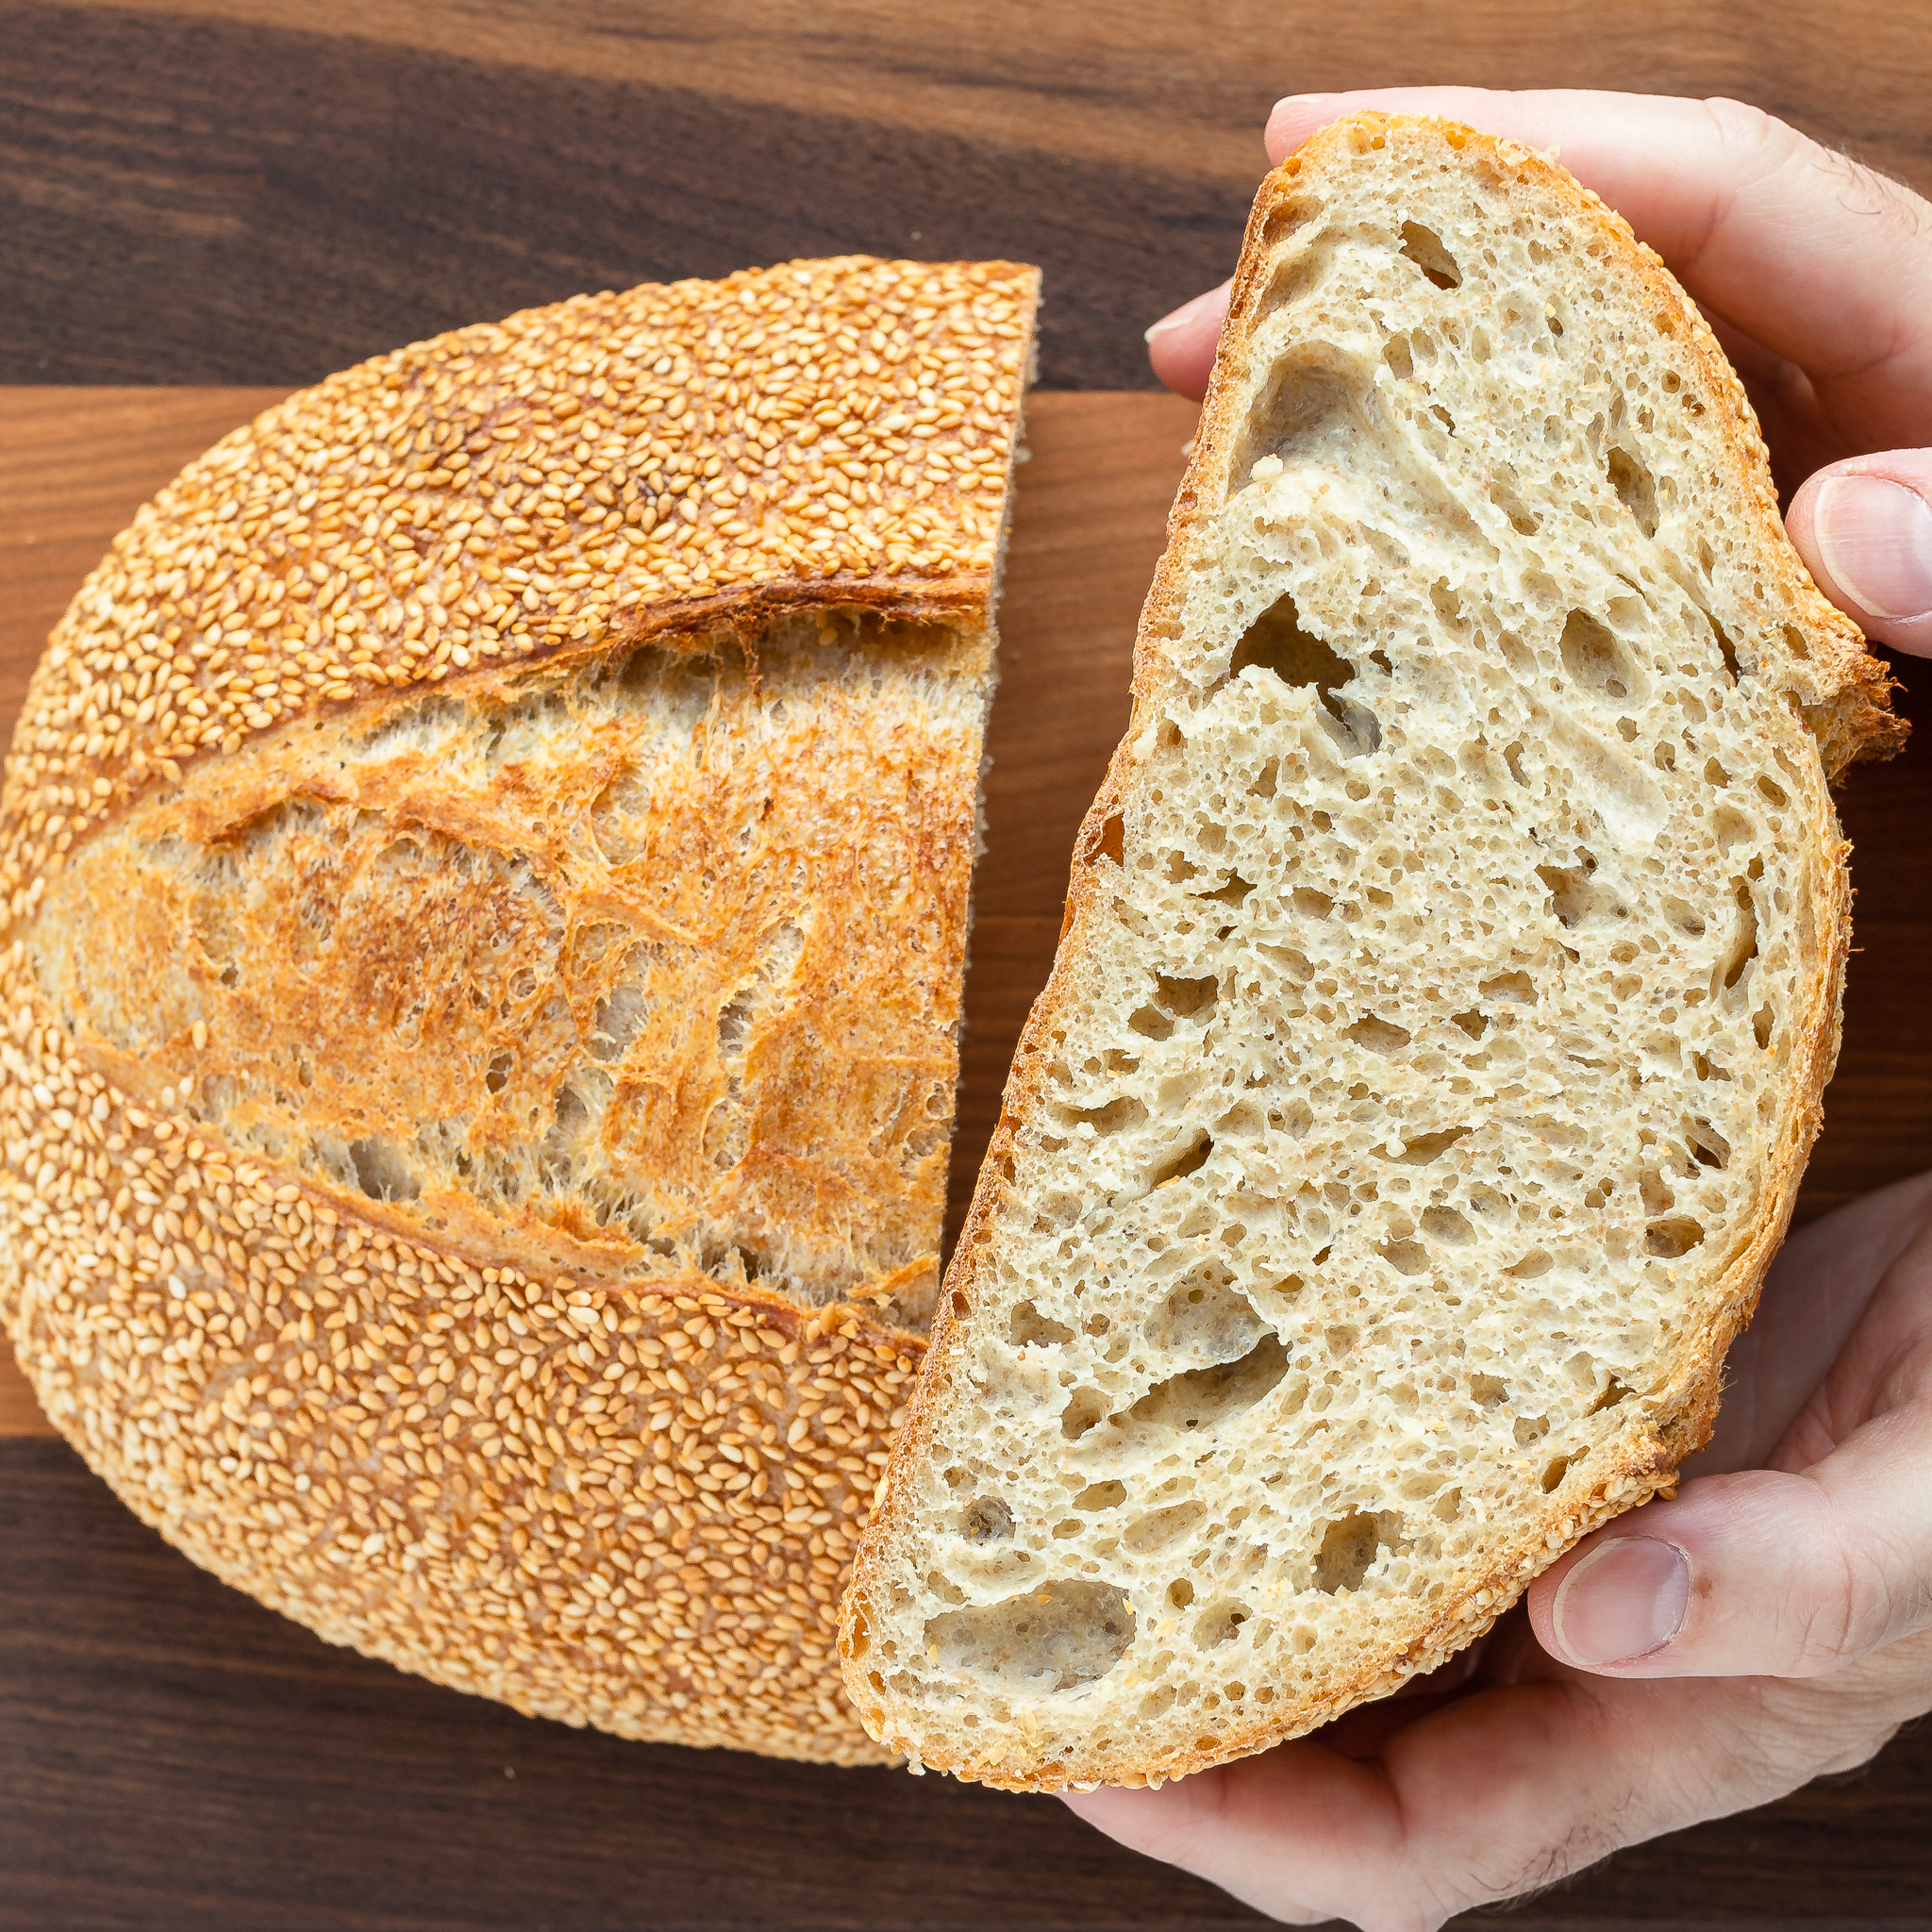
After the third (or even the second) set off folds, the dough should be stretchy and elastic, and there should be noticeable air bubbles in the dough. If you do not experience any of this by the time of the third fold, do another set of folds.
What is the best way to store Semolina Spelt Sourdough bread?
For most of my sourdoughs, I bake to serve. I usually cut the bread into quarters and slice up as needed. Many people store their bread wrapped in a tea bowl or a wax bags like Bee’s wrap. I store small amounts of leftover bread wrapped in plastic on the counter where it lasts at least several days. I revive it by either toasting slices or placing the bread, wrapped in aluminum foil, in a 400° F oven for about 10 minutes. I then open up the foil to let the crust crisp up again for about 5 minutes. If I have extra quarters of bread, I wrap them individually in plastic wrap and pop them in the freezer where they last at least a couple of months, although I usually pull them out for eating within a month. I wrap the frozen bread in aluminum foil and place in the oven at 400° F for about 15 minutes, then unwrap the top to let the crust crisp up for about 5 minutes.
Why are the ingredients listed only by weight?
I bake all my recipes only by weight and provide cup measurements solely as a convenience. I firmly believe that all bakers should be weighing ingredients because it is more precise and will render the desired outcome. Every person who measures a cup of flour will end up with a different amount of flour. Cup measuring is simply imprecise. Exact amounts are particularly important for bread making, and even more so for sourdough bread making. If you are making sourdough bread by measuring your ingredients, please stop! Get a scale and weigh your ingredients!
Semolina Spelt Sourdough Bread
Ingredients
- 200 grams bread flour
- 120 grams semolina flour
- 100 grams spelt
- 300 grams water*
- 80 grams sourdough starter
- 9 grams fine sea salt
- 10 grams water
- sesame seeds (optional)
Instructions
- In a large bowl, combine the flours and 300 grams water. Mix just until the water is absorbed by the flour. Cover with plastic wrap and allow to rest for 1 hour.
- Add the starter and mix in using a Danish dough whisk or your wet hands until fully combined. Sprinkle the salt over the top and drizzle the remaining 10 grams water over the top. Dimple the salt and water in with your hands, using a clawing motion, until fully combined. Knead the dough in the bowl, folding the dough and using your fist to punch it into the rest of the dough, constantly rotating the bowl, until the dough is not very sticky and uniform. If it is sticky, keep your hands lightly wet while kneading.
- Bulk ferment for 3-3½ hours, during which time do three sets of four folds after the 60, 90 and 120 minute marks.
- On a lightly floured surface, pre-shape the dough and allow it to rest, uncovered, for 30 minutes.
- Spread sesame seeds on a sheet of aluminum foil. Shape the dough desired shape, and roll the part of the dough that will be the top in the seeds. Make sure to create tension on the outside of the dough before coating the top with seeds and placing it into the banneton.
- Wrap the banneton in plastic wrap and refrigerate it overnight for 12-18 hours.
- In the morning, place a Dutch oven in the oven and preheat it 500° F.
- 30 minutes before you plan to bake the bread, take the banneton out of the refrigerator and transfer it to the freezer. After 30 minutes, remove it from the freezer and remove the plastic wrap. Place a piece of parchment paper over the banneton, and place a cutting board on top of the parchment paper. Flip it over and lift up the banneton.
- Score the bread as desired. Remove the Dutch oven from the oven, uncover it, and carefully slide the parchment into the hot Dutch oven. Spray water all over the bread or add 3-4 ice cubes and immediately cover the Dutch oven. Bake 25 minutes. Remove Dutch oven lid and reduce temperature to 450° F. Bake an additional 10-15 minutes. Allow the bread to cool to room temperature before slicing.
Notes
- For best results, make sure you plan to mix the dough when your starter is at its most active, usually 5-8 hours after feeding it, depending on temperature of your room, starter and water.
- Serve the bread with a nice salted butter, cheese or jam.
7 Comments
I do love semolina bread complete with all the sesame seeds but I’ve never made it with sourdough because I’ve never had much luck with sourdough. All your tips regarding the starter are easy to understand and thoroughly explained. I’m looking forward to having another go at sourdough bread.
I love any bread made with semolina and this looks like bread my mother used to make. Can’t wait to make this, thanks for the recipe.
This Semolina Spelt Sourdough is one of my favorite Se recipes rn. So tasty and I could eat the whole loaf myself
This semolina -spelt sourdough looks delicious perfect loaf, I like the nuttiness of both spelt and semonlina. Perfect for toasting.
I have always wanted to make bread and you just gave me the push that I needed to try thanks to your very clear explanations. Thank you and wish me luck.
From the video it would appear that you are using “regular” semolina which is coarsely ground rather than the more finely-ground Rimacinata. Is that correct?
That’s correct. I believe you could just as easily use rimacinata.