

This post may contain affiliate links. As an Amazon Associate, I earn from qualifying purchases. For more information, please visit my Privacy Policy.
The Beginning of an Obsession
How did I come up with a Lemon Poppy Seed Stovetop Cake?
Well, a few weeks ago, one Saturday morning, I woke up thinking, whatever shall I make for dessert tonight? We were having a friend over for dinner, and I wanted to do something different. As I was contemplating the endless options, I was scrolling through Facebook where I stumbled upon an ad for a Stovetop Chocolate Cake from Christopher Kimball’s Milk Street. Later, I was chatting with my mother who told me that, well before I was born, my grandmother used to make a stovetop chocolate cake. So, I figured, let’s give it a whirl. Being me, I had plenty of back-up desserts in the freezer in the event of an emergency.
Here we are a few weeks later, and I think it would be appropriate for me to admit that I’m slightly obsessed now with a stovetop cake. We first cut into the chocolate one the evening after I had made it. My friend and I both agreed that the consistency was fascinatingly delightful, but the cake had no flavor. The next day, when I had a slice for breakfast (yeah, that’s right. I had cake for breakfast — as I often do!), the chocolate flavor was so much more defined. That was, of course, fabulous news. But what really astounded me even more was the texture and moistness of the cake. It was truly lovely.
Stovetop Cake Variations
I then started to play with variations on the theme. This is the first of what I anticipate will be several posts of stovetop cakes. (I told you — I’m obsessed!) I’m working on a lemon blueberry one which I hope to post a couple weeks from now and planning for an apple cinnamon one in the fall. So, plan accordingly. (Update: These both happened! Check out my Lemon Blueberry Stovetop Cake and my Apple Cinnamon Stovetop Cake!)
When you get right down to it, these cakes are all very easy to make. No mixer needed. No hot kitchen from the oven being on. No preheating the oven.
How Does it Work?
Anything cooked or baked just needs a heat source. Rather than the dry heat from the oven, these cakes cook from the steam in a pot. From all that moisture, the cakes end up super moist with a unique consistency and mouthfeel that keeps you wanting more.
Here are a few tips for making a stovetop cake:
Plan ahead
I make my stovetop cakes in an 8 inch round cake pan placed in a large pot. You can absolutely use a Dutch oven, but if the cover of the Dutch oven (or any pot) has steam holes in it, cover the inside of the cover with foil. You can also use a 9 inch round cake pan, provided you have a pot large enough for it to fit into so steam can come up the sides of the pan. I have used a 9 inch springform and covered the pan on the outside in heavy duty foil so no water or steam could enter where the pan detaches at its base.
Create your oven
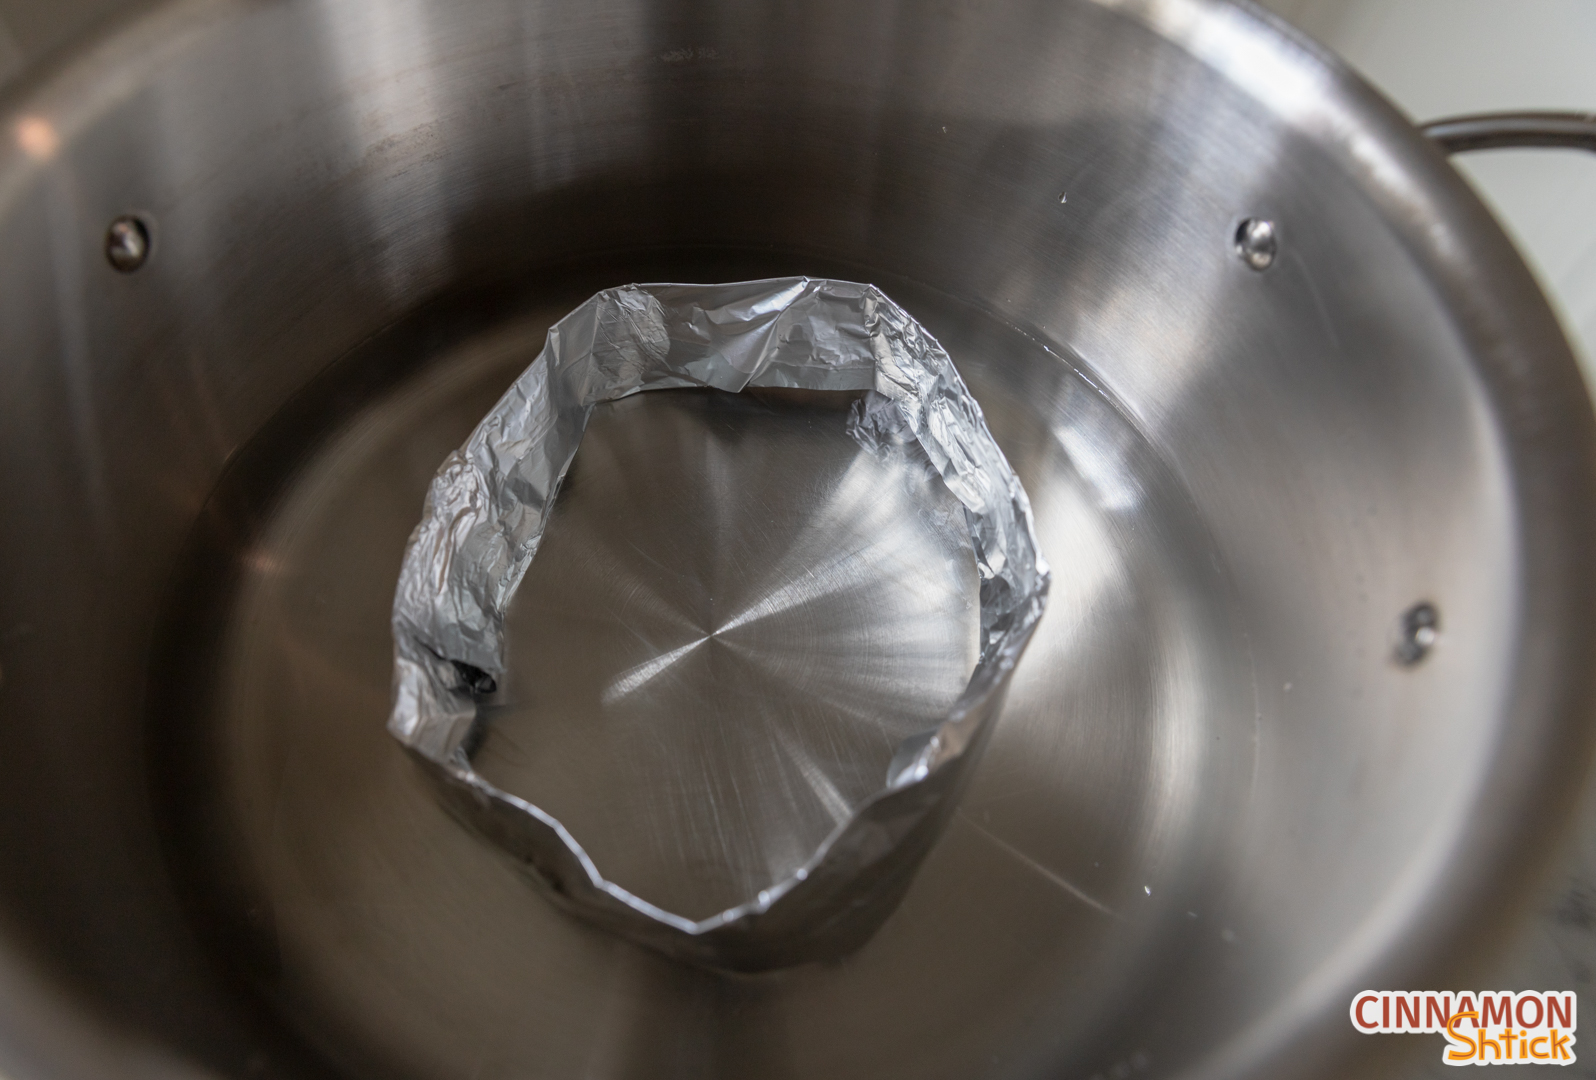
Stovetop cakes do not cook in a waterbath (like some cheesecakes). Instead, the cake pan sits above the water, with a cover on the pot, and cooks from the steam. To accomplish this, Christopher Kimball has us create a coil out of 18 inch heavy duty foil, join the coil into a circle, and place it on the bottom of the pot. Fill the pot with water, just until you have reach three-quarters of the way up the foil coil. You want to create a coil that is as even as possible so that your cake does not cook unevenly.
I will tell you that I recently ran out of heavy duty foil and was feeling lazy, so I used regular foil that I doubled up. It worked just fine. Alternatively, you could use a large circle cutter or a trivot of some sort, provided they can withstand the heat and provide at least an inch of space between the bottom of the cake pan and the bottom of the pot.
Keep the pot covered
This is critical. You don’t want any steam to escape, especially in the beginning of the cooking process. Once your batter is in the pan, cover the pot and turn the heat to high. Give it approximately 5 minutes before you lift the cover to see if it’s boiling. Check it quickly so you don’t have the cover off too long. (If you have a glass cover, you won’t have to take it off to see if it has come to a boil.) Once the water is boiling, reduce the heat so that the water is at a simmer. I simply reduce the heat all the way to low. Keep the pot covered for at least 25 minutes before you check on the cake. (If you are using a 9 inch pan, keep the pot covered for at least 20 minutes before you check on the cake.)
Checking for doneness
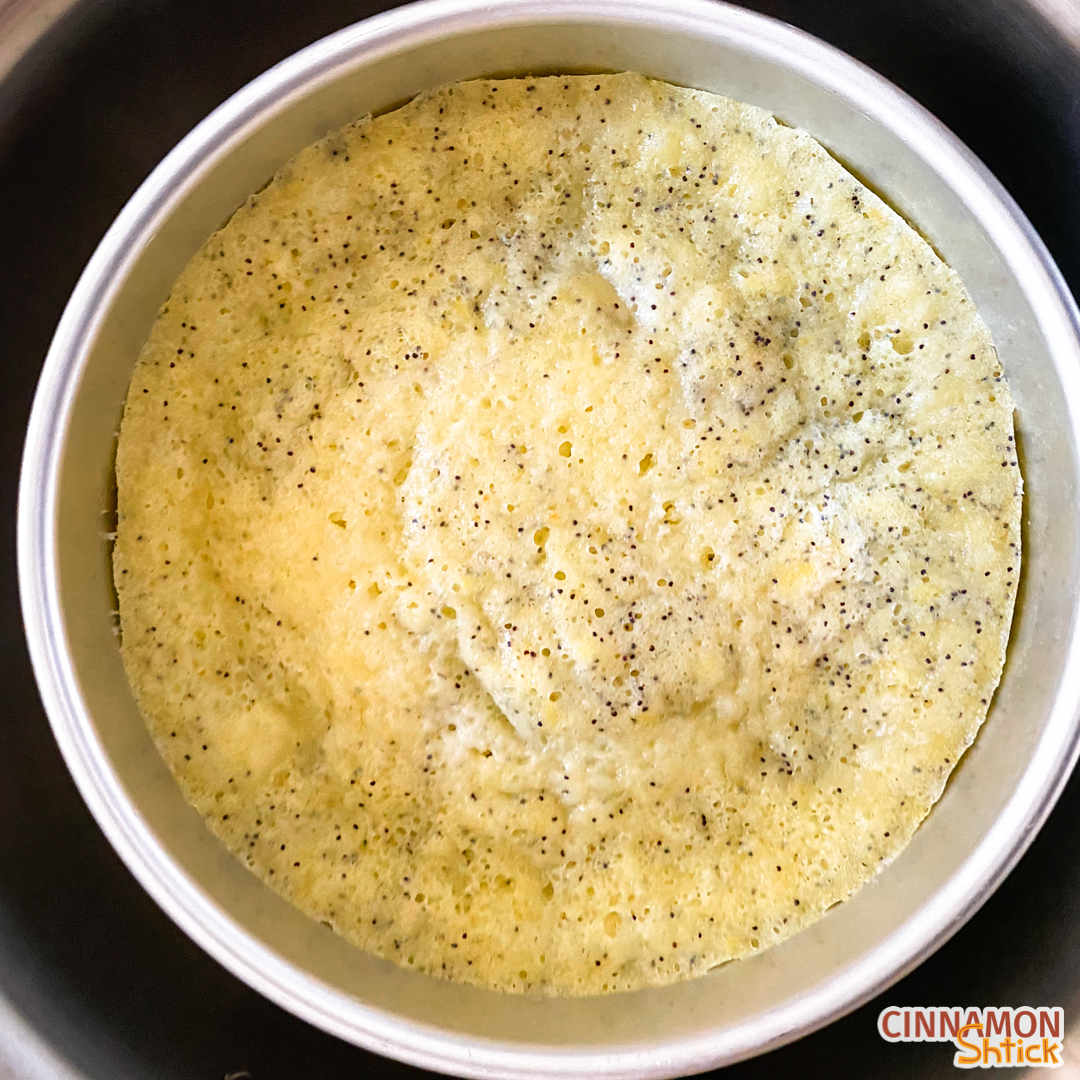
These cakes can be a drop tricky to know when they are done. Your best bet is to insert a toothpick. Once it comes out clean in the center, it should be done. BUT, if the sides of the cake have not yet started to pull away from the sides of the pan, let it steam longer. The cake is done once the sides of the cake start to pull away from the sides of the pan. Turn the heat off and allow the cake to sit in the pot, uncovered, for 15 minutes or so, until the pan is cool enough to touch and move to a wire rack. Allow the cake to cool completely in the pan before running a metal spatula or knife around the sides to remove the cake.

Lemon Poppy Seed Stovetop Cake
Ingredients
Cake:
- 160 grams all-purpose flour (1⅓ cups )
- ½ teaspoon baking soda
- 1½ teaspoon baking powder
- ½ teaspoon salt
- 1½ Tablespoon poppy seeds
- Zest of 2 medium lemons (approximately 2 Tablespoons)
- 200 grams sugar (1 cup)
- 2 large eggs, at room temperature
- 123 grams milk, at room temperature (½ cup)
- 120 grams sour cream, room temperature (½ cup)
- 85 grams unsalted butter, melted and cooled (6 Tablespoons)
- ½ teaspoon vanilla
- Juice of 1 medium lemon (approximately 40 grams or 2½ Tablespoons)
Glaze:
- 125 grams confectioners sugar (1 cup)
- ½ Tablespoon heavy cream or milk
- 2-3 teaspoon lemon juice
Instructions
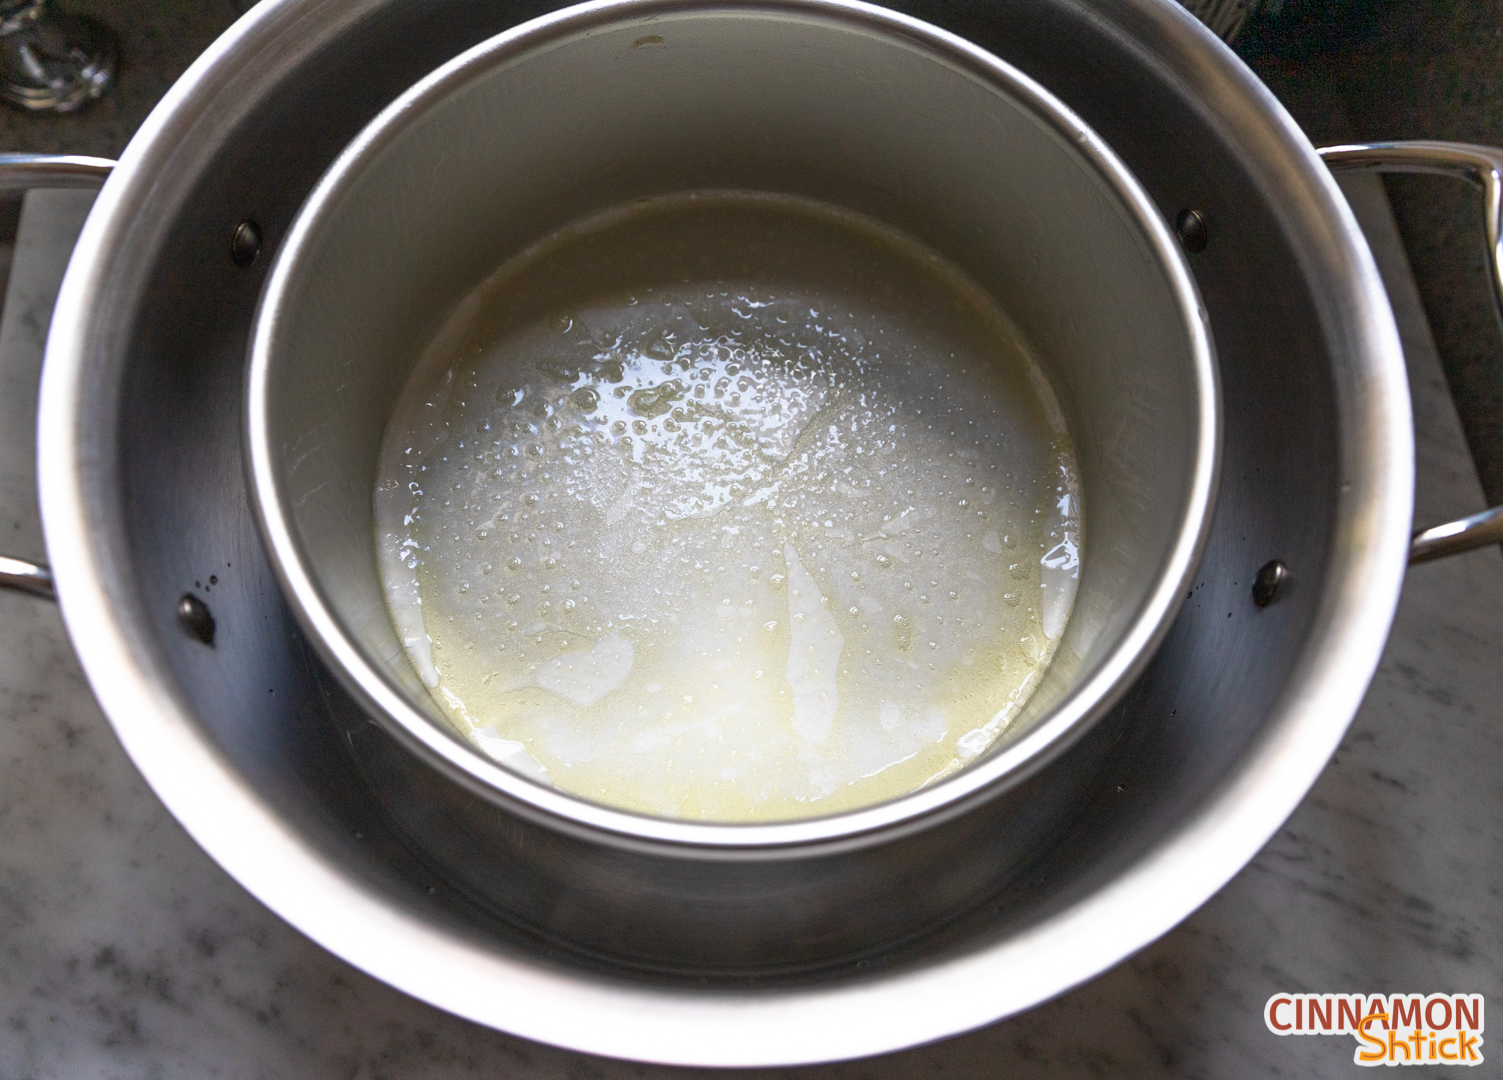
- Cake. Grease an 8 inch round pan. Line it with parchment on the bottom and grease the parchment. Using 18 inch heavy duty foil, cut off a piece approximately 12 inches long and roll it up so that it becomes an approximately 1 inch thick, 18 inch long rectangle. Join the ends to form a circle. Place in the bottom of a large pot or Dutch oven. Pour water into the pot so that it reaches approximately ¾ of the way up the foil coil. Place prepared pan on top of the foil circle.
- In a small bowl, whisk together the flour, baking soda, baking powder, salt, and poppy seeds. Set aside.
- In a large bowl, press zest into the sugar to release the oils from the zest. Add eggs and whisk until thoroughly combined and mixture is somewhat lightened, approximately 30-60 seconds. Whisk in milk, sour cream, melted butter, vanilla, and lemon juice until thoroughly combined.
- Add flour mixture to wet ingredients, mixing until just combined.
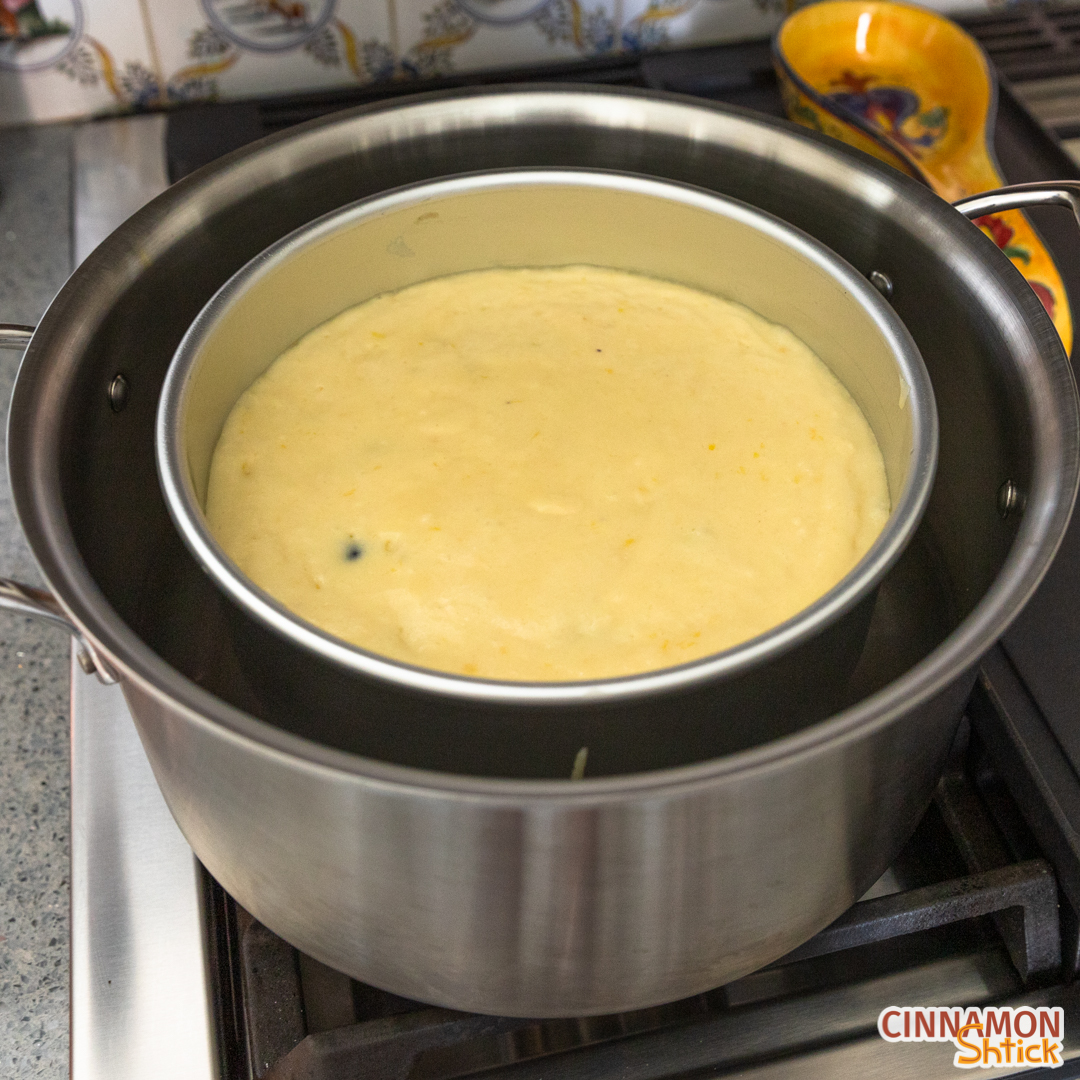
- Pour into prepared pan. Cover pot and bring to a boil (usually takes 5-6 minutes for me), then reduce to a simmer. Steam for 30-45 minutes, waiting at least 25 minutes before opening the lid to check on it. Use a toothpick to check for doneness. The toothpick should come out clean and the edges of the cake should just start separating from the side of the pan. When done, turn flame off and uncover. Allow to cool approximately 15 minutes, then remove from pot and allow to cool on wire rack. Once fully cooled, use a metal spatula or knife to release the edges and remove cake from pan.
- Glaze. Whisk together the confectioners sugar, cream or milk and 2 tsp. of lemon juice. If the glaze is too thick, continue to add some of the remaining lemon juice, ½ tsp. at a time, until the desired thickness is achieved. The consistency should be somewhat thick, but still pourable and spreadable. Pour over the cooled cake, using a metal spatula to spread it to the edges and allowing some of it to drip off the sides. Allow the glaze to harden at least 30 minutes before serving.
6 Comments
Pingback: Lemon Blueberry Stovetop Cake - Cinnamon Shtick
Pingback: Apple Cinnamon Stovetop Cake - Easy and No Oven Needed
Great recipe! I absolutely love all things lemon-poppy and this was my first time making a stove-top cake. Very cool experience and the cake had a very light and fluffy texture. Would definitely make again.
This is a fun way to make a cake! You’ve got me obsessed too.
love this cake so much! absolutely delicious!
So soft and fluffy!