
This post may contain affiliate links. As an Amazon Associate, I earn from qualifying purchases. For more information, please visit my Privacy Policy.
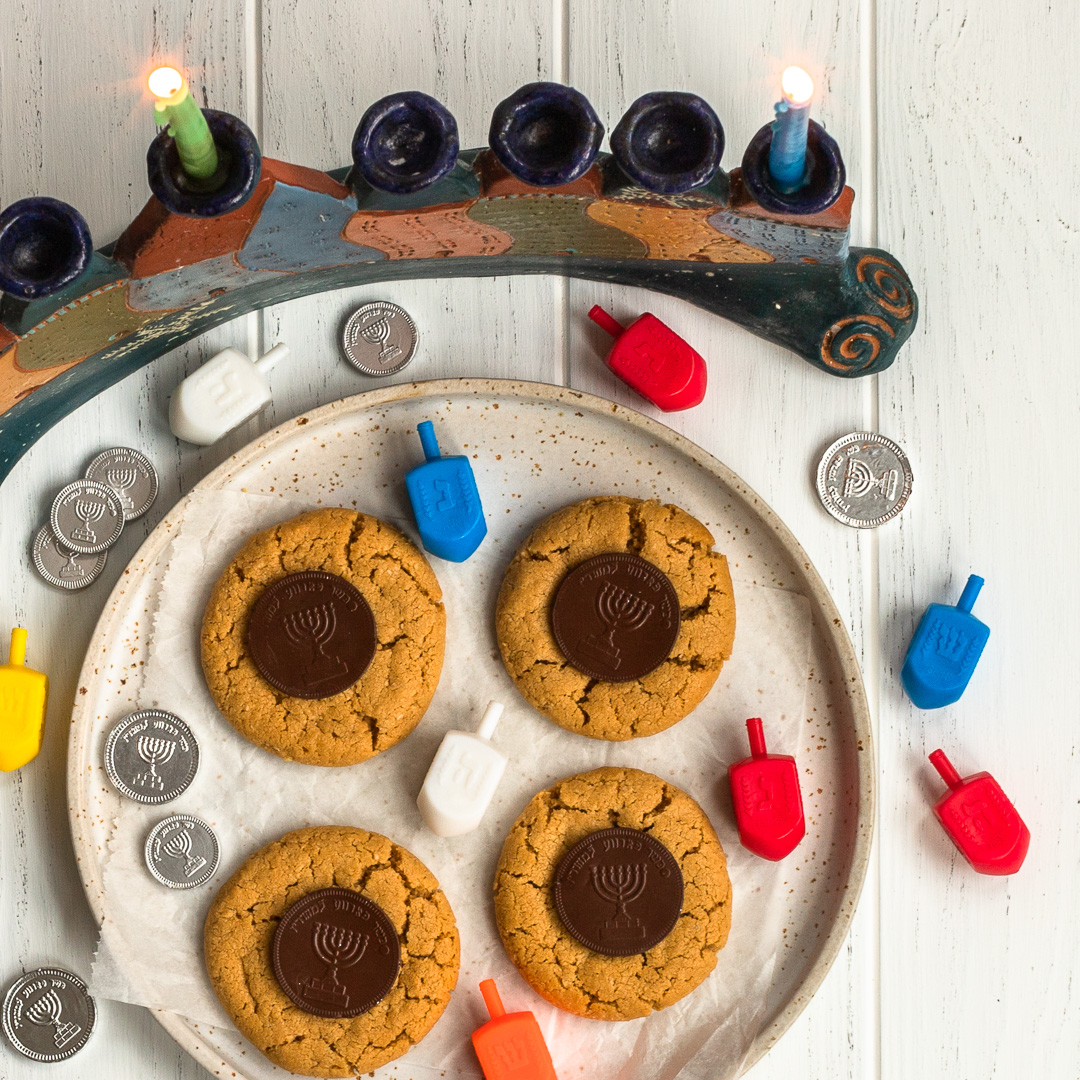
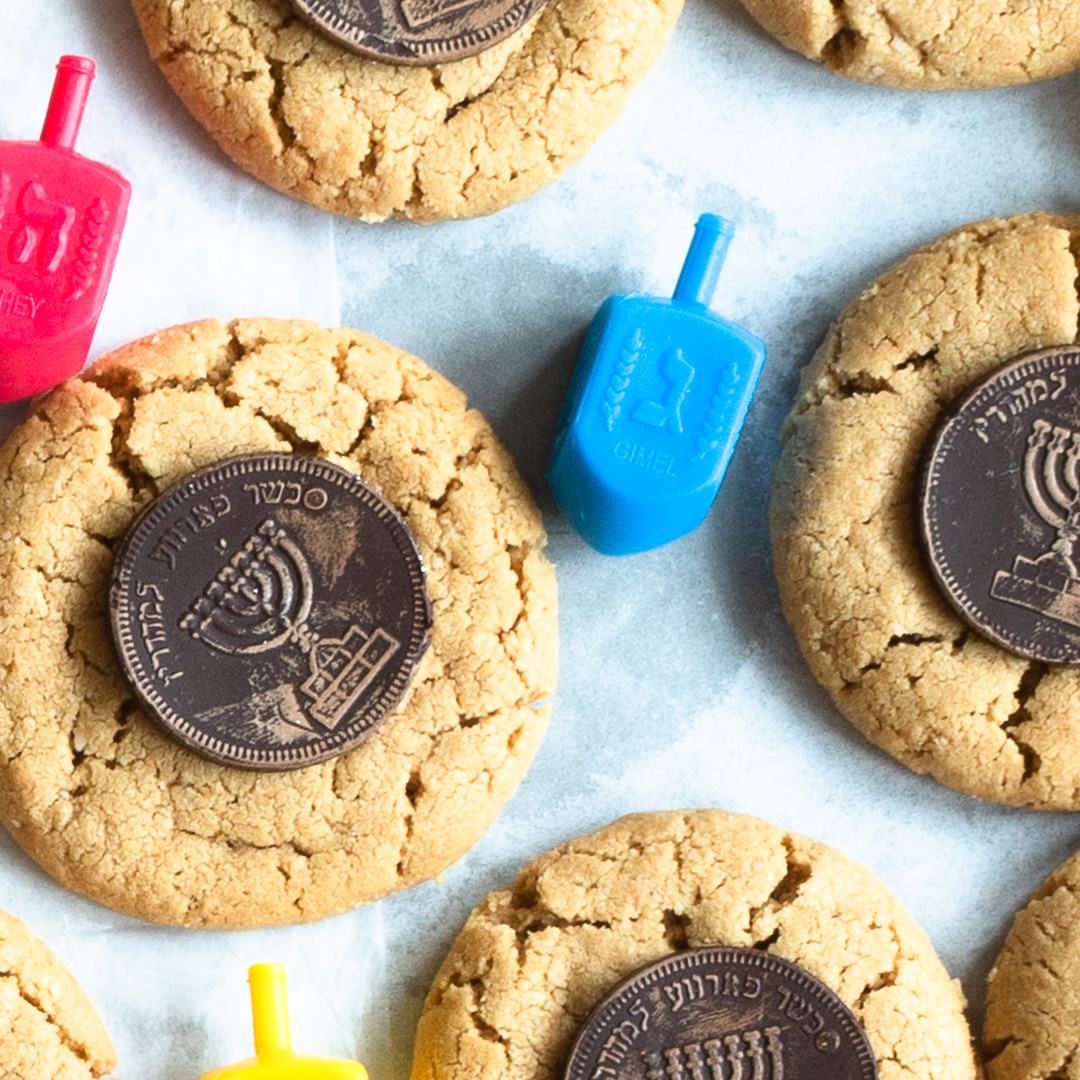
It’s Hanukkah! It’s Chanukah! (However you spell it, it’s here!) And what better way to celebrate than with Peanut Butter Gelt Hanukkah Cookies that are grain free, gluten free, dairy free (parve for all my Jews out there), and downright delish!
I won’t go into the story of Hanukkah here. That’s what the Google machine is for. I will remind you that we celebrate a miracle that a little oil that should have lasted one day lasted eight days. So, to honor that miracle, we traditionally eat foods made in oil like potato latkes (pancakes) and donuts. (True, I never need a reason to eat a donut, but it’s extra special for Hanukkah!) To stay true to the use of oil, these Hanukkah cookies use a little coconut oil instead of butter.
This cookie is my Hanukkah cookie miracle. Seriously, I love how this recipe came out. It takes literally 10 minutes to make the dough, and 12 minutes to bake. SO SIMPLE! And the result is a peanut butter Hanukkah cookie rich in peanut butter flavor, with a slight chew to it. It was honestly more by accident than design that this cookie ended up being grain free, gluten free, and dairy free.
Now, let’s talk gelt. Again, for those of you unfamiliar with it, I suggest you run gelt through the Google machine. Oh, and if you don’t have gelt, or if it’s not Hanukkah, fold in your favorite chocolate chips to the peanut butter cookie dough batter, or top with a piece of your favorite quality chocolate after the cookies come out of the oven. More on that below.
Since the cookie is dairy free, I thought I should use dairy free chocolate. I ended up purchasing Paskesz parve gelt. It is Belgian chocolate, and it is actually quite good! (I get nothing from Paskesz for saying this — entirely my own opinion!) If you have no dairy issues or do not care if your cookies are parve, you can certainly go for milk chocolate gelt.
How to Make Peanut Butter Gelt Hanukkah Cookies
As I said, these cookies are beyond easy to make. No mixer required.
Whisk Dry Ingredients Together
In a small bowl, whisk the dry ingredients together. Set the bowl aside, but keep your whisk handy.
Whisk Remaining Ingredients Together
Before we get whisking, let’s talk peanut butter. I use creamy peanut butter in all my peanut butter recipes. Skippy is my brand of choice (again, my own opinion — no one is paying me to say that!), but I have also used Jif, depending on what’s cheaper. Do not use a generic (store) brand, as those tend to be loaded with sugar and result in horrible baked goods. I have not tested this recipe with a natural peanut butter. If you do, please let me know how it works out!
OK, back to business. In a large bowl, with the same whisk you used for the dry ingredients, whisk the peanut butter, brown sugar, egg, coconut oil, and vanilla until fully combined.
Stir Dry Ingredients into Wet
Dump the dry ingredients into the big bowl of wet ingredients. With a wood spoon or spatula, mix until the dry ingredients are fully combined.
Shape, Bake, and Add Gelt
As I do with almost all my cookies, I weigh these out to 30 g. each (about 1½ tablespoons). I like to form each into a ball, place on the prepared baking sheet, and press down so the cookie is approximately ½ inch thick. (These cookies do not spread too much on their own, so pressing down to flatten the tops will help them along while in the oven.)
Once the cookies come out of the oven and before they have a chance to cool, place a piece of parve gelt in the middle of each cookie. The bottom of the chocolate coin will melt, and as the cookie cools, the chocolate will harden onto the cookie. The entire coin will be melty, so resist the urge to touch them until they are fully cooled and the chocolate is set. (If you are using milk chocolate, I recommend waiting 2-3 minutes after the cookies come out of the oven before you place the gelt on the cookie, as milk chocolate melts faster and at a lower temperature than dark chocolate, and you may end up with a mess if you place the milk chocolate on too hot of a cookie.)
Depending on the temperature in your kitchen, it could take some time for the chocolate to fully set. Once the cookies are cool, you can pop them into the refrigerator for 5 minutes to get the chocolate to set faster. I do not recommend leaving them in the refrigerator too long though, as quality chocolate should not be stored in the refrigerator, That said, I accidentally left a batch in the refrigerator for well over an hour. When I removed them, the tops looked golden, almost like they had a gold foil over them. They were super pretty!
Looking for other Hanukkah cookies?
Try my Fig Linzer Cookies and my Orange Spice Cut Out Cookies.
Frequently Asked Questions About Making Peanut Butter Gelt Cookies
Can I use unrefined coconut oil?
Yes, but unrefined coconut oil will add a coconut flavor to the cookies. Because this is a peanut butter cookie, I prefer to use refined coconut oil to so that peanut butter flavor shines.
Can I use butter instead of coconut oil?
Absolutely. However, using butter will make these cookies dairy.
Peanut Butter Gelt Cookies
Ingredients
- 96 grams almond flour (1 cup)
- 1 teaspoon baking soda
- ¼ teaspoon salt
- 256 grams smooth peanut butter (1 cup)
- 165 grams packed light brown sugar (¾ cup, packed)
- 1 large egg
- 2 Tablespoons refined coconut oil, melted (or other neutral oil like peanut, canola, vegetable, etc.)
- 1 teaspoon vanilla extract
- Non-dairy Hanukkah gelt (chocolate coins)
Instructions
- Preheat oven to 350° F. Line two baking sheets with parchment paper.
- In a small bowl, whisk together the almond flour, baking soda and salt. Set aside.
- In a large bowl, whisk together the peanut butter, brown sugar, egg, oil and vanilla.
- With a rubber spatula or wood spoon, mix the dry ingredients into the wet ingredients.
- Scoop the cookie dough into 30 gram (1½ tablespoon) balls and place on prepared baking sheets. With the back of a spoon or the palm of your hand, flatten the dough balls so they are approximately ½ inch thick.
- Bake for 12 minutes.
- While cookies are baking, unwrap the chocolate coins. Just as the cookies come out of the oven, gently place a coin in the center of each cookie. (The heat from the cookie will melt the bottom to make the coin stick to the cookie.)
- Allow to cool completely and the chocolate to set.
Notes
- For coconut oil, scoop out a drop more than 2 tablespoons into a small pan over the lowest possible flame. Stir constantly. The oil will melt very quickly. Make sure it is cool before adding it to the cookie batter.
- I have used peanut oil in these cookies instead of coconut oil, but I preferred the consistency of the cookies with coconut oil.
- If using milk chocolate gelt, allow the cookies to cool for a few minutes before placing them on the baked cookies. Milk chocolate melts faster and at lower temperature than dark chocolate.
15 Comments
Yeah! A gluten free recipe. We will have to try these! I think I actually have some gelt around here somewhere!
Rob! You’ve done it again! I can’t wait to bake these with the kids tomorrow.
I hope you all enjoy them! Happy Hanukkah!
I’m 100% sure my kids will love these!:) Thanks!
Peanut butter gelt cookies delicous.
These cookies are amazing!
These cookies are so delicious – we love them!
These were such a delicious dessert to have!
These look so incredible. I hope mine will look as good as these do. Thanks for sharing.
These cookies are delicious! I love that they are made with almond flour.
I don’t celebrate Hanukkah but I have a close friend who does. I passed this recipe along to her because she follows a gluten free diet and these sound absolutely delicious. I mean, you can’t go wrong with peanut butter and chocolate!!
I love that these cookies have almond flour and are made for Hanukkah. These look delicious!
These were easy and fun to make with the kids! So delicious and perfect for Hanukkah!
I bought gelt to make something sweet for my best friend for Hanukkah. Now I know what I’ll make. Thanks!
Thanks for the gf recipe. Thanks for the easy recipe