

This post may contain affiliate links. As an Amazon Associate, I earn from qualifying purchases. For more information, please visit my Privacy Policy.
Growing up, my grandmother baked wonderful things that I will always miss and crave. We will get to her mandel bread recipe. But, her apple squares (slab pie) was my family’s favorite. On Saturdays, my brother, sister and I would peak outside the window waiting for my grandparents’ car to pull up so we would know when to run out to grab the plate of still warm apple squares from my grandmother’s hands. Yeah, they were that good!
But that’s not all she made. Her sponge cake was special – always lemony, moist and fluffy. However, my addiction was to her marble mandel bread. At her home, she would store it on the counter in a huge white pot. Whenever we visited, I knew that if that white pot was on the counter, I would spend much of our visit stuffing my face with mandel bread.
What is Mandel Bread?
Mandel bread takes its name from the Yiddish, Mandelbrot, which means almond bread. Some suspect that Jews living in Italy simply renamed the almond biscotti they were enjoying in Italy, making them the Jewish version of biscotti.
If you Google “mandel bread recipe”and then search “biscotti recipe”, you will find that they are virtually identical. The only major difference I have found is that mandel bread tends to have more oil which creates a softer dough. (Nerd alert: Oil, like butter, is a fat. Using more fat in a recipe tends to create a softer, richer tasting product.)
This cookie may have been popular amongst the Jews because it could easily be made with oil rather than butter, making them dairy free and a great dessert or treat to accompany a meat meal for those who keep kosher. (Jews who keep kosher do not eat dairy and meat together.)
Both mandel bread and biscotti technically should be double baked, which means you bake the loaf of dough, let it cool slightly, cut them into single cookies, then bake them again to either dry them to a toasted stage (generally with mandel bread) or fully dry them out (generally with biscotti).
My Nana’s Mandel Bread Recipe
For me, mandel bread is a soft version of a biscotti for the simple reason that my grandmother did not spend time double baking. (I assume it was because she just wanted to get them done so we could all get down to business and eat them!) She popped the dough into the oven, baked them, pulled them out, and cut them. Done. I LOVED that her mandel bread was soft and slightly moist rather than hard and dried out.
I have suffered for far too many years without my grandmother’s mandel bread because I was not sure how to decipher the recipes she kept scribbled in pencil in a notebook. Some of the recipes are hysterical to read: “A little salt yes and no”. LOL!
The mandel bread recipe in her notebook calls for 4 eggs and ¼ cup of orange juice, but no cocoa powder. I do not remember her mandel bread having an orange flavor, and she always made it marbled with chocolate. So, I have no idea whether the recipe she scribbled is what she actually made or someone (likely her cousin Minnie or cousin Naomi) gave her this recipe over the phone. (I believe she kept this notebook by her telephone for such emergencies!) Either way, it served as a great basis for my recipe below!
Mandel bread makes for a fabulous snack. They are delish with coffee or tea, day or night! They are also great to play with various flavors. You can add in virtually anything or in any combination, such as nuts, dried fruit, chocolate chips … whatever tickles your fancy!
Here’s What you Need to Know to Make this Mandel Bread Recipe:
Mix dry ingredients
Combine your dry ingredients. Include any dry spices you may use.
Beat wet ingredients
Beat the eggs with the sugar. This can be done by hand or by mixer, but you want to beat them really good to aerate the mixture and get it to a thick-ish pale yellow. Then mix in your oil and any other liquid flavorings like vanilla or other extracts.
Marry the wet with the dry
Fold the dry ingredients into the wet just until all of the dry ingredients are absorbed and no longer visible. Make sure to scrape the bottom of the bowl – there’s likely a clump of dry ingredients hiding down there.
Refrigerate
This is a step that my mom and I are sure my grandmother never did. (This step would interfere with the family philosophy of “get ‘em made so you can eat them STAT!”) Allowing them to chill for a couple hours helps the flavor develop a bit, but, more importantly, makes it easier to handle this sticky dough when shaping it.
Prepare to feed
Bake, cool, cut, and go to town on them!
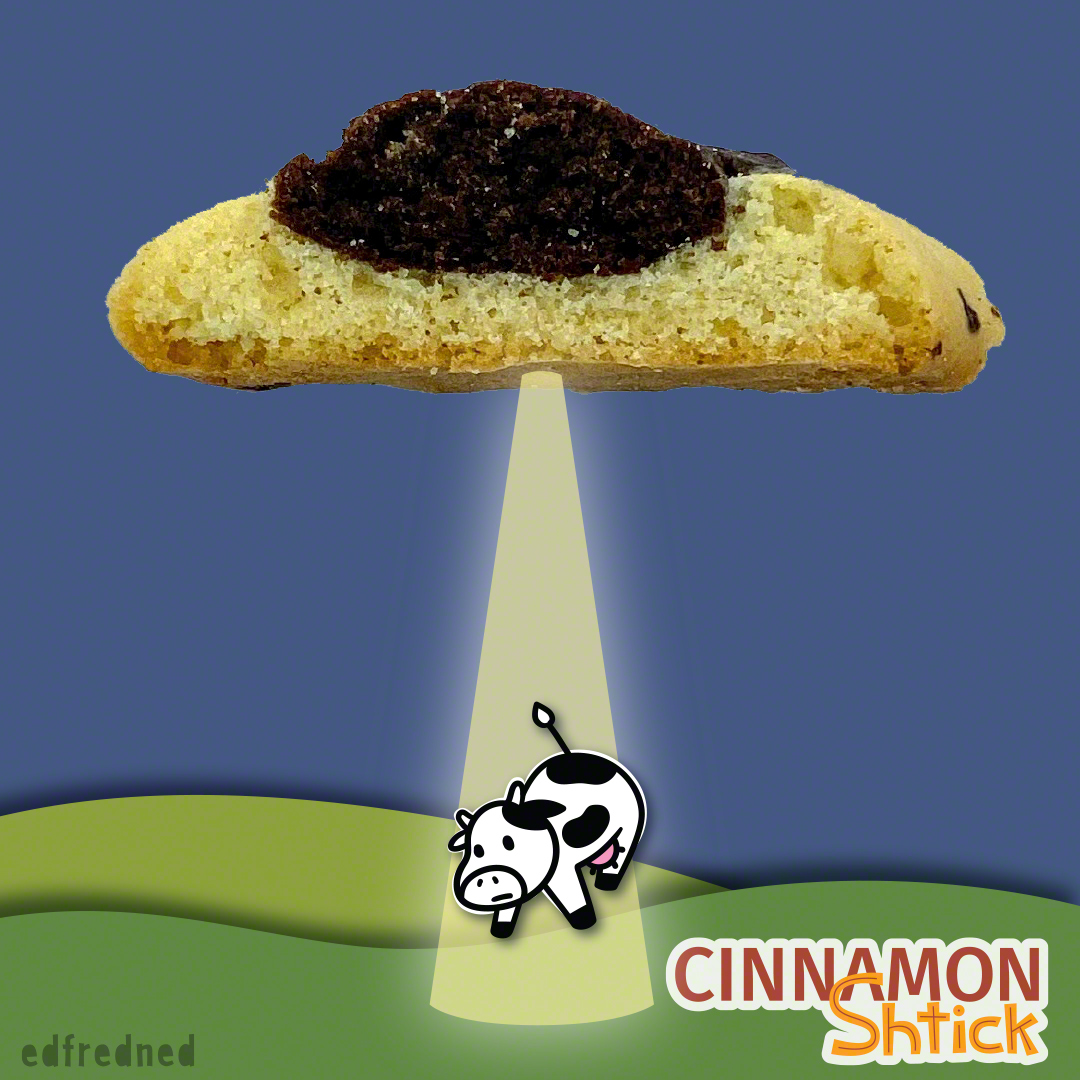
Time to make this “out of this world” recipe!
Nana's Marble Mandel Bread
Ingredients
- 360 grams all purpose flour (3 cups)
- 1½ teaspoons baking powder
- ½ teaspoons salt
- 3 large eggs, at room temperature
- 200 grams sugar (1 cup)
- 166 grams neutral oil, such as canola, vegetable or sunflower (¾ cup )
- 2 teaspoons vanilla
- 30 grams cocoa powder (¼ cup)
- 15 grams milk, or, if making dairy free, soy, almond or oat milk would work in a pinch (1 Tablespoon)
Instructions
- Whisk together in a bowl the flour, baking powder and salt. Set aside.
- Whisk together in a separate bowl the eggs and the sugar until the mixture thickens slightly and takes on a pale yellow color. This could take a few minutes. If you’re feeling lazy, use an electric mixer for this step.
- Whisk the oil and vanilla into the egg mixture until fully combined.
- Pour the dry ingredients over the egg mixture. Using a rubber spatula, fold/stir just until the dry ingredients are no longer visible. Hold on to that bowl that had the dry ingredients.
- Pour approximately ⅓ to ¼ of the dough into the empty bowl that had your dry ingredients. Using your rubber spatula, mix in the cocoa powder and milk just until fully incorporated.
- Cover both bowls with plastic wrap and refrigerate at least two hours and up to overnight. (Can you skip this step? Sure. The dough may be a bit more difficult to work with though.)
- Preheat your oven to 350°F.
- Line two baking sheets with parchment paper.
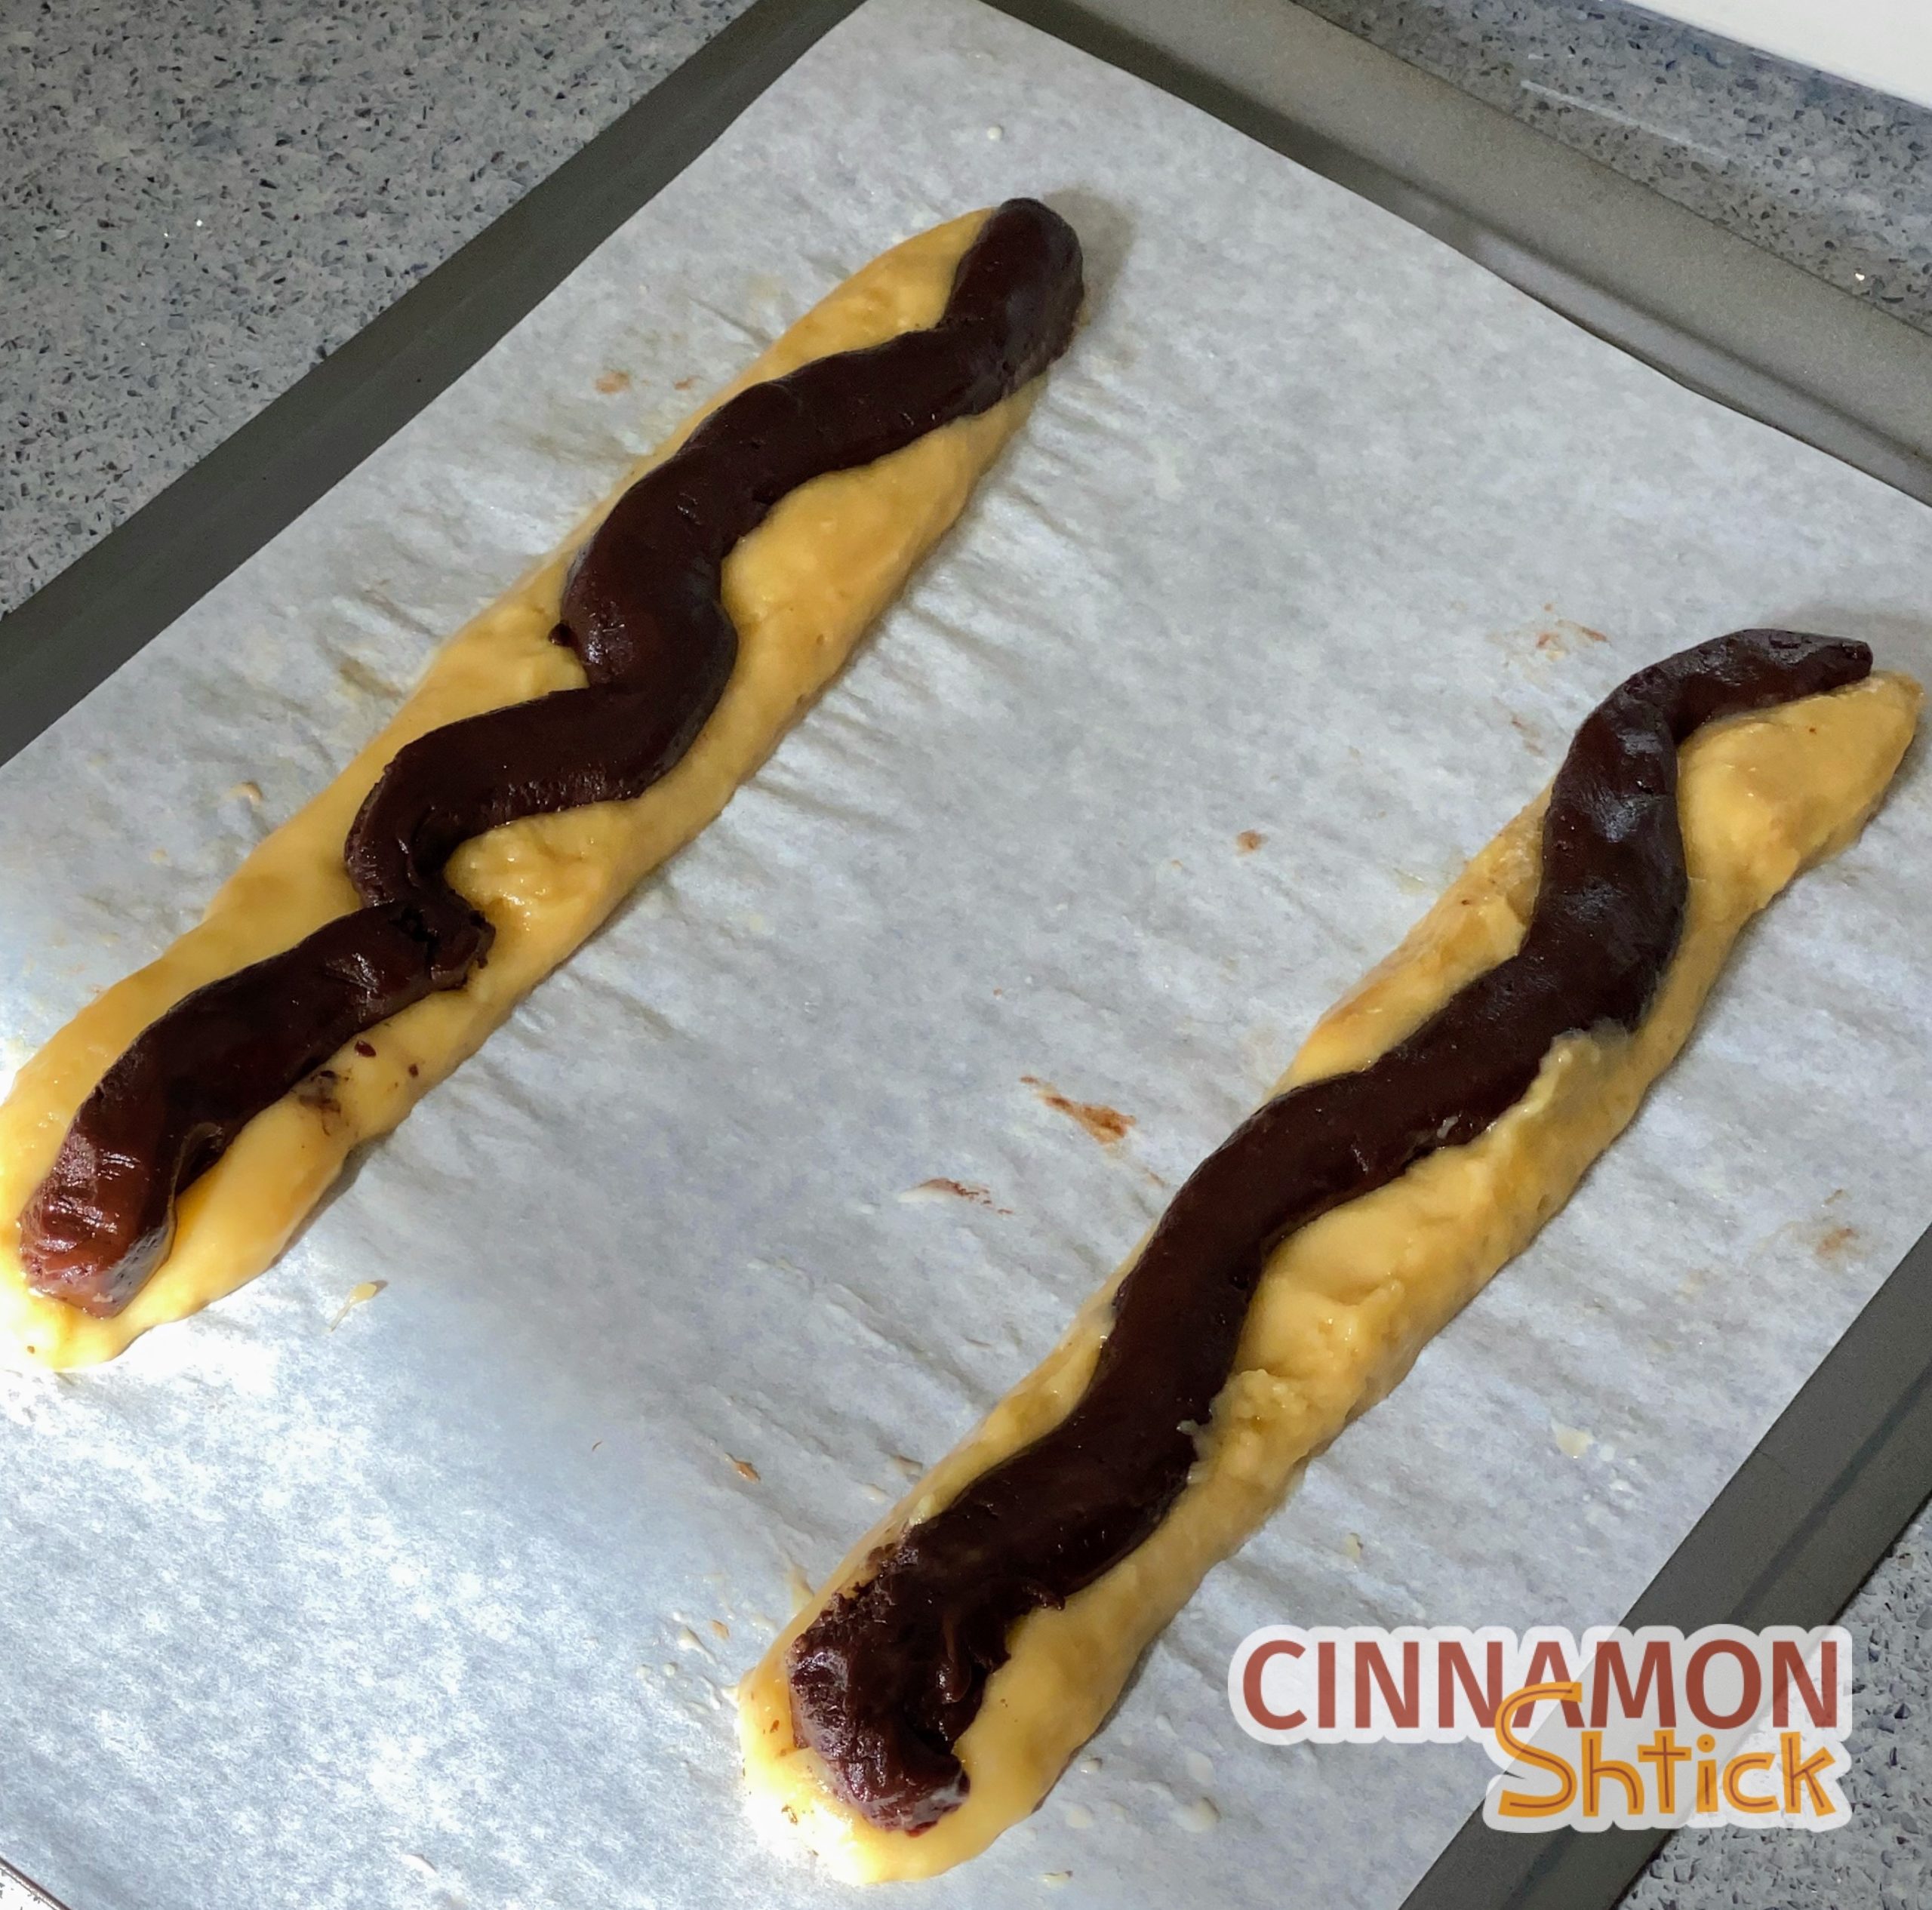
- Divide the vanilla portion of the dough into 4 logs, shaping each log approximately 2-3 inches wide, and place two on each baking sheet. (Tip: If the dough is too sticky, lightly wet your hands prior to handling the dough. This is a very sticky dough, and the water will make your life much easier to shape the dough. Alternatively, you can lightly flour your hands. I prefer to use water because I would rather add moisture to the dough rather than make it drier with flour.) Divide the chocolate dough into quarters and mold each quarter into a log the length of the vanilla dough. (The chocolate dough will be slightly easier to work with because the cocoa powder will have absorbed some of the moisture from the dough.) Place the chocolate logs in the centers of the two vanilla logs, or place over the vanilla dough in a zigzag. With wet hands, shape the dough logs.
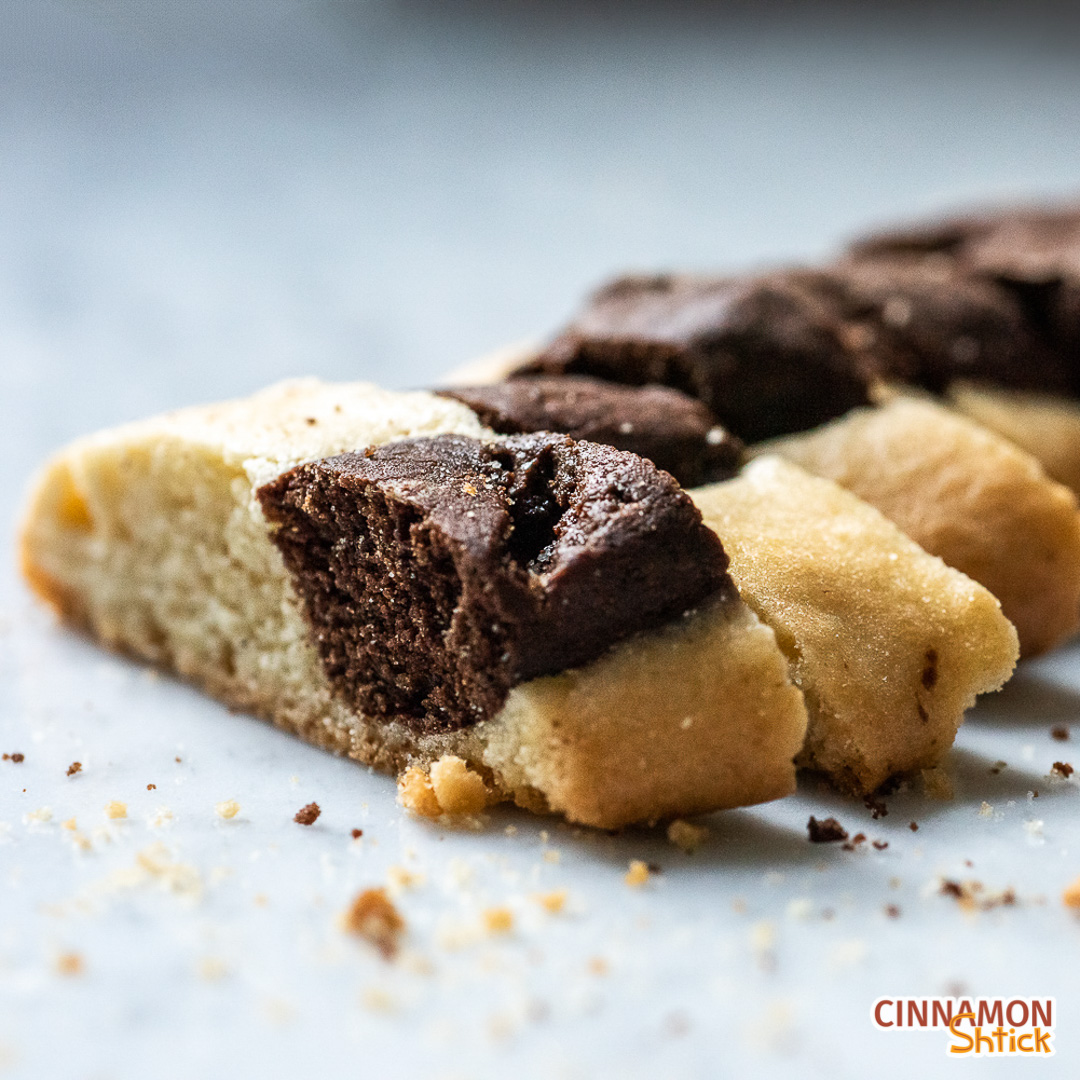
- Bake for 30-35 minutes. The vanilla portion of the dough should be slightly browned on top and more browned along the bottom edges. Remove from the oven and allow to cool for 10 minutes. Slice them diagonally, approximately ½ inch thick each. Allow to cool to room temperature. (Or, if you want to go the traditional route, lay each cookie down on the baking pan and bake an additional 10-15 minutes until the tops start browning.)
Notes
- If your logs are too big in width, after you cut the ½ inch slices, you can always cut those slices in half down the middle.
- Mandel bread can be stored in an airtight container for about one week. It also freezes beautifully. You can pop a couple out whenever you have a hankering -- they get to room temperature in about 10 minutes, although they also are good frozen…just sayin’.
3 Comments
These look delish. My grandma also made soft mandel bread. Hers had a layer or apricot jam ( or raspberry) and a sprinkling of cinnamon sugar. Divine
Do you ever try it with butter?
I have not, but there is no reason why it would not be just as good (if not better!). If you do, please let me know how it works out.