
This post may contain affiliate links. As an Amazon Associate, I earn from qualifying purchases. For more information, please visit my Privacy Policy.
There are two Jewish desserts that I connect with the most: Kichel and Jewish Sponge Cake. If you enjoy Kichel, be sure to check out my recipe. Sponge cake was something that my grandmother made on a weekly basis for us.
While I associate sponge cake as a Jewish dessert, I believe that just about every culture has what it deems a traditional sponge cake, with variations from community to community or even family to family. The one thing they all seem to have in common is that they are all delicious. Some rely on beaten egg whites for their lift and sponge-like texture while others rely on whole eggs whisked and whisked. This Jewish Sponge Cake is what I believe is a sort of standard recipe within the Jewish community. That said, there are many variations to it, as some recipes use orange juice in place of or in addition to lemon juice, others use all orange, some include baking powder while some don’t. (This Jewish Sponge Cake recipe includes baking powder just as an insurance policy against the egg whites!)
This recipe is premised on my grandmother’s recipe with a few tweaks which really are tricks I picked up in culinary school. For a Passover version, be sure to check out my Passover Sponge Cake.
How to Make Jewish Sponge Cake
Jewish Sponge Cake is actually quite easy to make. The two best pieces of advice I can give is to have your ingredients all weighed out or measured before you begin mixing, and be sure to beat the egg whites properly. While I highly urge you to weigh the ingredients, if you are going to use measuring cups, be careful not to pack the dry ingredients in. Lightly spoon the dry ingredients into a measuring cup and use the back of a knife to smooth it down.
1. Separate the Eggs
Separating eggs can be tedious. I suggest doing this step first for two reasons. First, it is easier to separate eggs when they are cold. Take them out of the refrigerator and immediately start to separate them. Second, egg whites tend to obtain more volume when beaten at room temperature. By separating the eggs first, they can come to room temperature while you gather the rest of the ingredients.
Best Practices for Separating Eggs
When separating the eggs, you should have three bowls in front of you. Use the bowl from your electric mixer for the egg whites. And double check that the bowl is very clean, as well as the whisk attachment to your mixer. You want to avoid getting anything else in the bowl of egg whites or they might not whip up as they are supposed to.
Be sure to have another large mixing bowl for the egg yolks. And, most importantly, have a small bowl into which you crack each egg.
Use that small bowl to drain the egg whites into. Once the egg is separated, pour the egg yolk from the shell into its designated bowl, and empty the contents of the small bowl into the bowl of the electric mixer. Keep repeating until you have gone through all the eggs, one by one.
The reason for the small bowl is to make sure your large bowl of egg whites never gets contaminated if some shell falls in or the yolk decides to join the white when you are trying to separate them. If something goes wrong in the small bowl, just discard that egg (or save it for something else), clean out the bowl and dry it, and grab another egg in its place.
2. Sift the Dry Ingredients
Sifting the dry ingredients, which is just cake flour and baking powder, helps to separate any clumps and to aerate them. Sponge cake is reliant on air at every step, so the more air you can incorporate into the batter, the better. If you are using table salt, you can sift that with the other ingredients. Whisk the mixture together a few times just to fully incorporate all the dry ingredients. If you are using a flaky sea salt (which is my preference), whisk it into the sifted cake flour and baking powder.
3. Zest the Lemon
The flavor for this sponge cake comes from the lemons, so we want to get as much flavor from them as possible. Pour most of the sugar, approximately 2½ cups (you can eye ball it), into a small mixing bowl. Add the zest of one lemon. Use your fingertips to press the zest into the sugar. This helps release the oils in the lemon, providing deeper flavor. (You could also do this step before cracking the eggs so that you just add the yolks to the lemon zest/sugar mixture.) Set this bowl aside. Juice the lemon and also set that aside.
4. Start Beating the Egg Whites
Using the whisk attachment, turn the mixer on to a medium-high speed. I suggest a 6 or 7 on the KitchenAid. After a minute or two, the egg whites will start to become frothy. Once you can barely see any liquid in the middle, add 2 teaspoons of the lemon juice, and allow the whites to keep beating. The acid in the lemon juice will help the egg whites take on more air as it denatures the protein. Resist the urge to increase the speed on the mixer. While the process will certainly go faster on a higher speed, allowing the whites to beat slightly slower than at the highest speed allows the proteins to become stronger, which will help the structure of the cake.
5. Whisk the Egg Yolks and the Sugar
Whisk the egg yolks with the lemon zest/sugar mixture until it is light, pale and fluffy. I like doing this while the mixer works on the egg whites. You can certainly use a hand mixer for this, if you prefer. You can also do this step in your stand mixer before beating the egg whites, but be certain to clean and dry the mixer bowl and whisk attachment very well before putting the egg whites into the bowl. Once the mixture is thick and pale in color, whisk in the lemon juice and the vanilla.
6. Add Sugar to the Egg Whites
Once the egg whites appear to be forming soft peaks, meaning they are no longer frothy and appear as a white liquid with little shape, slowly add the rest of the sugar. When I say slowly, I mean it. Just add a little at a time, let it whisk in, then add a drop more. Keep going until all the sugar is incorporated. The sugar also helps the proteins in the whites hold their shape, but you want to avoid adding too much at a time because their weight could destroy some of the air bubbles you just created.
Continue beating the whites until they hold stiff peaks. That means, when you turn the mixer off and hold up the whisk, what is on the whisk stays in tact and does not fall over. Also, as you remove the whisk from the egg whites, you feel the stiffness of the whites. If the whites are close to stiff peaks, at this point you can turn the mixer up all the way for another minute or so until you reach stiff peaks. Yes, you may need to stop the mixer several times to check if stiff peaks are formed.
7. Make a Sacrifice
It sounds much more dramatic than it is. Take approximately one-quarter of the stiff egg whites and add it to the large bowl with the egg yolk mixture. Using a rubber spatula, fold the whites into the egg yolk mixture. You can even stir it a little to get it all combined. You are sacrificing a small portion of the whites to lighten up the egg yolk mixture. Once that is done, carefully pour the rest of the whites on top of the lightened up egg yolk mixture. By carefully, I mean that you should hold the bowl of the egg whites close to the bowl of yolks so that the whites do not have far to fall. You want to treat the beaten egg whites with respect (unlike the sacrifice).
8. Marry the Ingredients
Gently pour the dry ingredients on top of the egg whites. Again, using a rubber spatula, fold all the ingredients together, just until they are fully combined. For those of you familiar with that hysterical scene from Schitt’s Creek, do not be scared of folding! Folding ingredients is not stirring them. You are being much more gentle when folding.
How to Fold Egg Whites
Standing in front of your bowl, use your rubber spatula to make a line, working towards you, down the middle of the bowl. Be sure to allow the spatula to go to the bottom of the bowl. When you get close to the edge of the bowl closest to you, turn the spatula towards the left as you pull the spatula out of the bowl. Using your other hand, rotate the bowl approximately 45 degrees. Use the spatula to make another line down the middle of the bowl towards you, and repeat the process until all the ingredients are fully incorporated. Resist the urge to scrape down the sides of the bowl. Once the ingredients are mostly combined from folding, you can scrape down the sides and fold them into the rest of the batter.
Folding is so important here. If you were to stir the ingredients, you would deflate all the air bubbles you created in the egg whites. Folding also continues to aerate the batter.
If you have any doubts about folding, be sure to watch the video in this post.
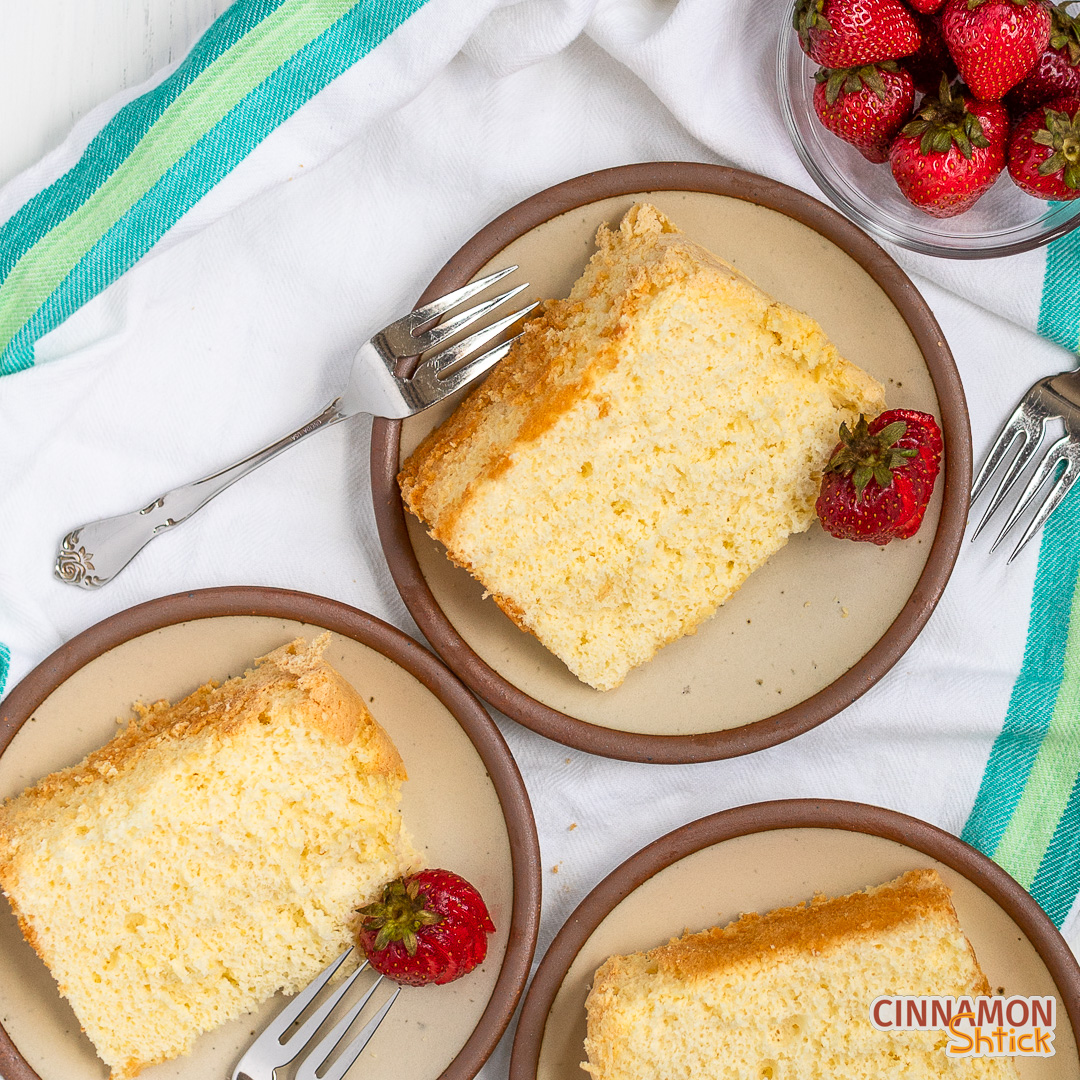
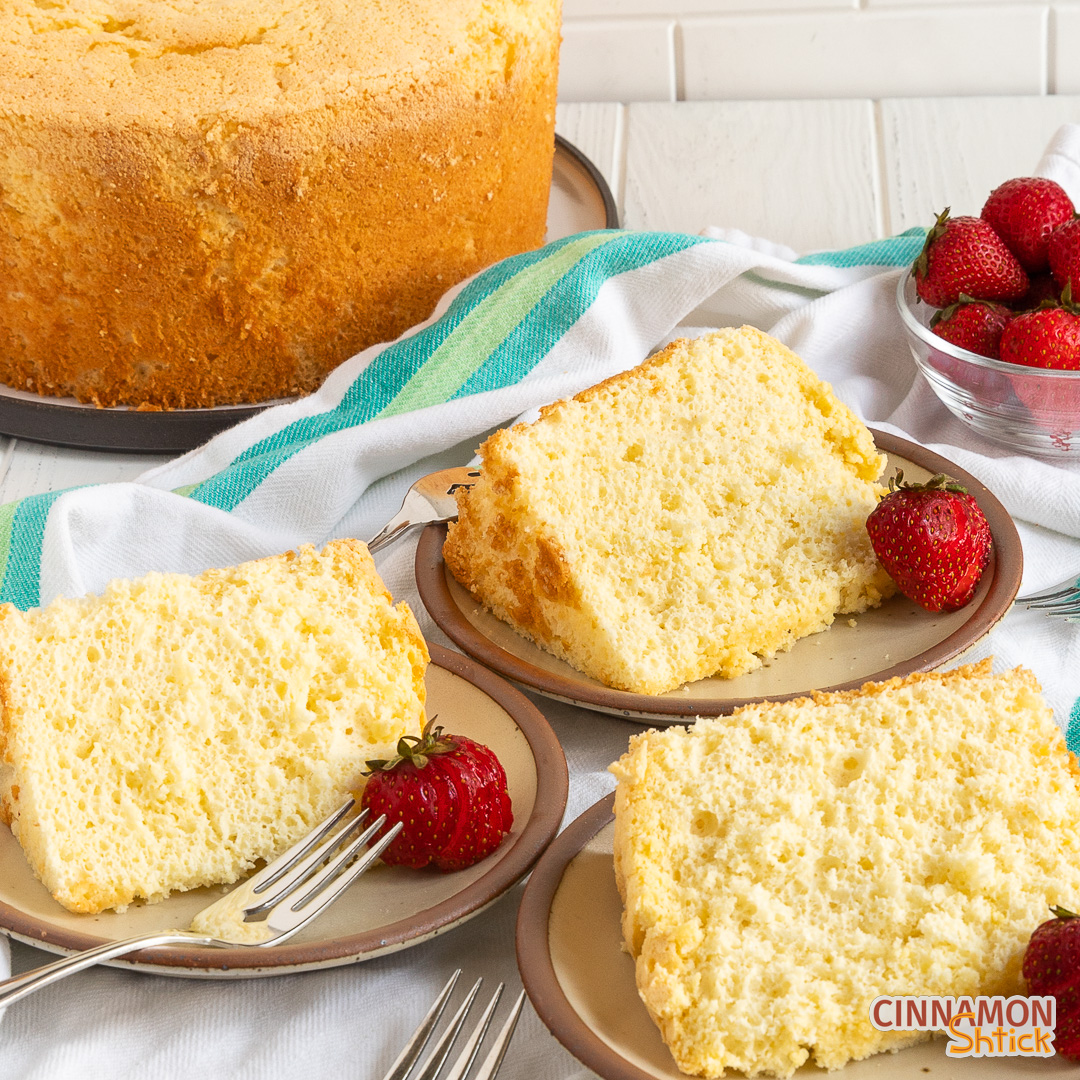
9. Bake, Invert, Cool and Enjoy Your Jewish Sponge Cake!
Bake the cake for at least an hour. I find that it takes approximately an hour and five minutes to an hour and ten minutes. The top should be nicely browned and the sides should look like they want to start to separate from the pan. Once you remove the cake from the oven, immediately invert it onto a heat proof surface. (A folded up kitchen towel works great here.) Allow the cake to cool completely upside down. It may seem like it is cooled after one hour, but I would give it at least two hours. When you flip it back over, use a knife to cut around the edges and the inside edge. It is best to use a spatula to lift the cake from the pan onto a serving platter.
Frequently Asked Questions About Making Jewish Sponge Cake
What kind of cake pan is best for a Jewish sponge cake?
Use a 10 inch diameter angel food cake pan. Be sure to buy an aluminum one and not a non-stick one. The cake should be able to stick to the pan so that, when you invert it to cool, it stays in the pan. I recommend this Nordic Ware one or this Wilton.
Are there flavor variations for Jewish sponge cake?
I love the combination of lemon zest and orange juice. Just substitute the lemon juice for orange juice. For just orange flavor, substitute the lemon zest for orange zest too.
How should I store a Jewish sponge cake?
If you make the cake in the evening, keep it inverted over night in the pan. The cake stays fresh in an airtight container for at least several days. It also freezes beautifully.
Jewish Sponge Cake
Equipment
- 1 10-inch tube (angel cake) pan
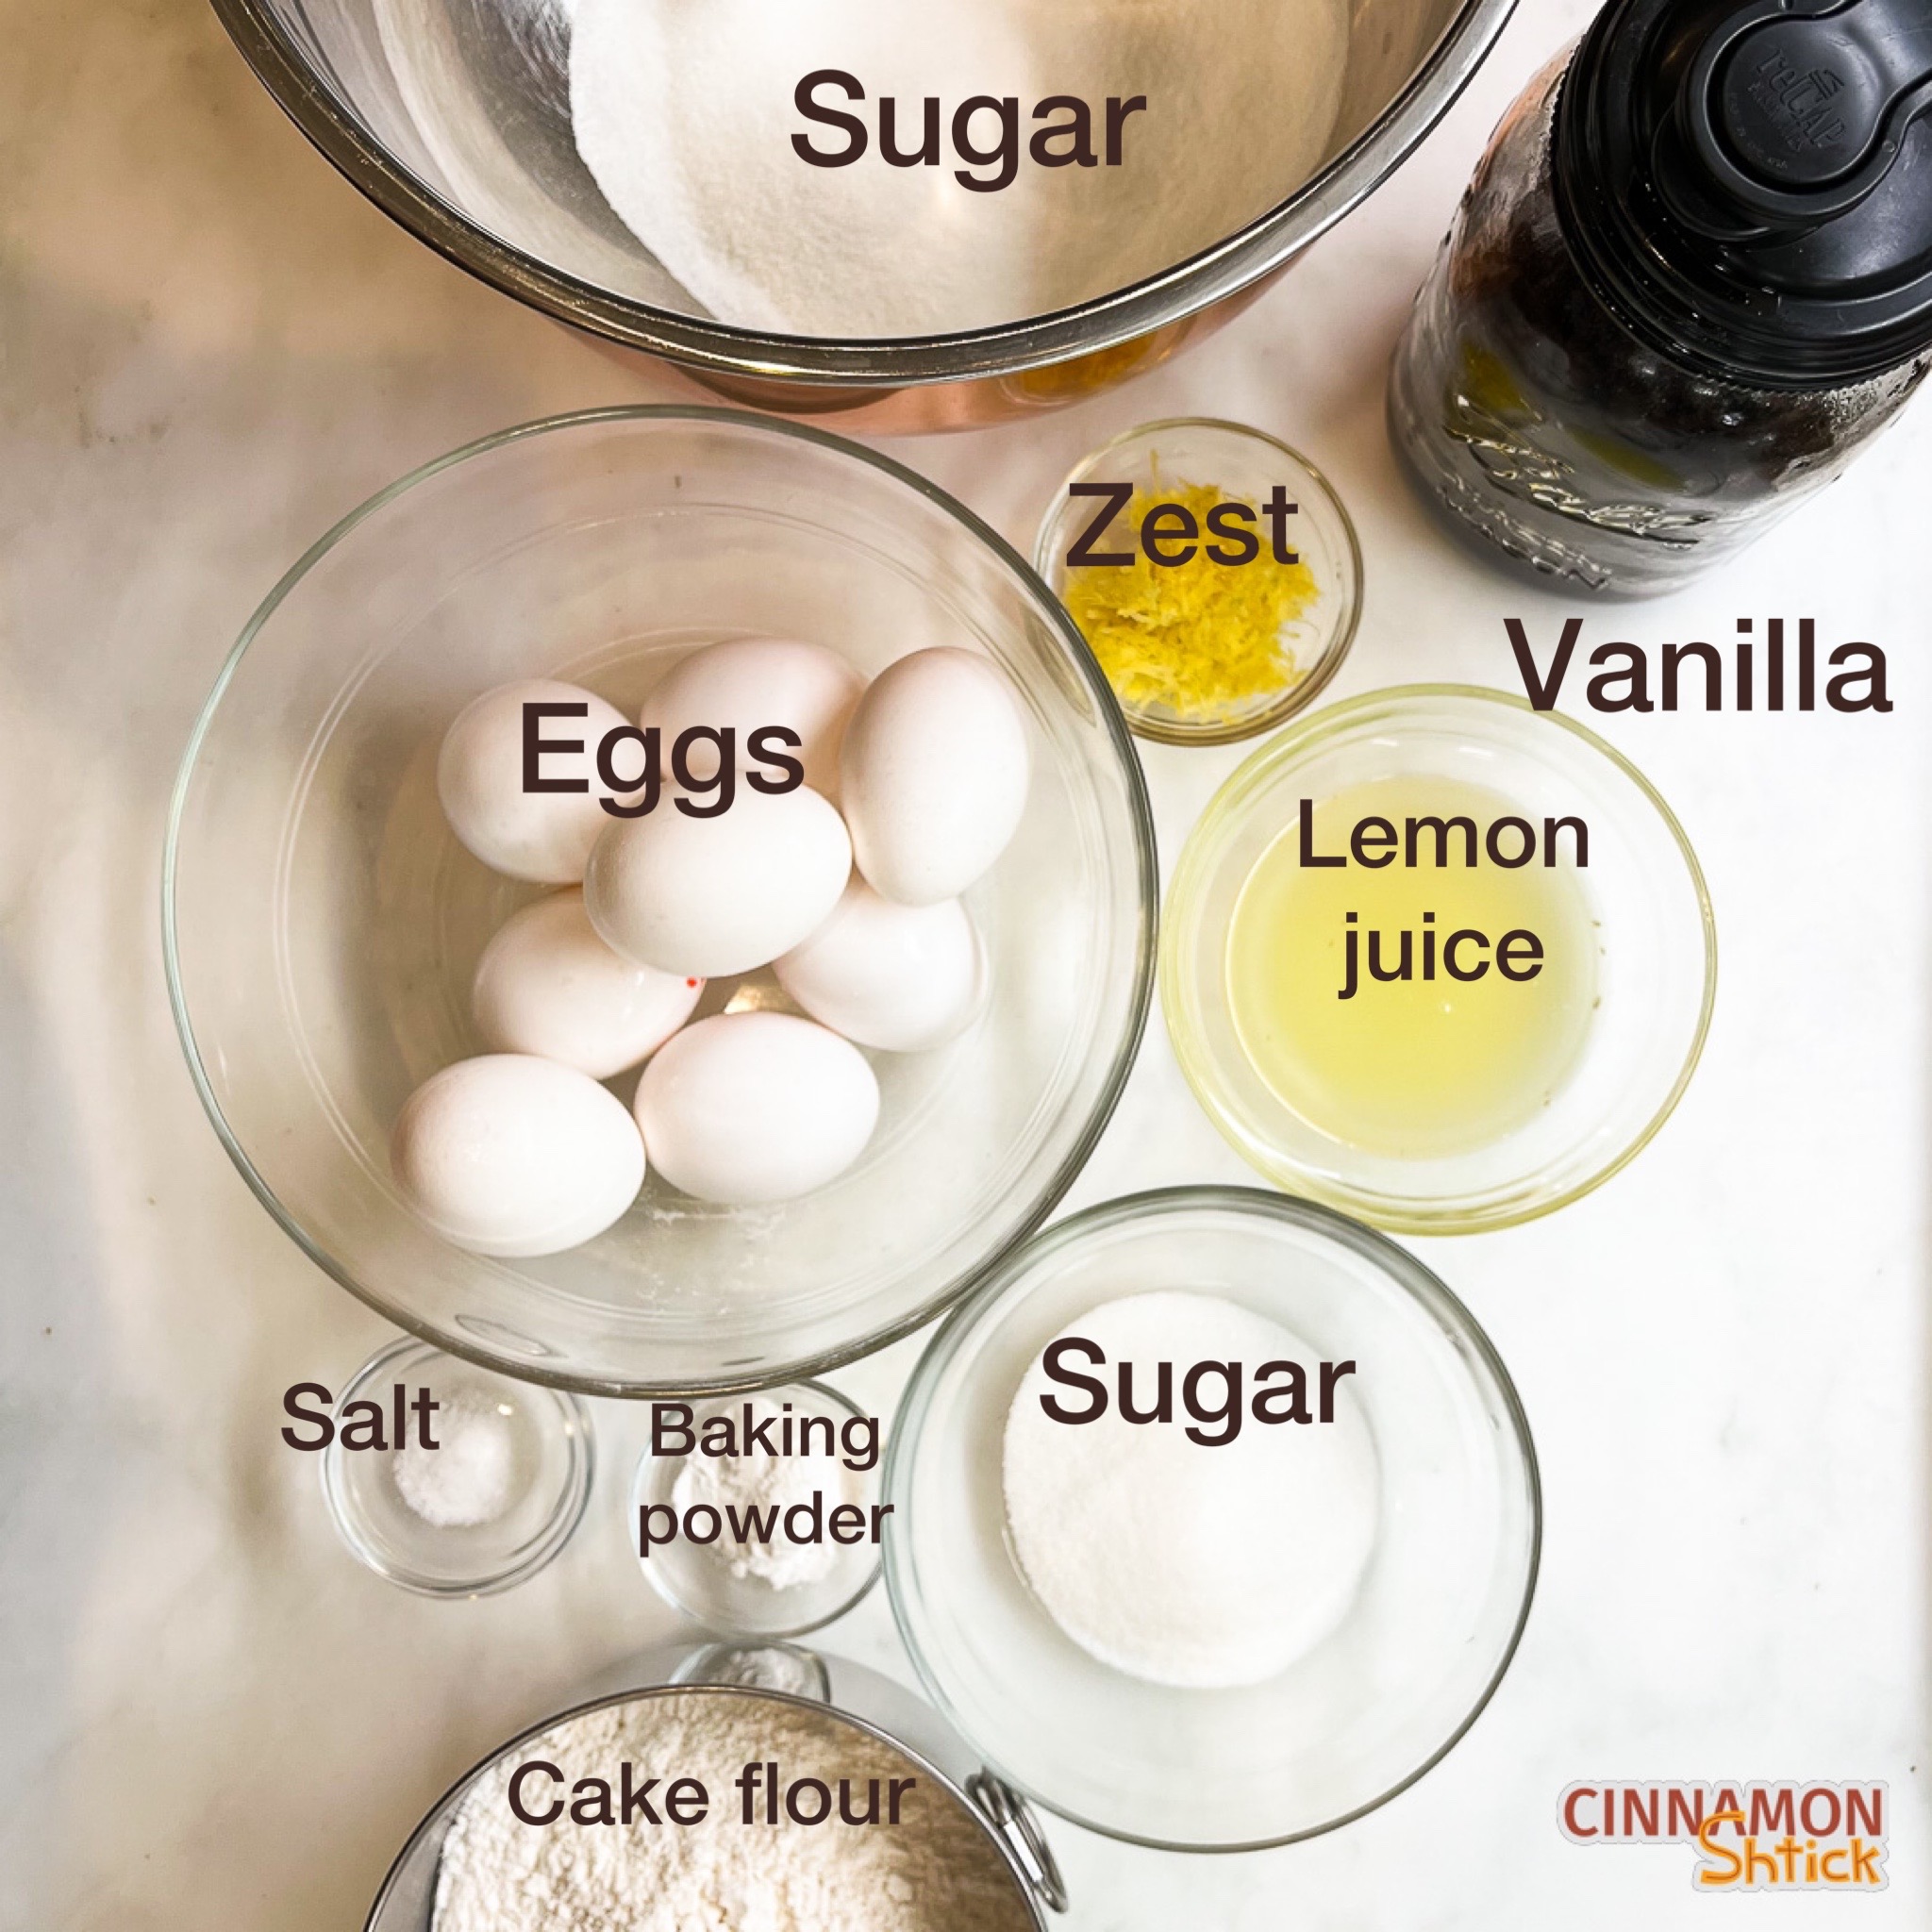
Ingredients
- 8 large eggs
- 1-2 lemons (use 1 large lemon or 2 small to medium lemons)
- 55 grams lemon juice (4 Tablespoons)
- 1¼ teaspoon vanilla extract (¼ cup)
- 333 grams sugar, divided (1⅔ cups)
- 240 grams cake flour (2 cups)
- 1 teaspoon baking powder
- ¼ teaspoon table salt or fine sea salt
Instructions
- Preheat oven to 325° F.
- Zest and juice the lemon(s). If using more than 1 lemon to reach the 55 grams or 4 Tablespoons of lemon juice, use the zest of 1½ of the lemons.
- Separate the eggs so that the egg whites are in the bowl of an electric mixer and the egg yolks are in a large, separate mixing bowl. Set both bowls aside.
- In a small bowl, combine most of the sugar (approximately 283 grams, or all of the sugar less ¼ cup) with the lemon zest, using your fingertips to press zest into the sugar. Set aside.
- In a small mixing bowl, sift together the cake flour and the baking powder; whisk in the salt. (If using table salt, sift it with the rest of the dry ingredients.) Set aside.
- Using an electric mixer, beat the egg whites on medium high speed (6 or 7 on a KitchenAid). Once they start to foam (barely any of the liquid is visible in the center), add 2 teaspoons of the lemon juice. Continue beating, and once the egg whites start to form soft peaks, slowly add the remaining sugar (approximately 50 grams or ¼ cup), just a little at a time and keep whisking until stiff peaks form. You may increase the mixer speed to the highest speed once the sugar is fully incorporated.
- While the mixer is beating the egg whites, add the lemon zested sugar to the yolks and whisk until pale and fluffy. (If you have a hand mixer, feel free to use it. Alternatively, you can whisk or beat the egg yolks with the lemon sugar with the mixer before beating the whites, but be sure to clean the mixing bowl and the beaters very carefully before beating the egg whites.) Whisk in the lemon juice and the vanilla extract.
- Once the whites have formed stiff peaks, fold approximately ¼ of the stiff egg whites into the egg yolk mixture. Once fully combined (no streaks remain), carefully add the rest of the egg whites to the bowl and then pour the dry ingredients over the egg whites. Fold just until the whites and dry ingredients are no longer visible.
- Spread into an ungreased 10-inch angel food cake pan, being careful not to overwork the batter to avoid deflating the aerated batter.
- Bake for 65-70 minutes, until a toothpick inserted comes out clean, the top is nicely browned, and the cake has just started to pull away from the sides of the pan. Remove from oven and invert, allowing cake to cool completely in inverted pan.
Notes
- Once fully cooled, use a knife to cut the cake around the edges to release it from the pan. Store the cake in an airtight container or plastic wrap. It will keep well at room temperature for least several days. It also freezes beautifully.
6 Comments
Can’t wait to try this!
That looks amazing. thank you for sharing
Loved this sponge cake! It was so easy and delicious!
This is so light and delicious!
never heard of this before. I love any type of lemon cake, I am looking forward to baking this this afternoon, thank you
I made this and it was awesome. It turned out perfect and was really delicious. I am so chuffed it turned out so well.