

This post may contain affiliate links. As an Amazon Associate, I earn from qualifying purchases. For more information, please visit my Privacy Policy.
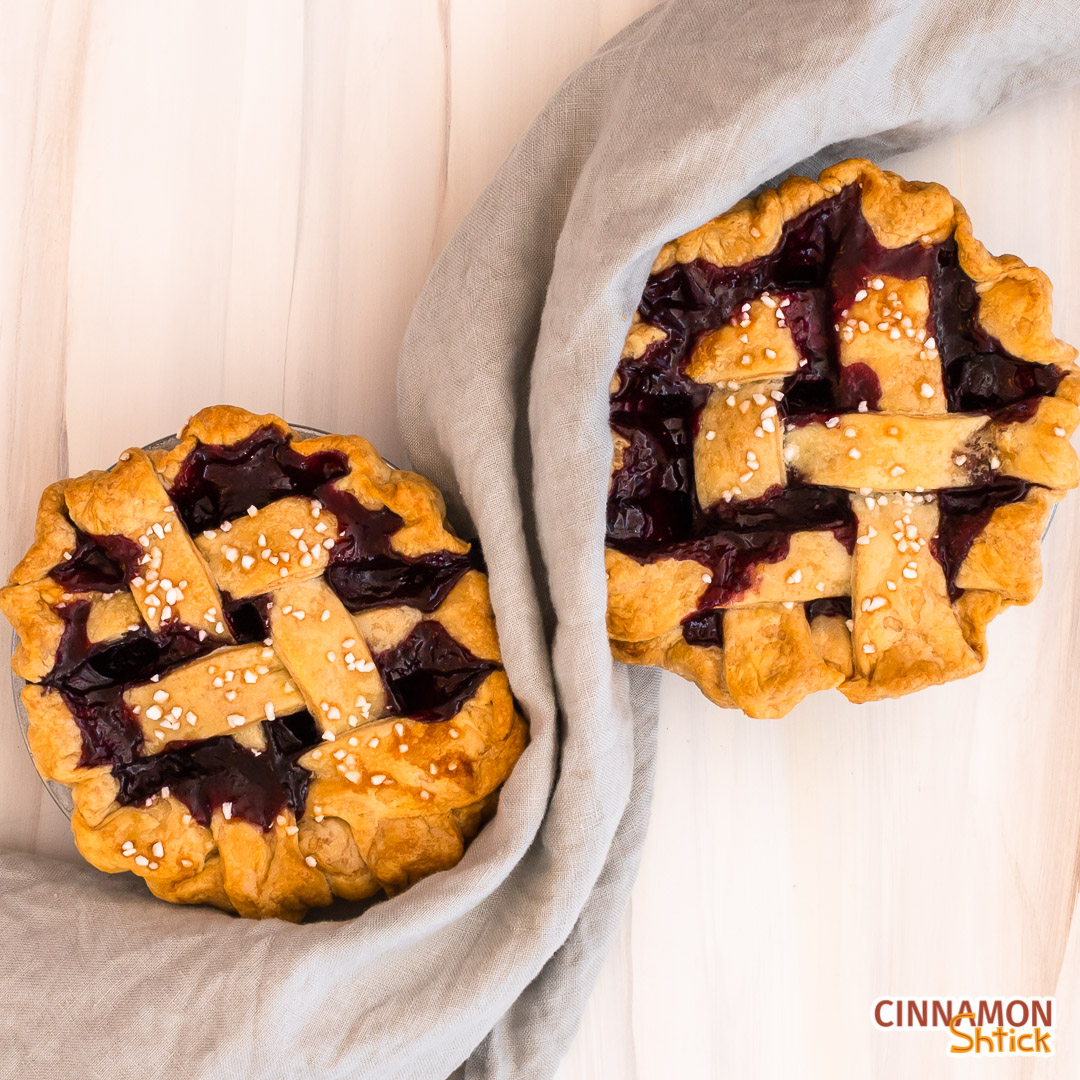
I am a big proponent of making whole batches of most baked goods for the simple reason that, if I’m going to take the time to make something, I want a full batch of it so I have some for future munching. My freezer is always stocked with more than just a little something! However, one thing I do not make often (especially during these pandemic times when I’m not baking for a group of people) is pie. Once baked, I do not enjoy freezing, defrosting and reheating pie. It just isn’t the same. A couple weeks ago, I had an emergency hankering for a blueberry pie, and I had to do something about it. Hence, this recipe for Small Batch Mini Blueberry Pies.
I am mildly obsessed with blueberries. (See my Blueberry Galette post!) I just love them! And I really miss them during these cold, winter months. I was not going to let my inability to get decent, fresh blueberries interfere with satisfying my craving. So, I bit the bullet and bought frozen. If you’re reading this in blueberry season, I definitely recommend going with fresh blueberries.
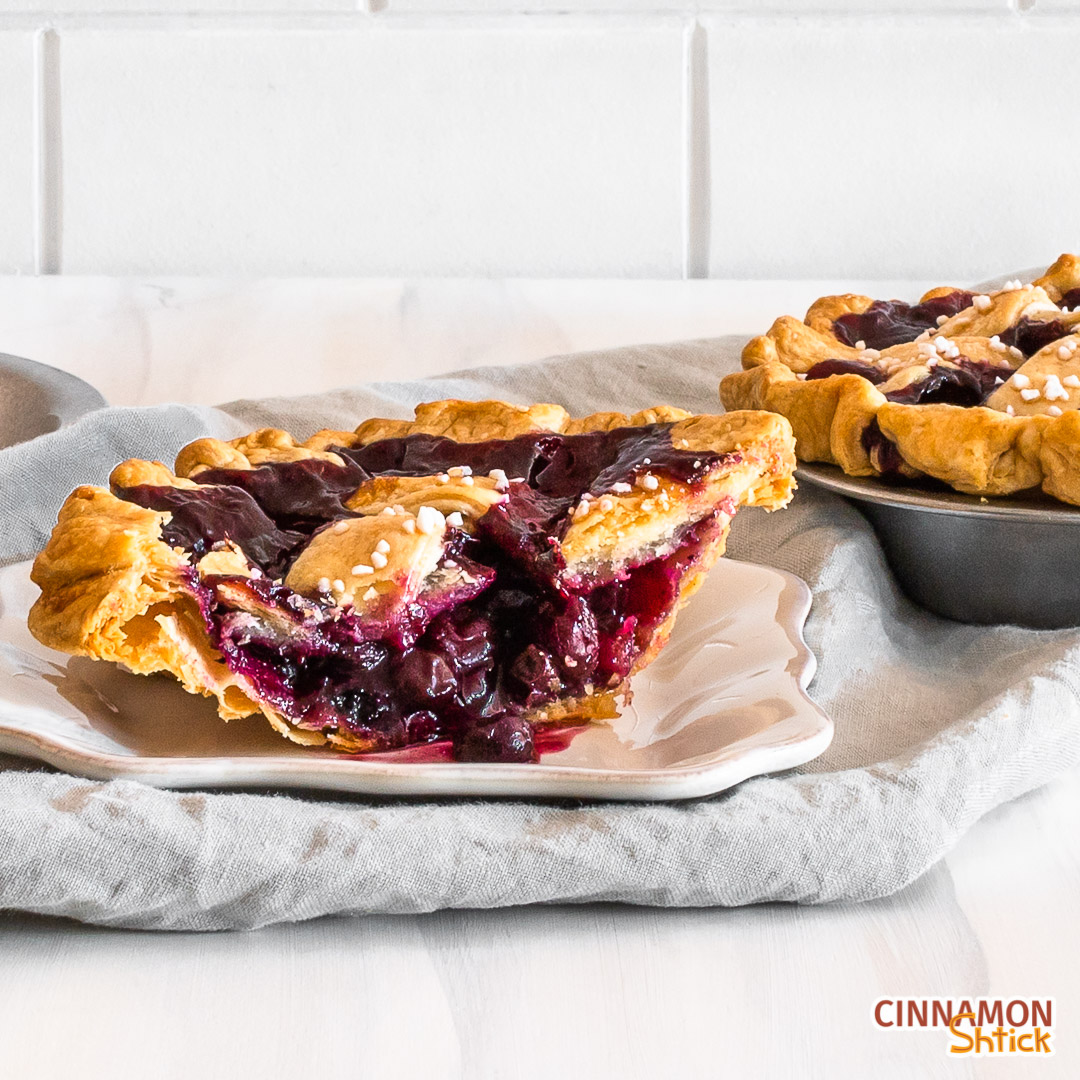
This Small Batch Mini Blueberry Pie recipe is perfect for two to four people. While I could eat a whole one of these mini-pies myself, a more sensible serving is probably half of one.
To make these two mini blueberry pies, you will need mini pie dishes. I recommend these or these.*
Let’s review how to make a perfectly flaky crust:
How to make a perfectly flaky crust
Especially because this is a small batch recipe, there is no need to use the food processor or mixer to make the pie crust. (If you use a food processor, pop your cut up butter into the freezer for at least 15 minutes before using it.)
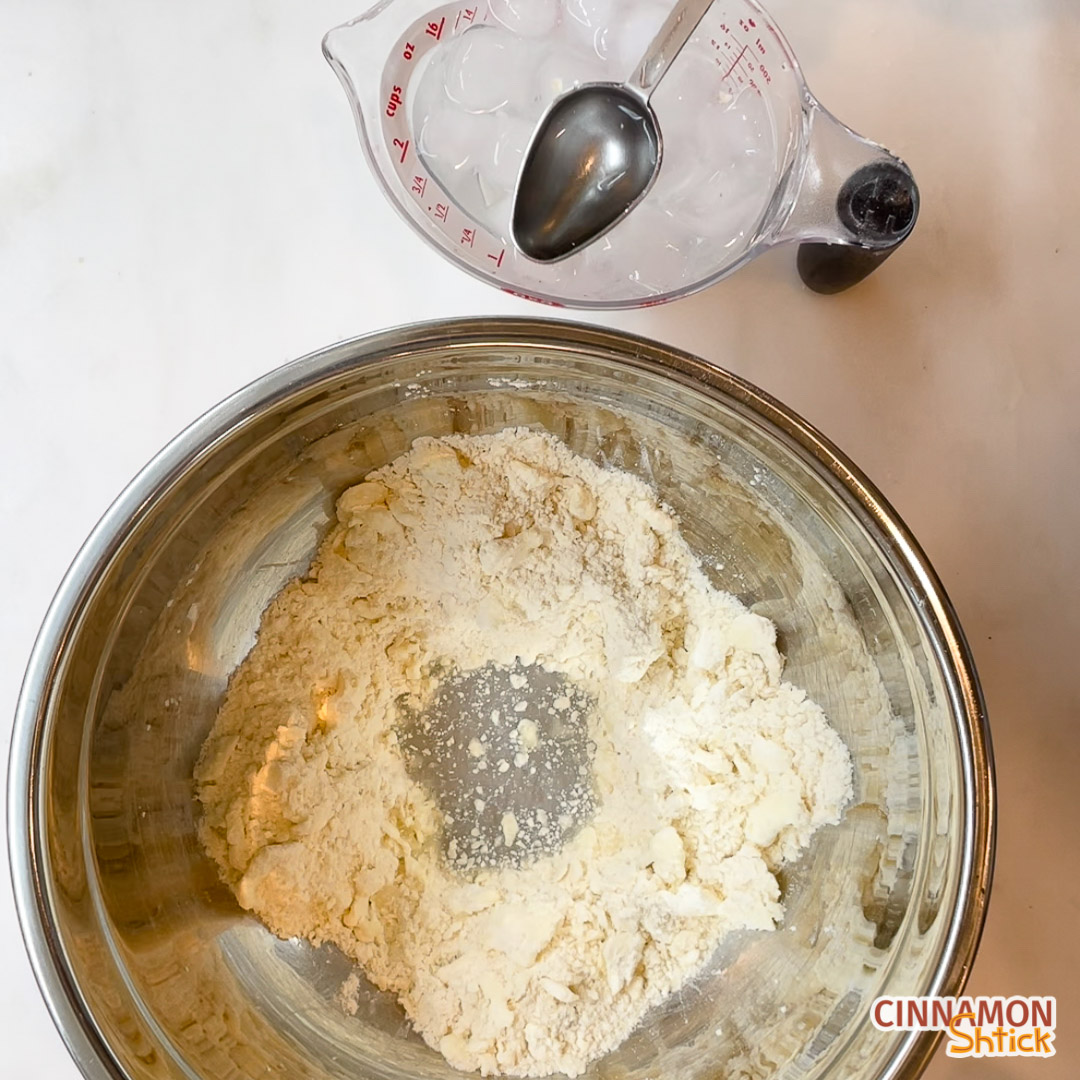
1. Whisk together flour, sugar and salt
Seriously, that is all to this step. Do this, and you’re one-third of the way done mixing the dough!
2. Press in the butter
If you have made pie dough before, you’ve probably seen the term “cut in” the butter. In older recipes, they had us use a pastry cutter to literally chop the cold butter into the flour mixture. We have since learned that it’s not necessary to use a pastry cutter. You can simply use your fingertips to toss and press the chunks of cold butter into the flour mixture. It takes just a couple minutes and is so therapeutic! You want to press in all the pieces and keep going until there are just small, pea-size pieces of butter in the mixture.
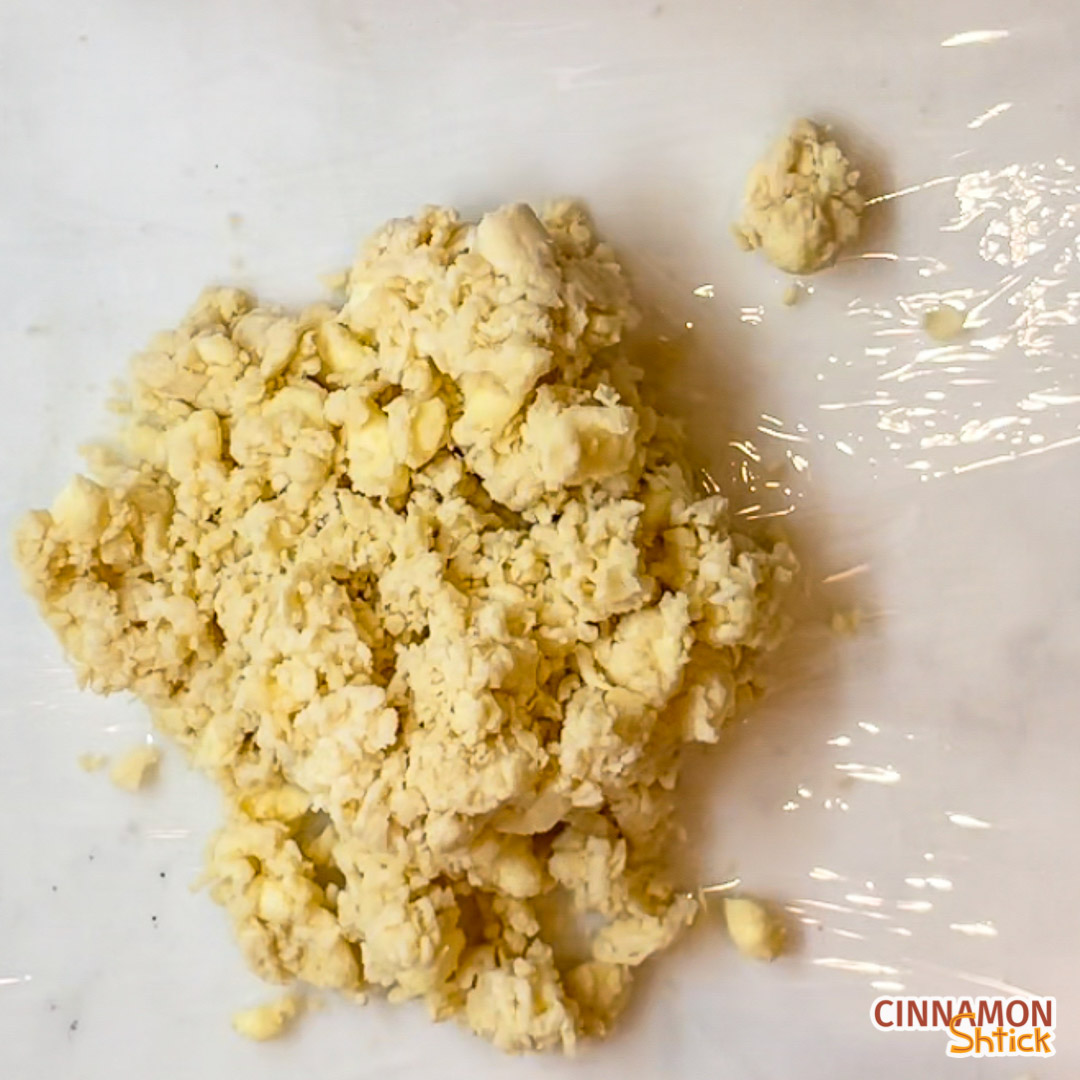
3. Slowly add ice-cold water
I could not be more literal about this. Add in the ice-water 1 tablespoon at a time. You do not want to over-hydrate the dough. How do you do this?
Make a well in the center of the flour/butter mixture. Add 1 tablespoon of water into the well. With your fingertips, toss the flour into the well. The goal is to hydrate the flour/butter. Once the water is absorbed, make another well, and add another 1 tablespoon of ice-cold water. Repeat as necessary but with half a tablespoon at a time. The dough should just barely come together.
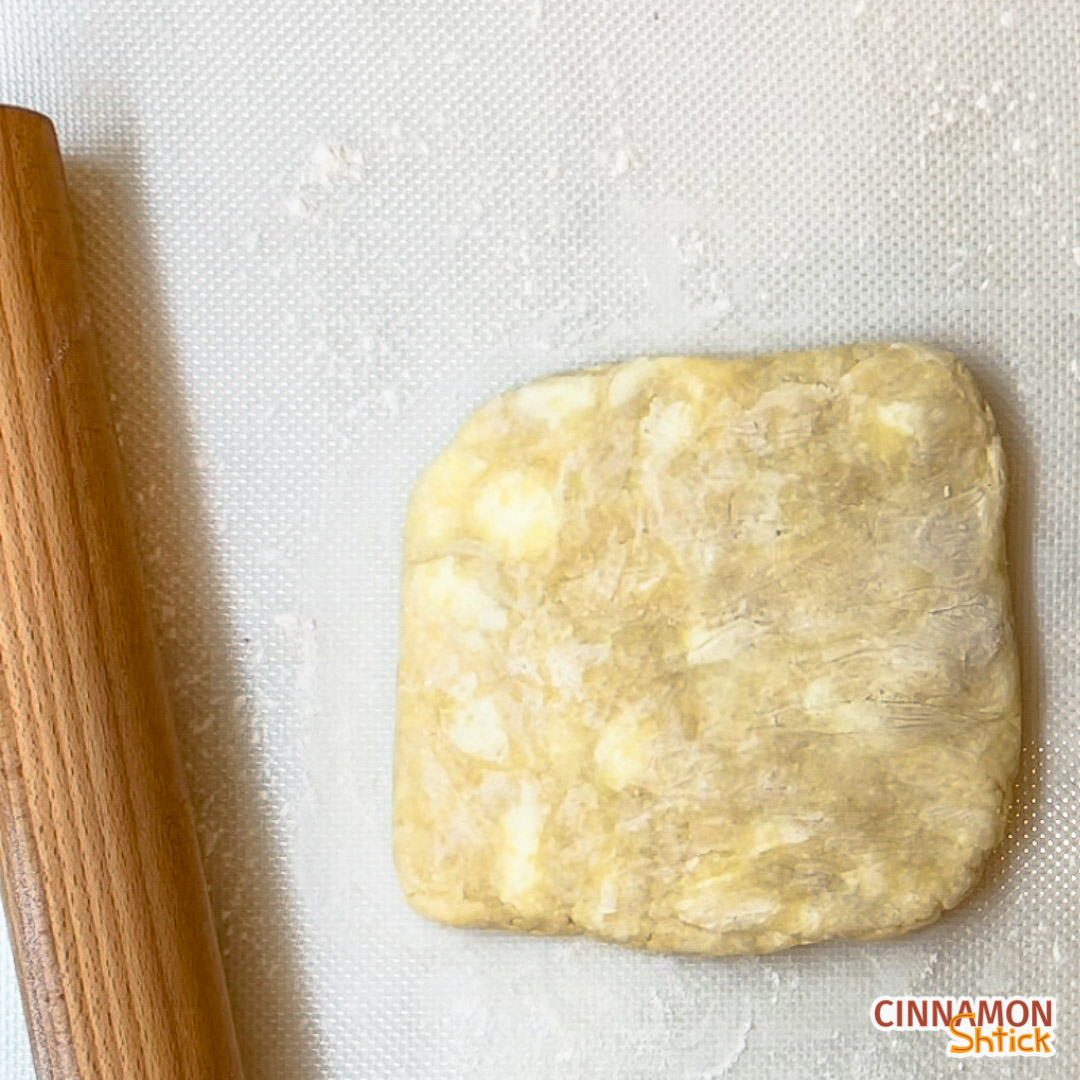
Roll out a piece of plastic wrap and dump the dough onto it. Use the plastic wrap to press the dough together and to shape it into a square-ish rectangle. It does not need to be perfect! Pop it into the refrigerator for at least 30 minutes.
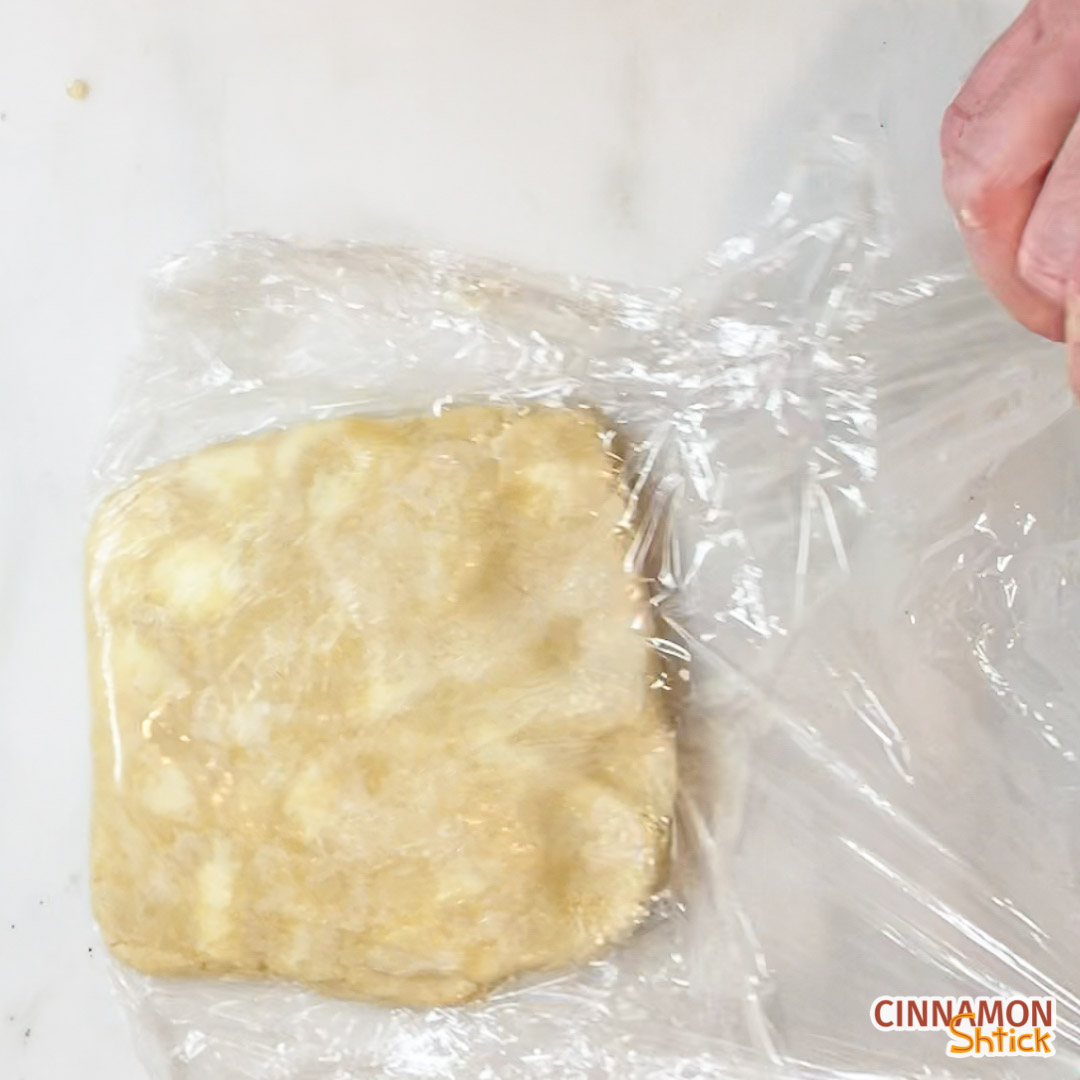
Nerd alert: The butter and water need to always be cold because, with cold liquid, you are less likely to develop the gluten in the flour. If the gluten gets developed, the dough will be more chewy and less flaky. This is also the same reason to refrigerate the dough before rolling it out or making it into a perfectly super-flaky crust.
How to make a perfectly super-flaky crust
While you could just roll out the dough for your pie tins at this point, there’s a trick you can do get your crust even flakier.
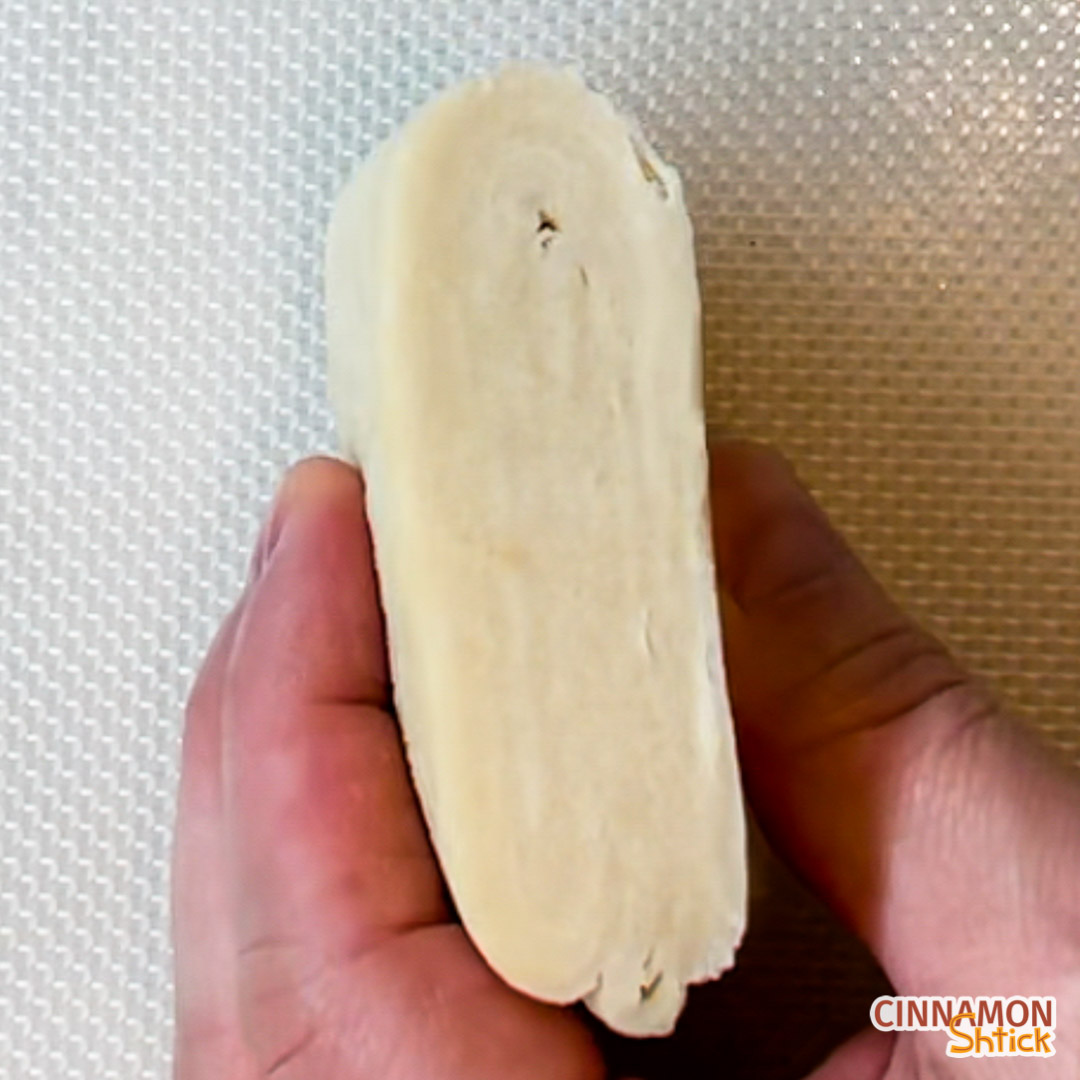
Laminate the dough
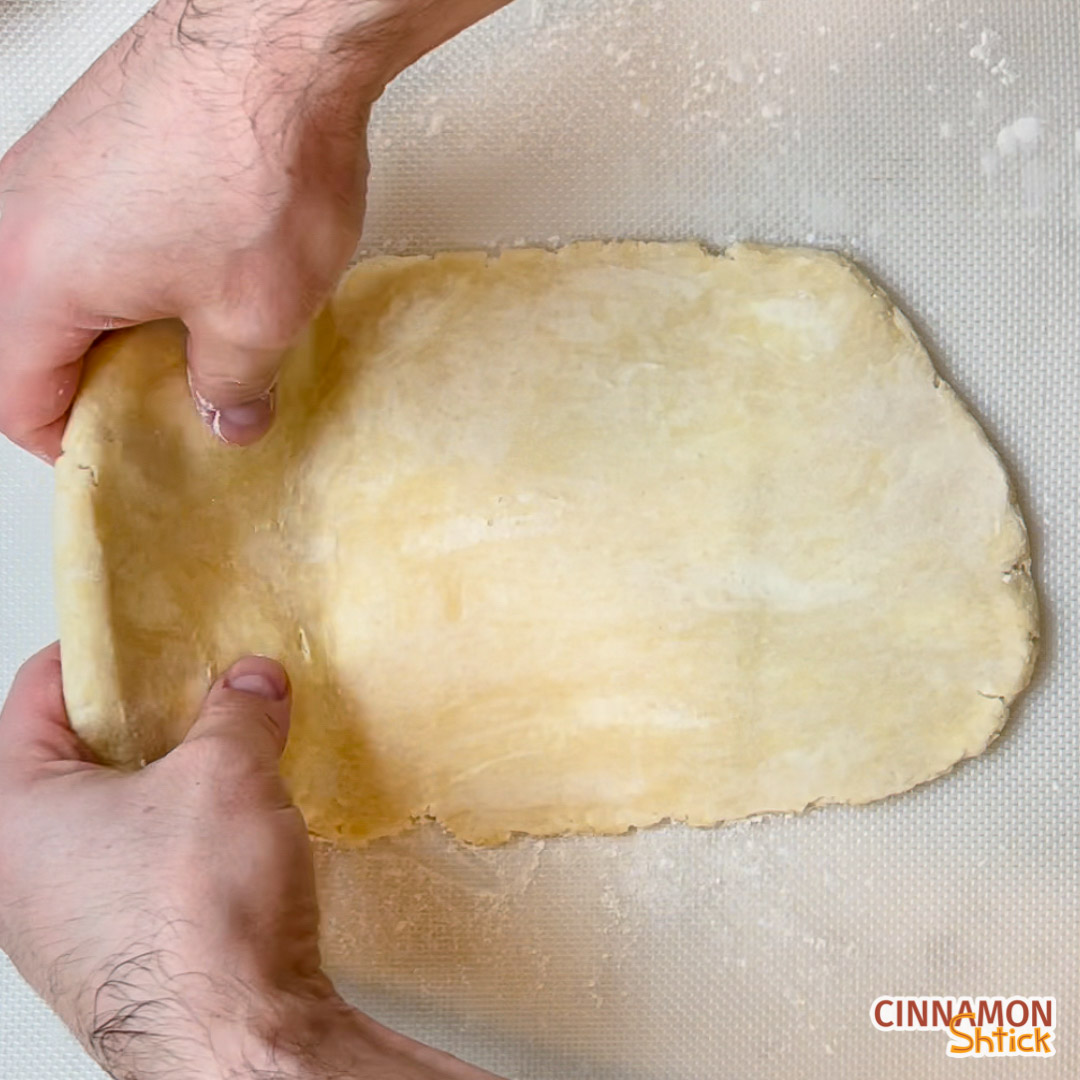
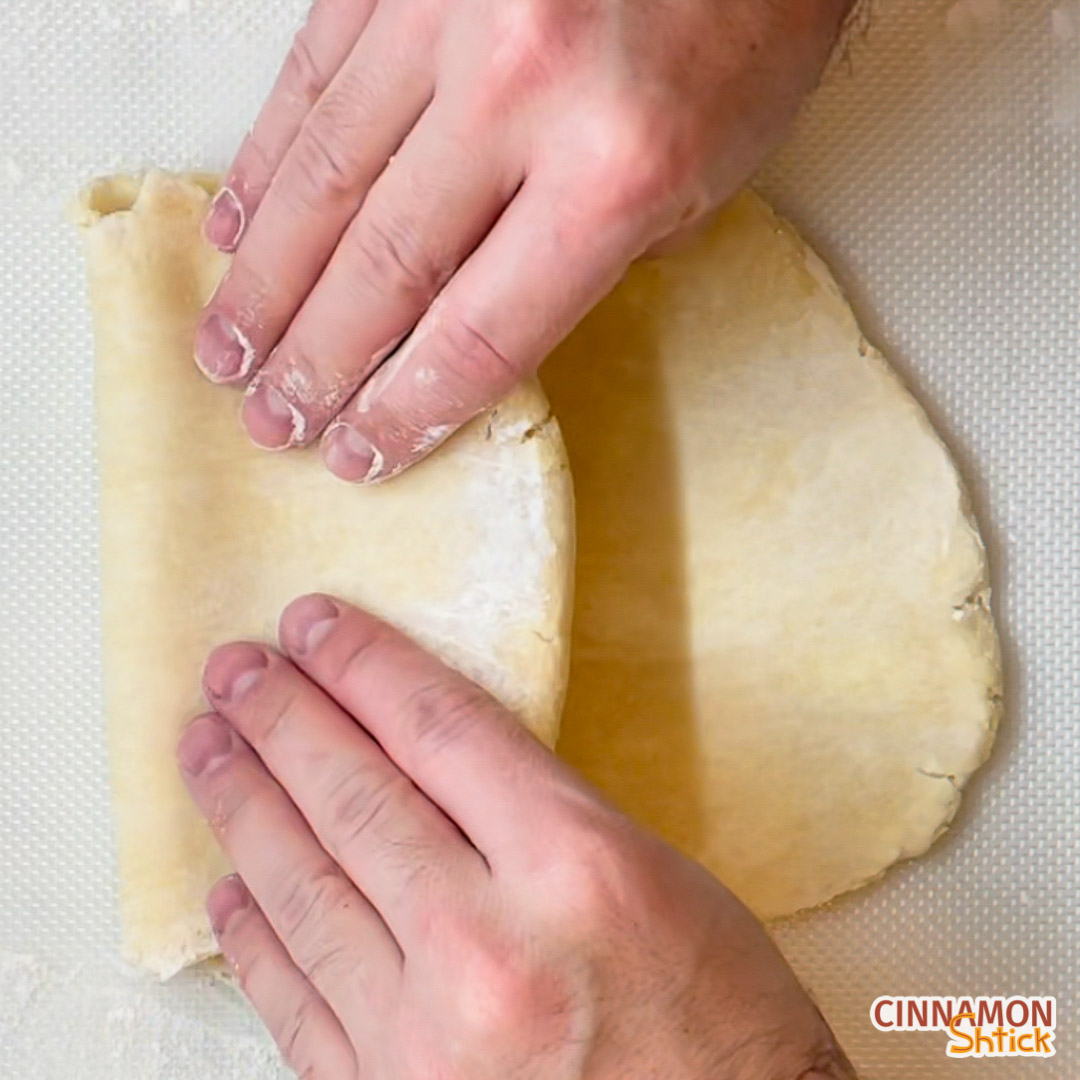
After a 30 minute rest in the refrigerator, roll the dough out into a rectangle. I am not giving you a precise measurement here because it does not need to be precise. Just get it long enough (at least 12 inches) so that you can do a letter fold. All that means is that you take the bottom third of the long piece of dough, pull it up onto itself about two-thirds of the way up. Then take the top third and fold that over. Now it’s folded like a letter. (Nerd alert: This process is called lamination, although it’s usually done with dough and blocks of butter, resulting in numerous alternating layers of dough and butter. This is how croissants and Danish dough are made.)
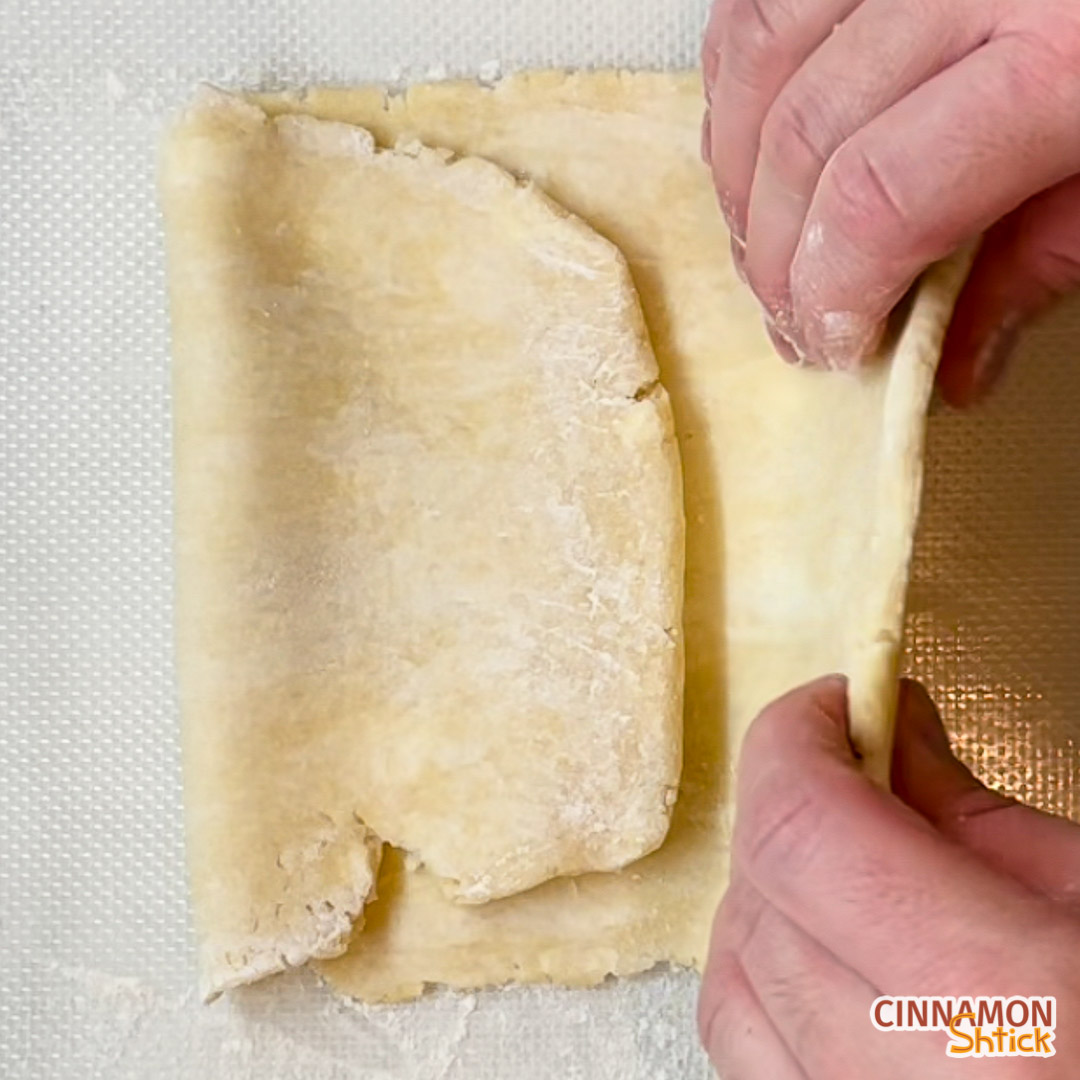
Rotate it so that a sealed end is to your left. Roll it out again and do another letter fold. Repeat one more time. (As you do these folds, the dough will become easier to work with.) So long as the dough is cold, the layers will not really mold into each other. If the dough seems to be reaching room temperature at any point, wrap it up in plastic wrap and pop it in the refrigerator for a half hour. Once you have all the folds done, cover with plastic and refrigerate another half hour before rolling it out and putting it into the pie pans.
Why laminate the dough?
Your dough will be super-flaky because of the layers you created with the folds. Now, in addition to pieces of butter (which create flakiness, in part, when the water from the butter turns to steam in the oven), you have layers and layers to help ensure a flaky result.
*As an Amazon Associate, I earn from qualifying purchases.
Simply Delicious Blueberry Filling
As I said earlier, I used frozen blueberries in this filling. I highly recommend taking the blueberries out of the freezer at least 30 minutes before you mix in the rest of filling ingredients. The thawed blueberries will absorb the other ingredients much better than when they are frozen, which will result in a much more flavorful pie,
If you use fresh blueberries, you might want to decrease the cornstarch to 1 teaspoon.
Small Batch Mini Blueberry Pies
Equipment
- 2 5-inch pie dishes
Ingredients
Dough:
- 135 grams all purpose flour (1 cup plus 2 Tablespoon)
- 1 Tablespoon sugar
- ¼ teaspoon fine sea salt
- 85 grams unsalted butter, refrigerator cold or frozen if using food processor, cut into ¼ inch pieces (6 Tablespoon)
- 2-4 Tablespoons ice cold water
- 1 Tablespoon cream or milk (to brush on tops of pies just before baking)
Blueberry Filling:
- 170 grams blueberries, fresh or frozen, but thawed if using frozen (6 ounces or ½ pint or 1 cup)
- 25 grams sugar (2 Tablespoons)
- 1½ teaspoons cornstarch (½ Tablespoons)
- ¼ teaspoon cinnamon
- small pinch ground cloves
Instructions
Dough:
- In a mixing bowl, whisk together the flour, sugar and salt. Add all the butter. Using your hands, coat each piece of butter with the flour mixture. Pinch the pieces of butter to flatten them a bit. Keep working the mixture for a couple of minutes until the mixture resembles coarse sand with most of the clumps of butter the size of peas and some larger pieces the size of small walnuts.
- Make a well in the middle. Add 1 Tbsp. of ice cold water into the well. Using your hands, scoop the flour from the sides and the bottom to hydrate the flour/butter mixture with the water. If the mixture is too dry, create another well in the middle and add an additional Tbsp. of ice cold water. Repeat as necessary with ½ Tbsp. of ice cold water.
- Pour the entire mixture onto a sheet of plastic wrap. Push down on the plastic wrap to flatten the dough together into a square-ish rectangle, making it as even as you can. Place the wrapped dough in the refrigerator for at least 30 minutes and up to 24 hours.
- Extra Flaky Crust: For an extra flaky crust, remove the dough from the refrigerator and let it rest at room temperature for appoximately 5 minutes. Lightly flour your work surface, rolling pin and the top of the dough. Roll the dough into a rectangle, at least 12 inches and up to 20 inches long. Fold it like a letter, dusting off any excess flour. Rotate the dough 45° so that a closed seam is to your left. Roll it out again and do another letter fold. (If the dough is close to room temperature, cover with plastic wrap and place it back into the refrigerator for 20 minutes.) Roll it out a third time and do one more letter fold. Cover with plastic wrap and place it in the refrigerator for 30 minutes.
- Divide the dough into four portions, two of which can be slightly bigger than the other two. Roll the two bigger ones into circles to fit into the bottoms of both pie dishes with at least a ½ inch overhang. Once in the pie dishes, place them in the refrigerator. Meanwhile, roll out the remaining two pieces into discs to fully cover your pies, or, if feeling ambitious, cut strands to make lattice tops. Cover with plastic and place in the refrigerator.
- Preheat oven to 425°F.
Blueberry Filling:
- In a small bowl, mix together all the filling ingredients.
Shape Pies:
- Remove the prepared pie tins from the refrigerator. Divide the blueberry filling into both. Cover the tops with the remaining, rolled out doughs or create a lattice top. If too much dough is hanging off the sides, use scissors to trim it. Tuck any overhang into the pie dish and crimp as desired. (If using the full disc for the top, use a sharp knife or a fork to poke a few holes in the top to allow steam to esacape as te pie bakes.) Place prepared pies into the freezer for 15 minutes or the refrigerator for 30 minutes.
Bake:
- Brush some cream or milk on the top and sprinkle with sugar. (Any kind of coarse sugar is great here.) Bake for 5 minutes, then lower the temperature to 375° F for an additional 55-60 minutes. The top crust should be golden brown, and the fruit should be bubbling. Allow to cool before serving.
Notes
- If using a food processor for the dough, make sure the butter pieces are frozen and check the dough after each addition of water.
- If using fresh blueberries, decrease the cornstarch to 1 teaspoon.