
This post may contain affiliate links. As an Amazon Associate, I earn from qualifying purchases. For more information, please visit my Privacy Policy.
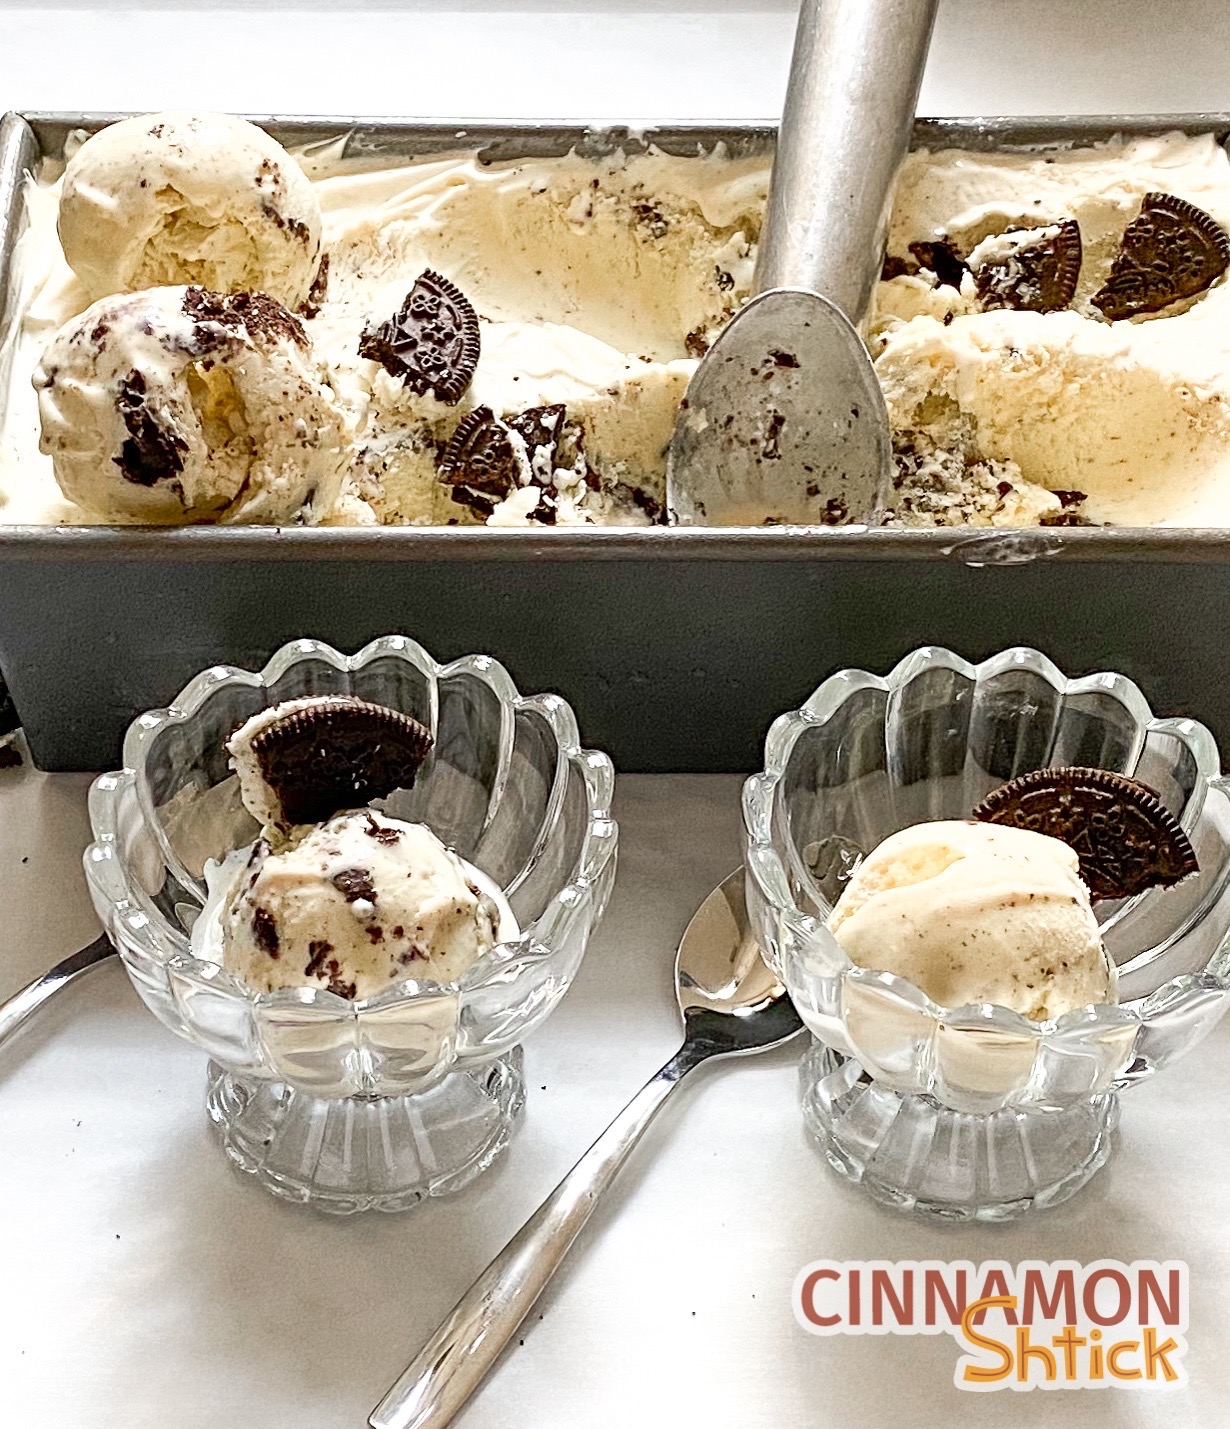
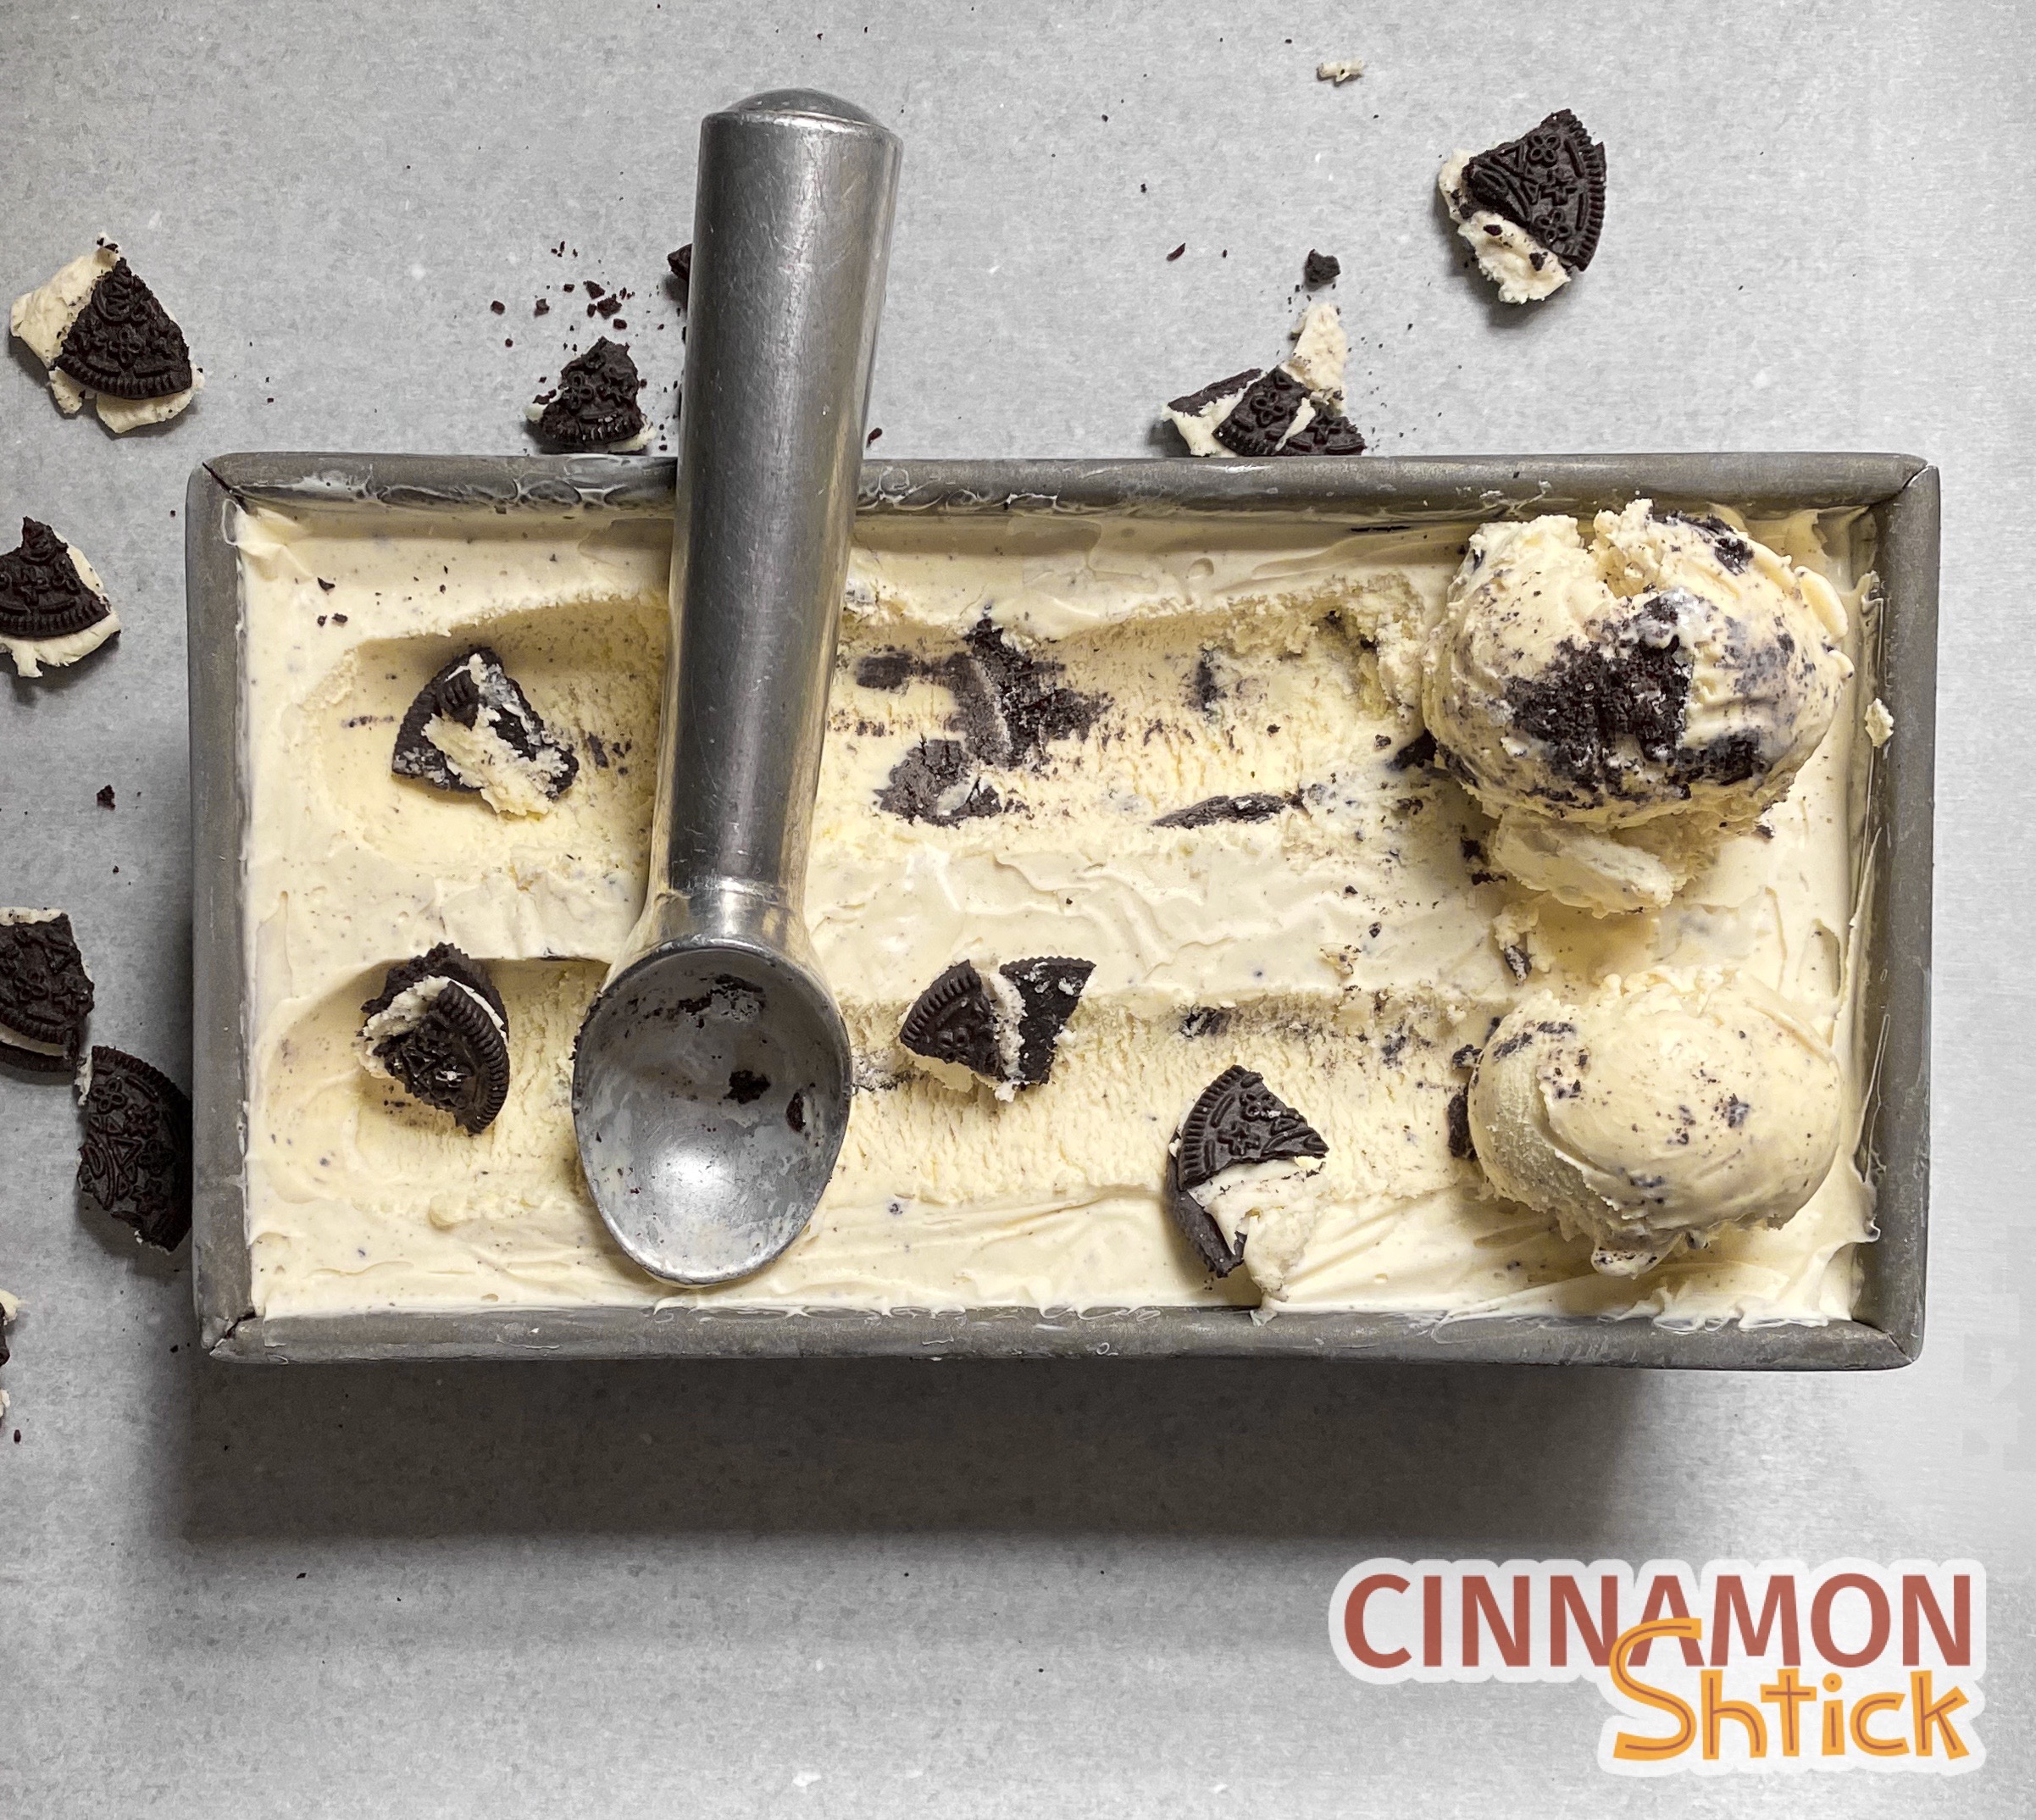
While cinnamon is totally my jam, and I do LOVE my Cinnamon Stick Ice Cream, my true #1 fave I Scream is, without hesitation, cookies and cream. At its core, it is simple: vanilla ice cream with cookies mixed in. But there is something just so incredibly satisfying about this combination. The vanilla in the ice cream just complements the black cocoa in the cookies like nobody’s business! Plus, I am a sucker for all kinds of junk in my ice cream. The contrast of the smooth, creamy ice cream with a somewhat crisp, chocolate cookie – PURE JOY!
To be perfectly frank (one of my favorite sayings), I have resisted making cookies and cream because I know myself too well. I will go to town on the entire batch in one sitting. Yes, I fully admit I have no self control.
But, a friend of mine showered me with the gift of a package of sandwich cookies. Of course, I seriously contemplated opening the package, sitting on the sofa, and popping them in my mouth like popcorn. But then I realized I need – NEED – ice cream. And, to prevent myself from eating the entire batch, I shared it with my neighbors.
What Makes this Cookies and Cream Ice Cream so Spectacular?
In this recipe, I use the same base as I use in my Cinnamon Stick Ice Cream. I could have just made a cinnamon cookies and cream (which, you should know, is downright delicious – just sayin’…), but I wanted to kick it old school. I also wanted a deep vanilla flavor in the base. So, for this recipe, I use the scrapings of one vanilla bean plus 1 tsp. of vanilla bean paste.
The vanilla been seeds deliver the deepest, best vanilla flavor. Plus, the visible seeds in the ice cream are just so darn pretty! The vanilla bean paste delivers additional seeds. Plus, because it is a paste, it dissolves and mixes into the entire base mixture for vanilla favor in every corner of the base. Could you use vanilla extract? Of course. You just get a stronger, prettier result with the vanilla bean and vanilla paste combination.
As for the cookies, use your favorite brand. Oreos, of course, work great. Newman’s Own seems to have a higher cream to cookie ratio, which I rather enjoy.
Ice Cream Making Tips
Making ice cream is actually quite simple and does not require much active time. Here are a few tips to follow when making ice cream:
Prep your ingredients
Most importantly, separate your eggs. (Save the whites for an omelet or another sensible pastry product like the marshmallow crème frosting in my Chocolate Cake with Marshmallow Frosting, my Chocolate Egg White Cake, meringues, a chiffon cake, an angel food cake…)
If you have never used a vanilla bean before, do not be scared of it! With a paring knife, simply slice it down the middle lengthwise, scrape both sides with the back of your knife, and throw all those yummy seeds together with the entire split bean (also called a pod) into the saucepan.
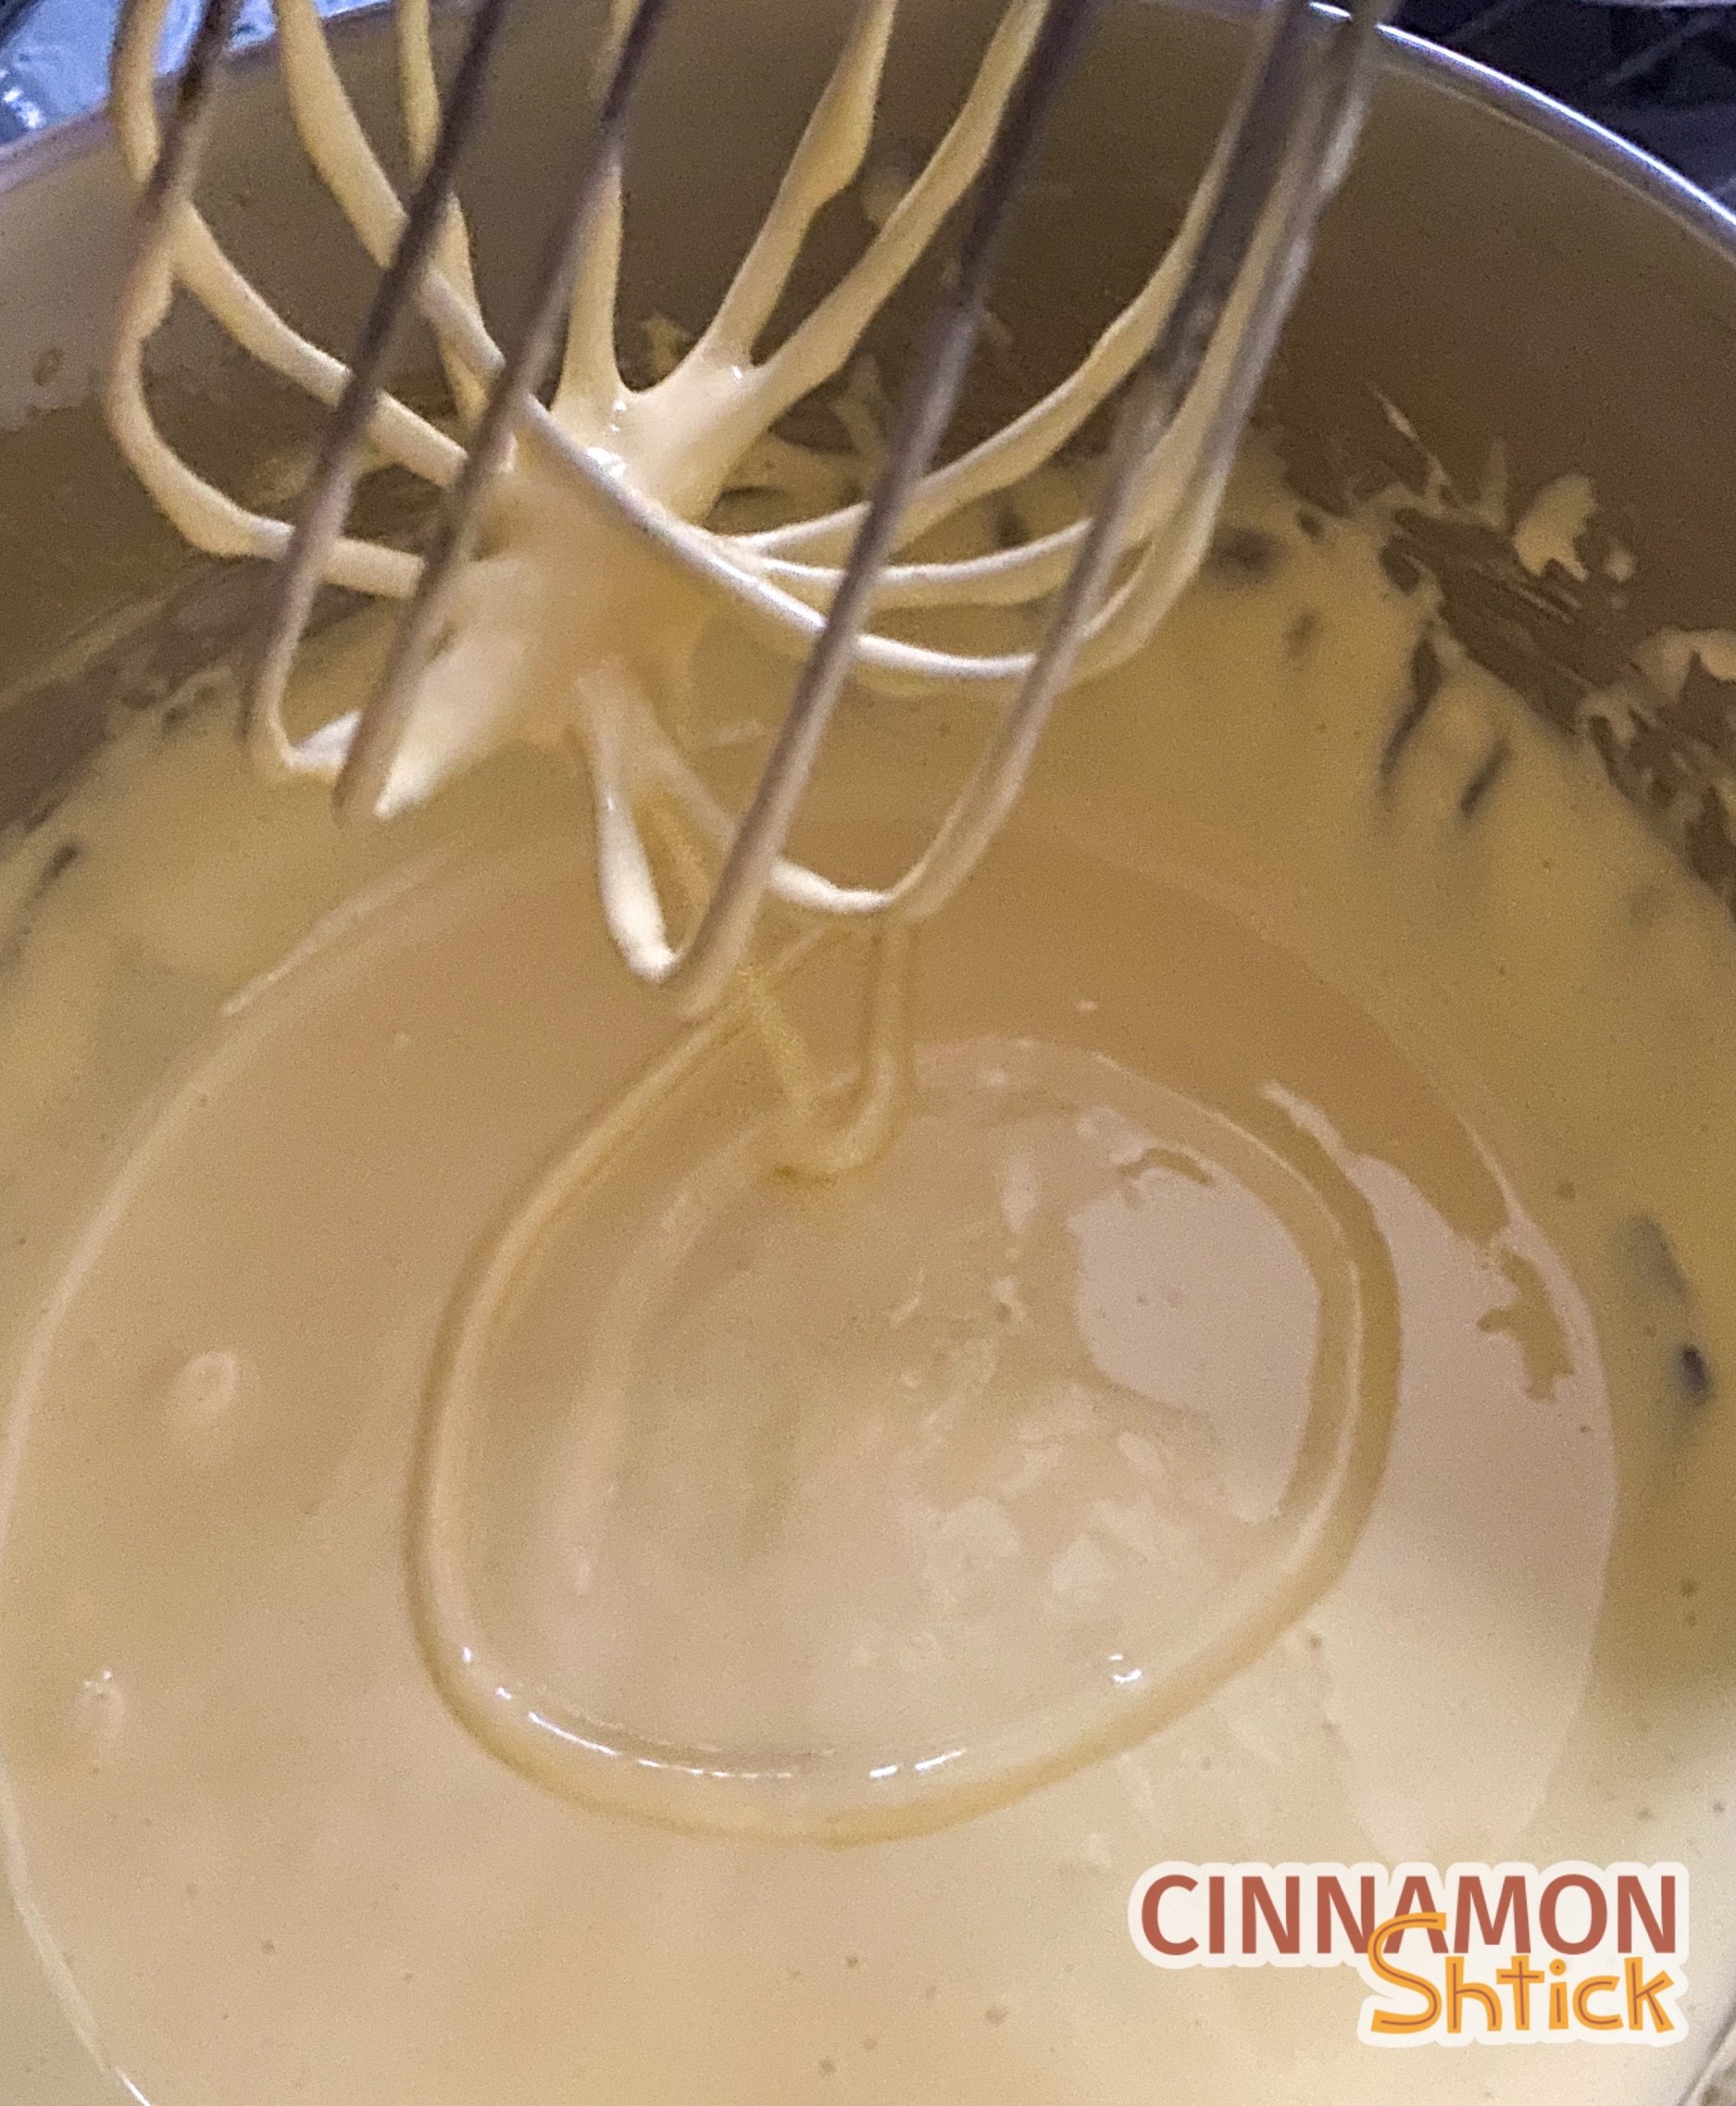
Whisk the yolks with half the sugar
I usually get this started before I heat up the liquid ingredients to get a head start on it. This can be a bit of a workout, but it is an essential step to a creamy ice cream! You want to whisk the yolk/sugar mixture until it is thick, pale yellow in color and forms a ribbon when dripped on itself. (Nerd alert: We use part of the sugar here because it helps strengthen the proteins in the yolks to hold small air pockets that result in a creamy ice cream.) If you’re feeling lazy, you can always let the mixer do the whisking.
Temper the yolks
You need to whisk the heated liquid mixture into your beaten yolk/sugar mixture. To do this, it is imperative that you continuously whisk the yolk/sugar mixture from the time that the first drop of the heated liquid ingredients come into contact with the yolk/sugar mixture. (Or else you’ll end up with scrambled eggs!) This step is probably easiest with another set of hands to hold the bowl of the thick yolk/sugar mixture. If no one else is around (no one ever is when I make ice cream), place your yolk/sugar mixture bowl on a rubber mat (like a Silicone Hotpad) or wrap a wet a dishtowel around the base of the bowl so that it does not move while you whisk. (Swaddle that baby!)
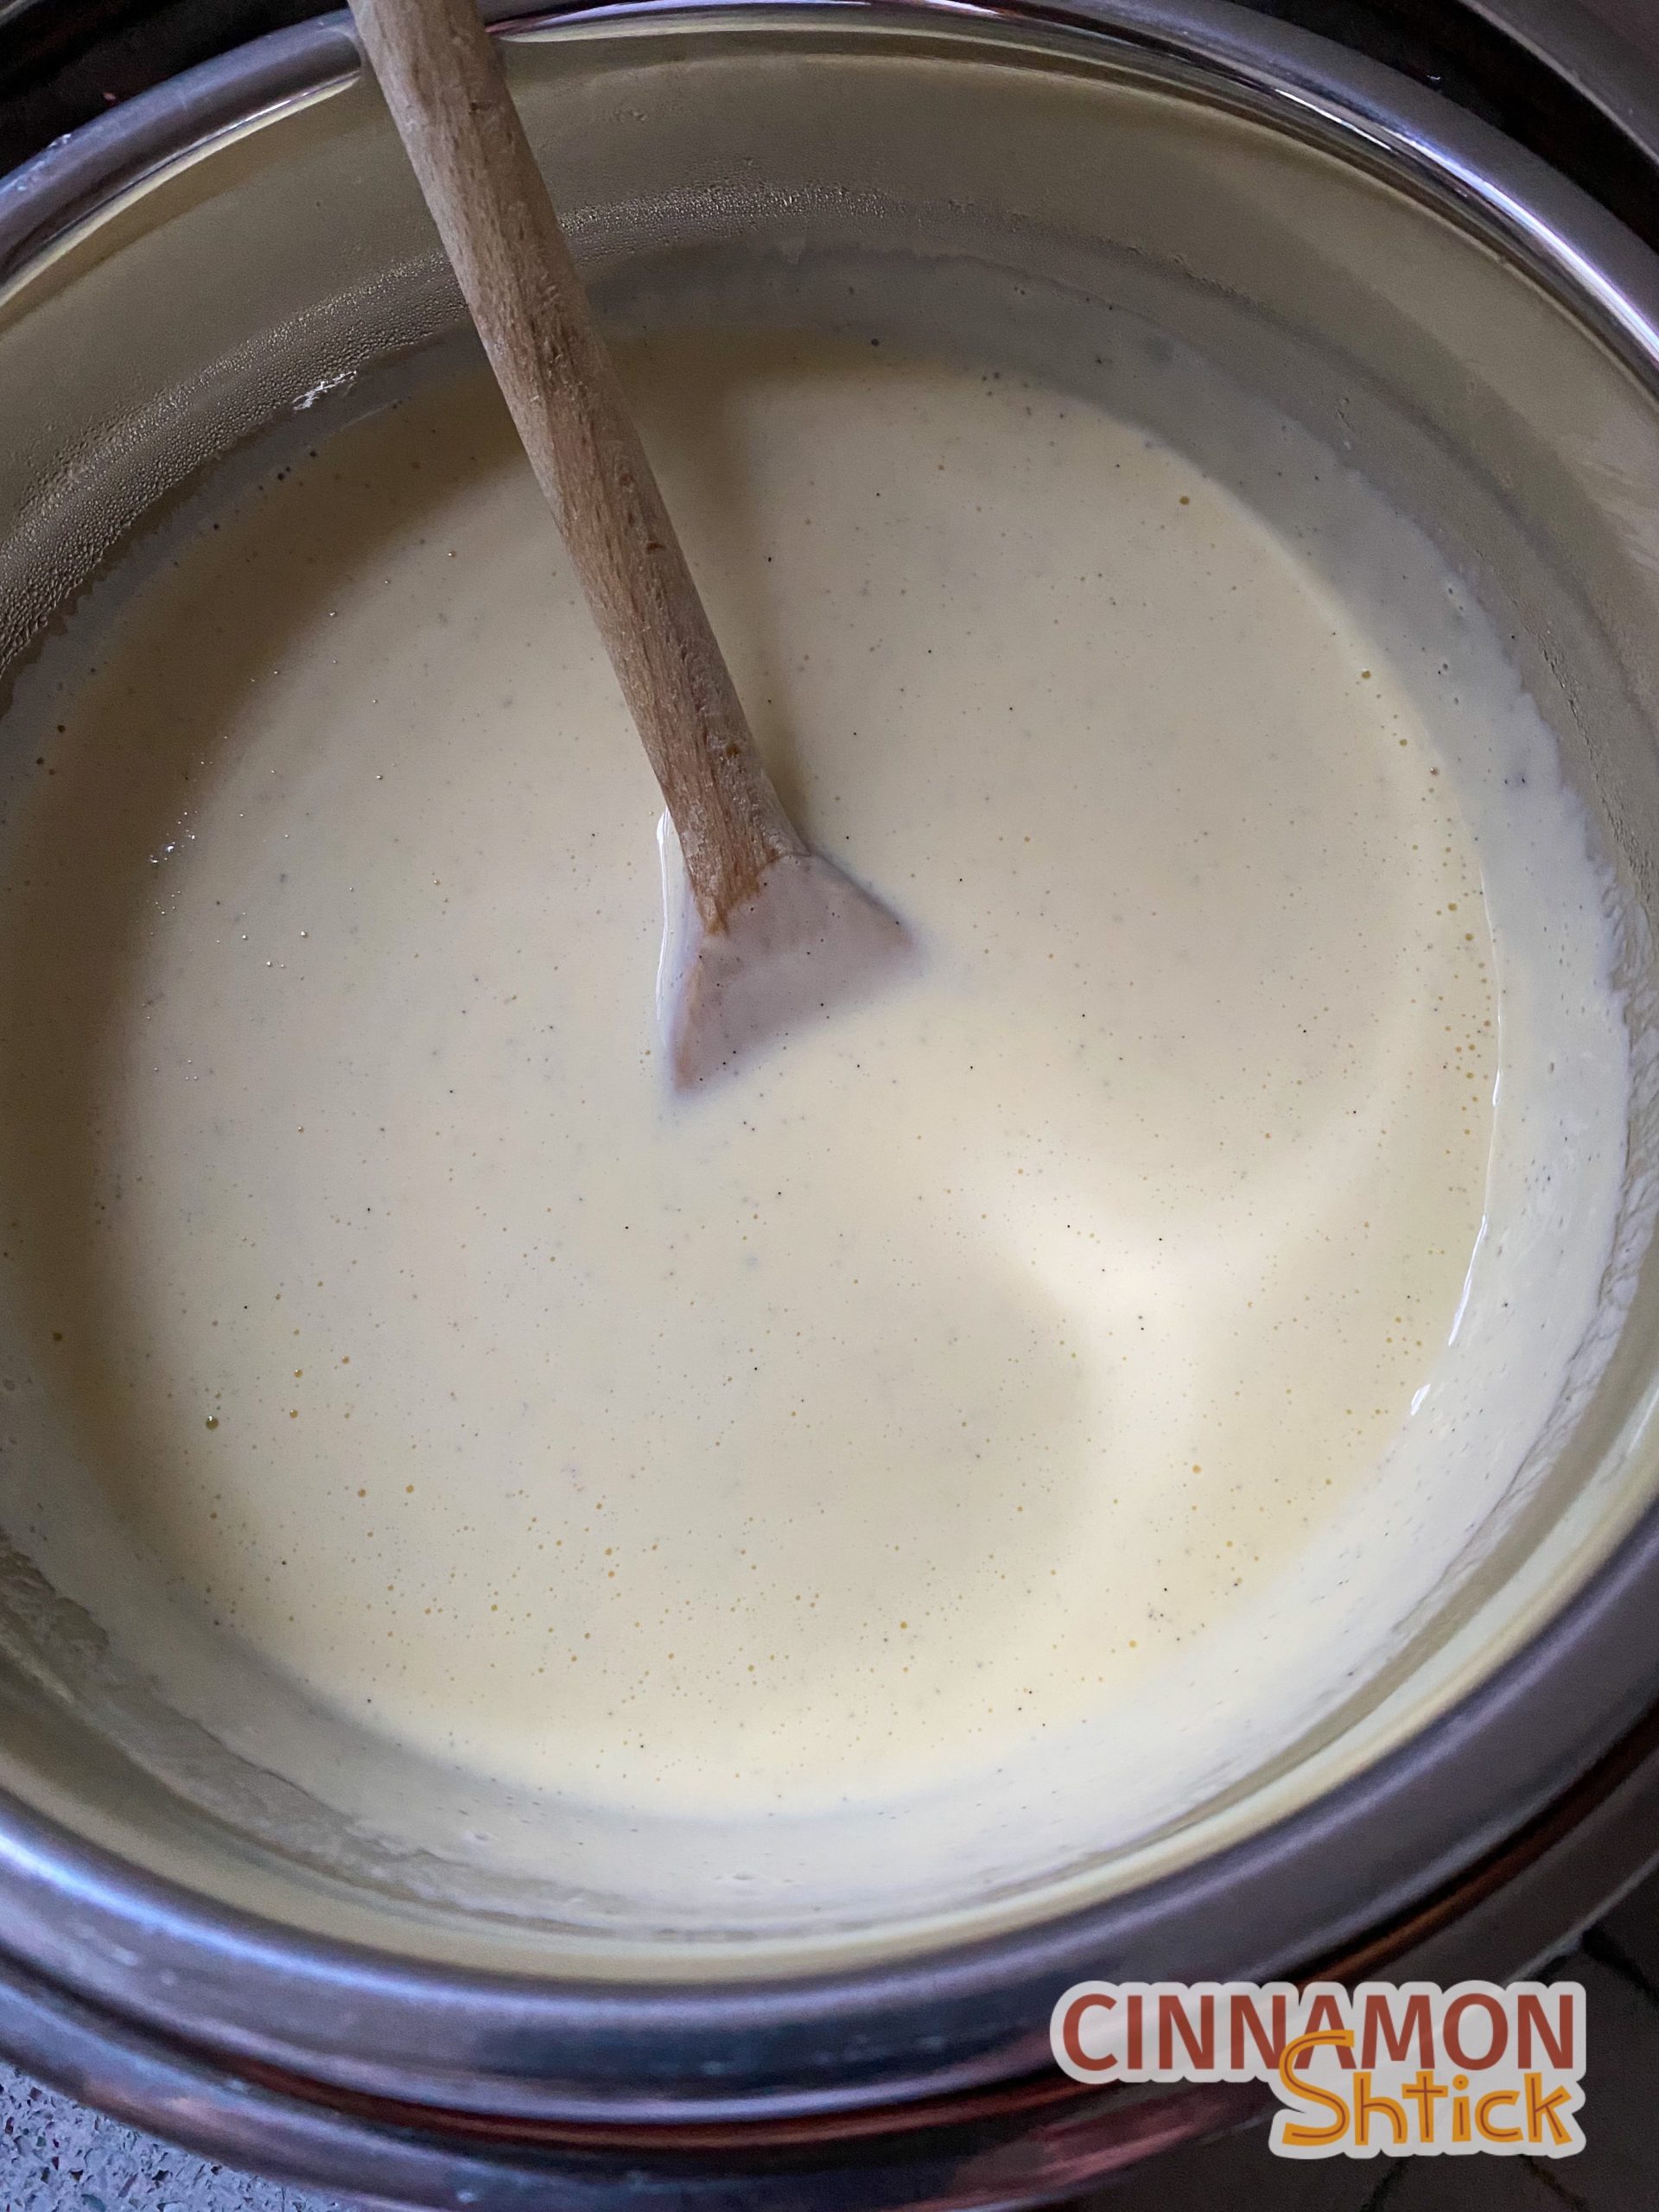
Heat to 185°F
Once you got the eggs added to the hot milk, return the whole she-bang to the pot, stirring constantly with a wooden spoon or heat proof spatula until the temperature reaches 185°F. Yes, many recipes tell you that you should heat until a line holds on the back of the spoon. However, the only way to be certain that the custard is fully cooked is to take its temperature. It usually only takes a minute or two to reach the desired temperature. I highly recommend a Thermapen thermometer from ThermoWorks. I literally use it to take the temperature of anything I make, from ice cream to breads to tempering chocolate.
Strain and chill
It’s always a good idea to strain the mixture just in case a little of the egg started to scramble. You will also catch the vanilla bean pod for easy removal. It’s best to do this over an ice bath so that the mixture cools down quickly (usually takes about 10 minutes, stirring every few minutes) so you can get it into the refrigerator. Cover the mixture with plastic wrap directly touching the surface and chill in the refrigerator for at least 4 hours. (I usually let it sit overnight and churn it in the morning.)
While you could go right ahead and churn it in your ice cream machine once it is at room temperature, it’s best to let it chill in the refrigerator so that the flavors develop further. I also find that, with at home ice cream makers, I end up with a better result churning a refrigerator cold ice cream base as opposed to a room temperature ice cream base. (I use the Kitchen Aid Ice Cream Maker Attachment which has been great. I am currently saving up though for this Cuisinart ice cream maker though because it does not require pre-freezing the mixing container.)
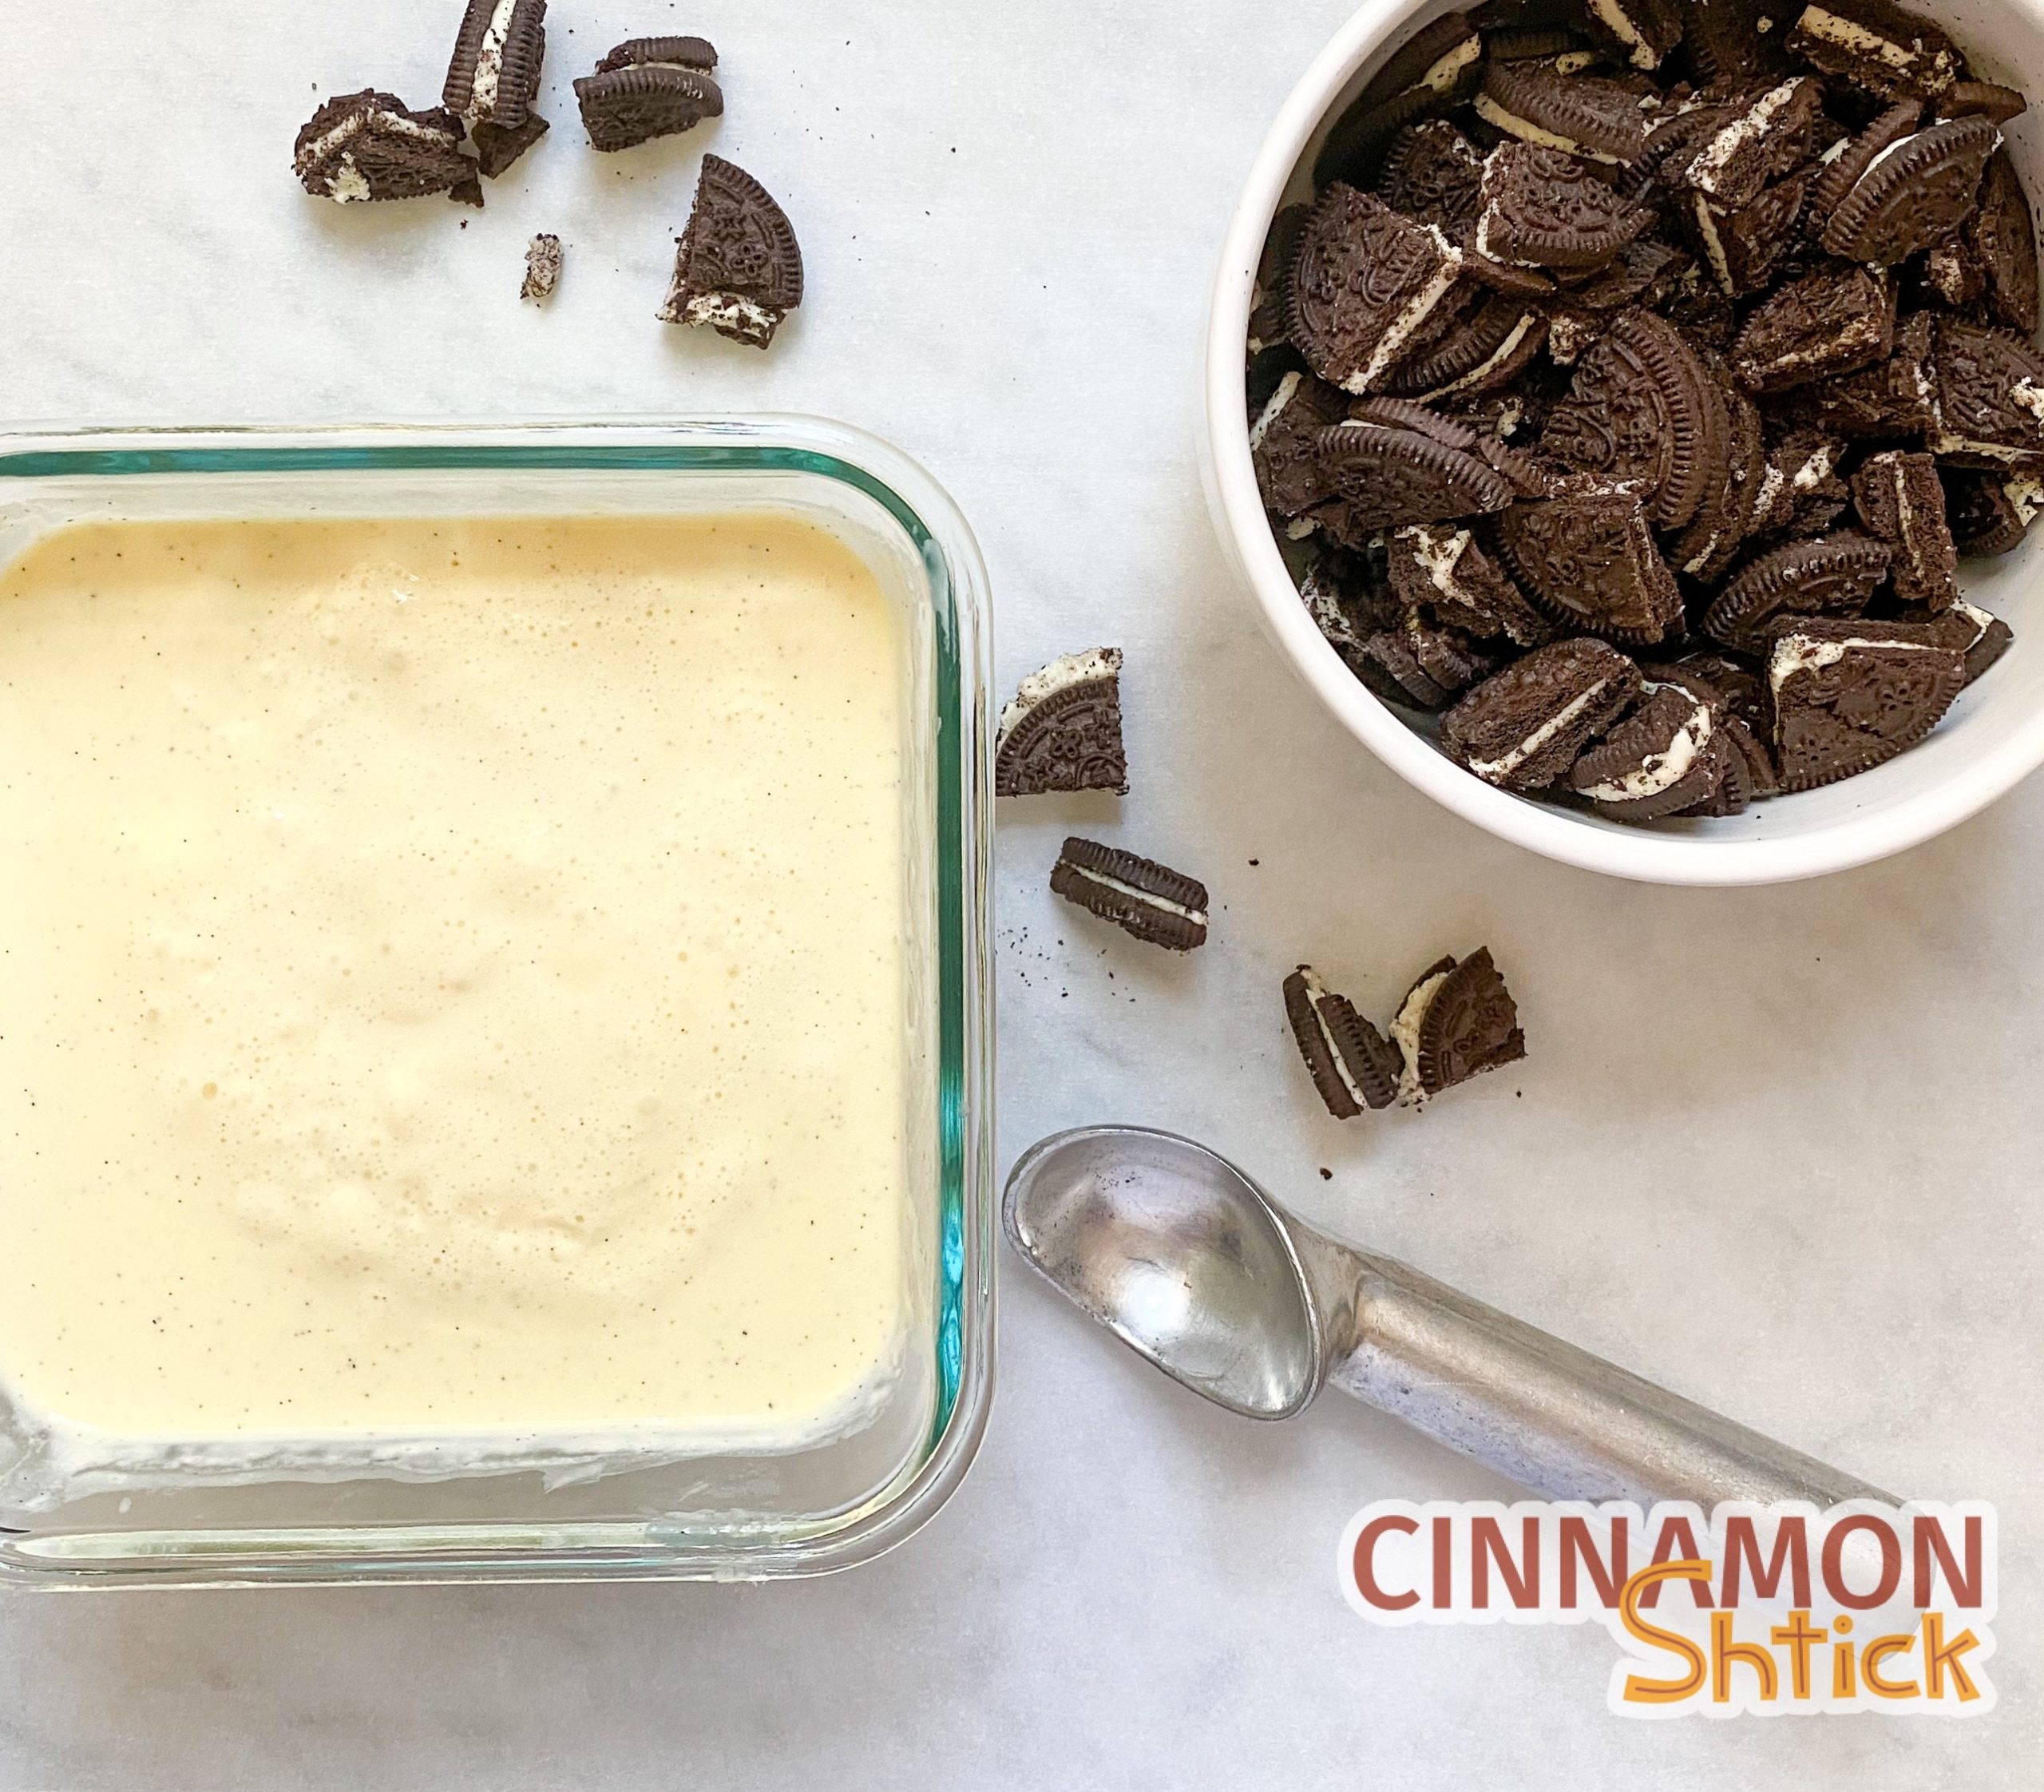
Churn and Add Cookies
Follow the manufacturer’s directions of your ice cream maker to churn the ice cream. At the very end, add the chopped cookies. You may have to mix them in by hand with a rubber spatula or wooden spoon once you turn your machine off.
Cookies and Cream Ice Cream
Ingredients
- 1 vanilla bean
- 1 tsp. vanilla bean paste
- 550 g whole milk (2 cups plus 2 tbsp.)
- 255 g. heavy cream (1 cup plus 1 tbsp.)
- 200 g. sugar, divided (1 cup)
- 6 large egg yolks
- 20-25 sandwich cookies
Instructions
- Fill a large bowl half way with ice. Pour cold water over the ice so that the bowl is no more than ⅔ high. Place a clean bowl on top of the water bath. Place a strainer over the empty bowl. Set aside
- Slice the vanilla bean with a paring knife down the middle lengthwise and scrape the seeds out with the back of your knife. Place the pod and the seeds into a 2 or 3 quart saucepan. Add the vanilla paste, milk, cream and half the sugar. (You can eyeball half the sugar.) Over low to medium heat, stir the mixture occasionally to ensure the sugar dissolves. Heat to a simmer.
- While the liquid heats up, vigorously whisk the egg yolks with the remaining sugar. You want to whisk it until the mixture turns pale yellow, becomes thick, and forms a ribbon when dripped on itself. (You can use an electric mixer with the whisk attachment if you are feeling lazy. It will take approximately 5 minutes of constant whisking by hand.)
- Once the liquid mixture comes to a simmer, turn the heat off and let it sit for a minute or two. With the bowl containing the egg/sugar mixture secure on the counter (if no one is around to hold it, place it on a rubber mat or wet a dishtowel and wrap it around the base of the bowl), slowly pour the heated liquid mixture into the eggs, whisking constantly. Once fully incorporated, pour the contents of the bowl back into the saucepan. Over a medium-low heat, stir the mixture constantly with a wooden spoon until it reaches 185°F or a line holds when you drag your finger across the back of the wooden spoon. (It should only take a minute or two to reach the correct temperature.)
- Immediately remove the saucepan from the heat and pour the cooked mixture through the strainer into the empty bowl sitting in the ice water bath. Lift strainer and discard the vanilla bean. (You can rinse off the vanilla bean in cold water and let it air dry completely for 24 hours. Save it for later use, such as to make vanilla sugar.) Stir the mixture as it sits in the ice bath every 2 to 3 minutes until the mixture has completely cooled, about 10 minutes.
- Pour into a container. Cover with plastic wrap directly over (touching) the mixture. Cover and place in refrigerator for 4-24 hours.
- Chop the sandwich cookies and set aside.
- Follow your ice cream manufacturer’s directions to churn the ice cream. Towards the end, add the chopped cookies or fold in the cookies by hand with a rubber spatula. Transfer the ice cream to a freezer container. Cover with a piece of parchment paper or plastic wrap directly on the surface. Cover container and freeze.
4 Comments
I was a little scared to make my own ice cream, but the step by step instructions gave me the confidence to finally try it. And who doesn’t love cookies ‘n cream ice cream?! I will definitely be making this recipe again.
I could eat cookies and cream ice cream everyday. And even better, having this recipe to make it from scratch! So delicious.
Wow, it only takes 15 prep time minutes to make these cookies and cream ice cream? OH MY GOD! Clearly, I have been missing out! I am in awe.
This is one of my sister’s favorite ice cream flavors. I’ going to make it for her this weekend. Great recipe!