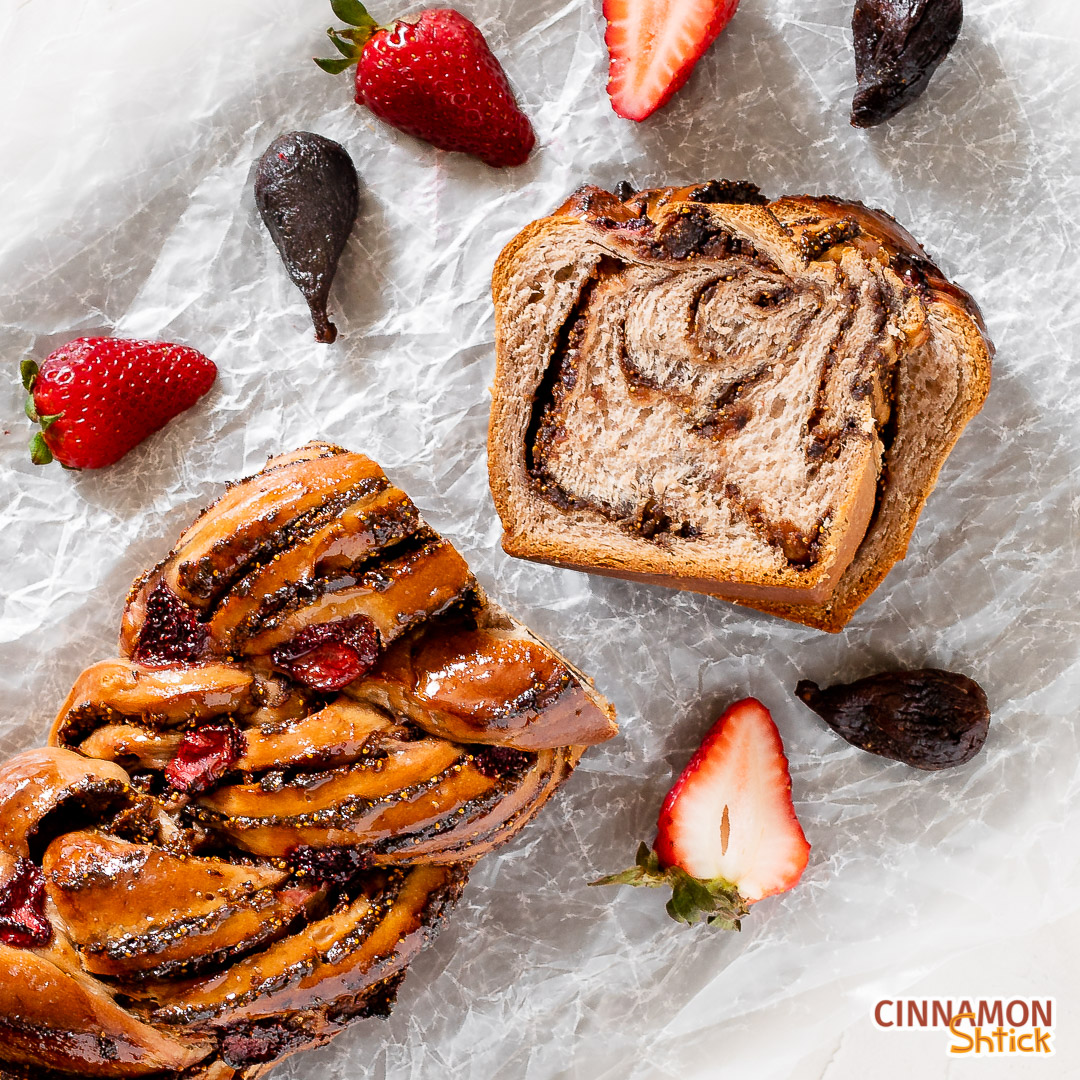
Strawberry Fig Babka
Strawberry Brioche is swirled with the ultimate fig filling for a unique and delicious babka experience.
Ingredients
Dough:
- 7 grams active dry or instant yeast (2¼ teaspoons or 1 envelope)
- 245 grams milk* (1 cup)
- 75 grams granulated sugar (⅓ cup plus 2 teaspoons)
- 1 large egg, at room temperature
- 1 large egg yolk, at room temperature
- 2 teaspoons vanilla extract
- 130 grams strawberry paste** (½ cup, packed)
- 550 grams all purpose flour (4½ cups plus 1 Tablespoon)
- 1 teaspoon salt
- 113 grams unsalted butter, at cool room temperature, cut into 8 pieces (8 Tablespoons or ½ cup)
Fig Filling:
- 14 ounces dried figs*** (stems removed and sliced in half)
- 59 grams Rum, Grand Marnier, Orange Liqueur, orange juice or water ( ¼ cup)
- 82 grams water (⅓ cup)
- 1 teaspoon orange zest
- 1 teaspoon cinnamon
- ¼ teaspoon fine sea salt or table salt
- 2 Tablespoons honey
Glaze:
- 45 grams water (3 Tablespoons)
- 50 grams sugar (¼ cup)
- ½ teaspoon vanilla
Instructions
- Prepare Dough. [If using instant yeast, skip to Step 3 and add the yeast and the milk with the rest of the ingredients.] In microwave at 20 second intervals, stirring after each interval, warm milk to body temperature, generally between 105°F and 110°F. Alternatively, you can heat the milk in a saucepan on a low flame, stirring constantly. Either way, do not let the milk get above 115°F. (If you do, just let it sit out at room temperature for a couple of minutes constantly checking it until it cools to body temperature.)
- Place warmed milk into bowl of electric mixer. Sprinkle yeast and approximately 1 tsp. of the sugar over the milk. Using a fork, stir the mixture to distribute the sugar and hydrate the yeast granules. Allow to sit for approximately 3-5 minutes until the mixture gets foamy.
- Add the room temperature egg, the room temperature egg yolk, the strawberry paste, and the vanilla to the mixture. Using the dough hook, turn the mixer on at a low speed and add the rest of the sugar. With the mixer running at the lowest speed, add the flour. As the flour starts to get absorbed by the liquid mixture, raise the mixer to a medium speed. You may need to turn the mixer off once or twice to wipe down the sides of the bowl with a dough scraper or rubber spatula. Allow to knead for approximately 3 minutes. The dough should clean the sides of the bowl and be tacky, but not too sticky. If it is too wet (sticking to the sides and bottom of the bowl), add some flour, no more than 1 Tbsp. at a time. If the mixture is too dry, add a little milk, 1 tsp. at a time.
- Lower the mixer speed to low (1 or 2 on the KitchenAid) and slowly add the salt, allowing it to knead into the dough, an additional 3 minutes. Stop the mixer and take a small piece (approximately 1 tsp.) of dough and stretch it between your fingers. It should form a “window pane”, meaning it should get thin enough that it is translucent without it ripping. If it is not at that point yet, continue kneading in the machine at 1 minute intervals. (It may just need an additional minute or two to reach the window pane stage. If it still isn’t there yet, check to see if the dough is too dry. If it is, add ½ tsp. water and knead another minute.)
- With the mixer running at medium speed, add the butter. It is best to add it one piece at a time, waiting until it is fully integrated into the dough before adding the next piece. You may need to turn off the mixer from time to time to push the slab of butter back into the range of the dough and the hook. This process will take approximately 5-10 minutes. Once all the butter is incorporated, the dough will look shiny and be slightly tacky. (If, after approximately ten minutes, the butter is still not fully incorporated, do not panic. Just move to the next step – having some unincorporated butter is not problematic in this recipe. That said, the key to incorporating the butter is nothing more than patience.)
- Lightly grease a bowl with a little butter or nonstick cooking spray. Form dough into a ball and place it in the bowl. Turn the dough over to coat it in the butter or nonstick cooking spray and cover tightly with plastic wrap.**** Let the dough sit in a warm area on the counter until doubled in size, approximately one hour.
- Fig Filling. Into a pot add the sliced, dry figs, all the liquids, the orange zest, the cinnamon, and the salt. Bring the mixture to a boil, then lower the flame as much as possible to maintain a simmer or 10-20 minutes, checking on them at the 10 minute mark and every few minutes therafter. The figs should be very soft and most of the water should have disappeared. If the figs are very dry, you may have to add 1 to 2 Tablespoons of additional water and cook for a few more minutes.
- Once the figs are cooked and very soft, move them to a food processer. Add the honey and process until smooth. Allow them to cool. The fig filling can be prepared up to one week earlier and stored in an airtight container in the refrigerator.
- Shape babkas. Prepare two loaf pans, 8 or 9 inches long, and 3 to 5 inches wide, by coating with nonstick cooking spray or butter. (Using butter imparts more flavor on the edges of your babkas.) For an even easier pan removal, use parchment paper on the bottom and/or sides of the pan, but be sure to coat the parchment with nonstick cooking spray or butter.
- Once dough has doubled in size, remove the plastic wrap and de-gas it by folding it over onto itself and knead it a few times by hand. Divide it in half, preferably by weight. Cover one half with plastic wrap until you are ready to work with it.
- With a rolling pin, roll dough out to three inches longer than the length of your pan. (If you are using a 9 inch long pan, roll it out to 12 inches, to form a rectangle of 12 inches by approximately 16-18 inches.) The dough should be approximately ⅛ inch thick.
- Leaving a border of ½ an inch on the top and sides, spread ½ of the fig filling (by weight) all over the rolled out babka dough.
- Have the dough facing you the long way so that the side of the dough that is three inches longer than the length of your pan is facing you. For example, if your pan is 9 inches long, the side of the dough that is 12 inches long should be in front of you. Roll the dough upward so that you have a 12 inch long log. Trim ½ inch to an inch from both sides of the log. (Tip: Save these trimmings and bake in a separate greased pan with trimmings from second log. This is the “mini babka” you get to taste so you can present the two babkas to your guests and already know how good it tastes!)
- Slice the log down the middle in half, exposing the layers of filling. Form an X with the two pieces, and cross the two over each other starting from the middle going down towards you. Repeat from the middle going up. Place dough in prepared pan. Cover loosely with plastic wrap and allow to sit until doubled in size, approximately 1 hour to 1 hour and 15 minutes.
- Repeat steps 11-14 with second portion of dough from step 10.
- Approximately 30 minutes into the second rise, preheat oven to 350°F.
- Once the babkas have doubled in size, bake for 55-65 minutes. (For an even prettier look, thinly slice a handful of strawberries and place them on top of the babkas just prior to putting them into the oven.)
- Towards the end of the baking time, in a small pot bring the water and sugar to a boil, stirring to ensure the sugar is fully dissolved. Remove from the heat and stir in the vanilla.
- The babka is done once the top is golden brown. (Best to take the babka’s temperature. It is done when the internal temperature reaches 205°F).
- Immediately after removing the babkas from the oven, brush the tops with the hot syrup glaze. Repeat with another coating of the syrup. Return to the oven for 2 additional minutes.
- Cool babkas in pans for 10-15 minutes and then remove them from their pans onto a wire rack. (Use a metal spatula or flat knife against the sides of the pans before turning the pans over.)
- Once at room temperature, if not eating immediately, cover in plastic wrap. If they actually last so long, they stay fresh for several days wrapped in plastic and stored at room temperature. They also freeze beautifully, wrapped in plastic wrap, for up to 3 months.
Notes
*Use whole milk, or if in a pinch, 2% milk. Anything less, and you will lose the benefit from the fats in the milk which add to both the flavor and texture of the babka.
**For the strawberry paste, puree in a blender at least 1 pound of slightly thawed (or entirely thawed) frozen strawberries. Pour the puree into a pot (2-quart pot works great here) and cook on medium low heat, stirring every 10-15 minutes, until it is thick and resembles tomato paste. If you draw a line through it, you should see the bottom of the pot and the mounds on either side of the streak should remain in place. Don't be afraid to cook it down even past this stage. The more water you cook out of it, the more concentrated strawberry you will have in the dough. (For a bolder strawberry flavor, add 1/2 cup or 12 grams of freeze dried strawberries ground in a blender to a powder.) Allow to cool at least 15 minutes before mixing it with the dough ingredients. Alternatively, store in an airtight container for up to seven days in the refrigerator, allowing it to come to room temperature before mixing it with the dough.
***SunMaid sells the figs in 7 ounce packages. Other brand sell them in varying sizes. Feel free to use between 12-14 ounces, depending on the brand you buy. No need to adjust the other ingredients.
****At this point, you can place the covered bowl, before letting the dough rise, in the refrigerator overnight. In the morning, continue with step 7. The dough may not have doubled in size in the refrigerator, but that is not a problem. After you have shaped the babkas and placed them in the pans in step 14, allow them to rise, loosely covered with plastic wrap, for 1½ to 2 hours, rather than 1 hour.
Nutrition
Calories: 204kcal | Carbohydrates: 36g | Protein: 4g | Fat: 5g | Saturated Fat: 3g | Trans Fat: 1g | Cholesterol: 26mg | Sodium: 110mg | Potassium: 169mg | Fiber: 3g | Sugar: 15g | Vitamin A: 159IU | Vitamin C: 4mg | Calcium: 49mg | Iron: 2mg