
This post may contain affiliate links. As an Amazon Associate, I earn from qualifying purchases. For more information, please visit my Privacy Policy.
As many others did, I created my current sourdough starter at the beginning of the Covid-19 pandemic shutdown in mid-March 2020. I had created starters before, but I had not really done much research on how to maintain them. Since I had the time at home, I dove deep into it! From the outset, one of my goals was to convert my Challah into a Sourdough Challah. After much trial and error, reading and understanding, I finally got it! I am sooooo excited about this Sourdough Challah recipe! I hope you enjoy it too!
Before we go anywhere with this, let’s get on the same page about what Sourdough Challah is and is not.
What is Sourdough Challah?
Sourdough Challah is not (necessarily) sour. This recipe is not remotely reminiscent of a sour tasting sourdough bread. Rather, this is a challah that is naturally leavened without the use of commercial yeast. If you are new to sourdough or want a little more background on sourdough starters, take a look at my Sourdough Starter Guide.
Why make a Sourdough Challah?
It is of course faster to make a challah using commercial yeast. And, yes, Sourdough Challah is a two-day “project”. I put that in quotes because it is not really such an ordeal. Although there is lots of time involved, 99% of that time is spent away from the dough, doing whatever else you want to be doing. There is very little active time.
There are a number of reasons why you should make Sourdough Challah. In no particular order, here are the ones that come to mind:
- Commercial yeast (fresh and dried) has its own distinctive flavor. That flavor carries through into the breads it is made with. Don’t get me wrong, commercial yeast renders fabulously delish breads! However, using a sourdough starter to leaven your bread renders a slightly different flavor due its natural fermentation.
- Breads made with sourdough starter are generally healthier than breads made with commercial yeast. I’m honestly not such a health maven (um, have you looked at the recipes on this blog?!?), so run it through the Google machine for more details.
- It is incredibly fascinating and exciting to create something completely from scratch that actually rises! Well, at least if you’re a bread nerd like I’m quickly becoming.
How is Sourdough Challah different from regular Challah?
Traditional Challah is generally loaded with eggs and sugar/honey. That’s what makes it so rich and delish!
When creating this recipe, I was able to maintain the number of eggs I use in my Challah, but I had to decrease the sugar/honey. Too much sugar (honey is included in that) can slow down or actually prevent sourdough culture from rising. (It interferes with fermentation.) This challah is therefore not as sweet as my traditional Challah but still downright delish!
Another change I had to make was to increase the salt. Salt is an essential ingredient when making a naturally leavened bread. In fact, it is so important that you should not use just any salt. I highly recommend staying away from table salt and instead relying solely on fine sea salt. I have had great success with Morton’s. Sea salt contains tons of nutrients that help the sourdough culture thrive.
How do I make Sourdough Challah?
As I said, although it looks like a time-consuming process, this actually requires very little active, hands-on time.
1. Feed your starter
If you store your starter in the refrigerator, take it out three days before you plan on baking your challah so you can feed it several times and re-adjust it to life at room temperature. If your starter is out and has been consistently fed recently, you’re good to go.
The day before you plan to bake, feed your starter like usual, making sure that you have MORE than 30 grams of starter. When you mix the levain in the next step, you will need 30 grams of ripe, active starter, and you want to make sure you have some starter left over as your “mother” starter to continue feeding and maintaining for future bakes.
Unfortunately, I cannot tell you exactly how long you need to wait before you can mix the levain using your starter. However, I’m going to tell you the secret to success with any sourdough starter: Get to know your starter!
You want the starter to be ripe and active, at its peak. That means you want to use that 30 grams of starter when your starter has risen significantly, perhaps tripled in size, just before it starts to deflate. The only way to judge when your starter reaches its peak is to observe it each time you feed it just before you start this recipe. (Feed it, let it sit 3-4 hours, check on it, and keep checking on it every 30 minutes to get an idea how long it takes to reach its peak.)
Note what time you feed it and what time it seems to be at its peak. In my kitchen, which generally runs between 70° F and 73° F, it takes approximately 8 hours to reach the desired point. In a warmer kitchen, it would likely take less time. If you want a warmer atmosphere, turn your oven light on and place your fed starter in it. Make sure no one turns the oven on! That will usually get you to approximately 80° F. But do this only after you have previously fed your starter and stored it in the oven so you know how long it will take for it to get to its ripe stage.
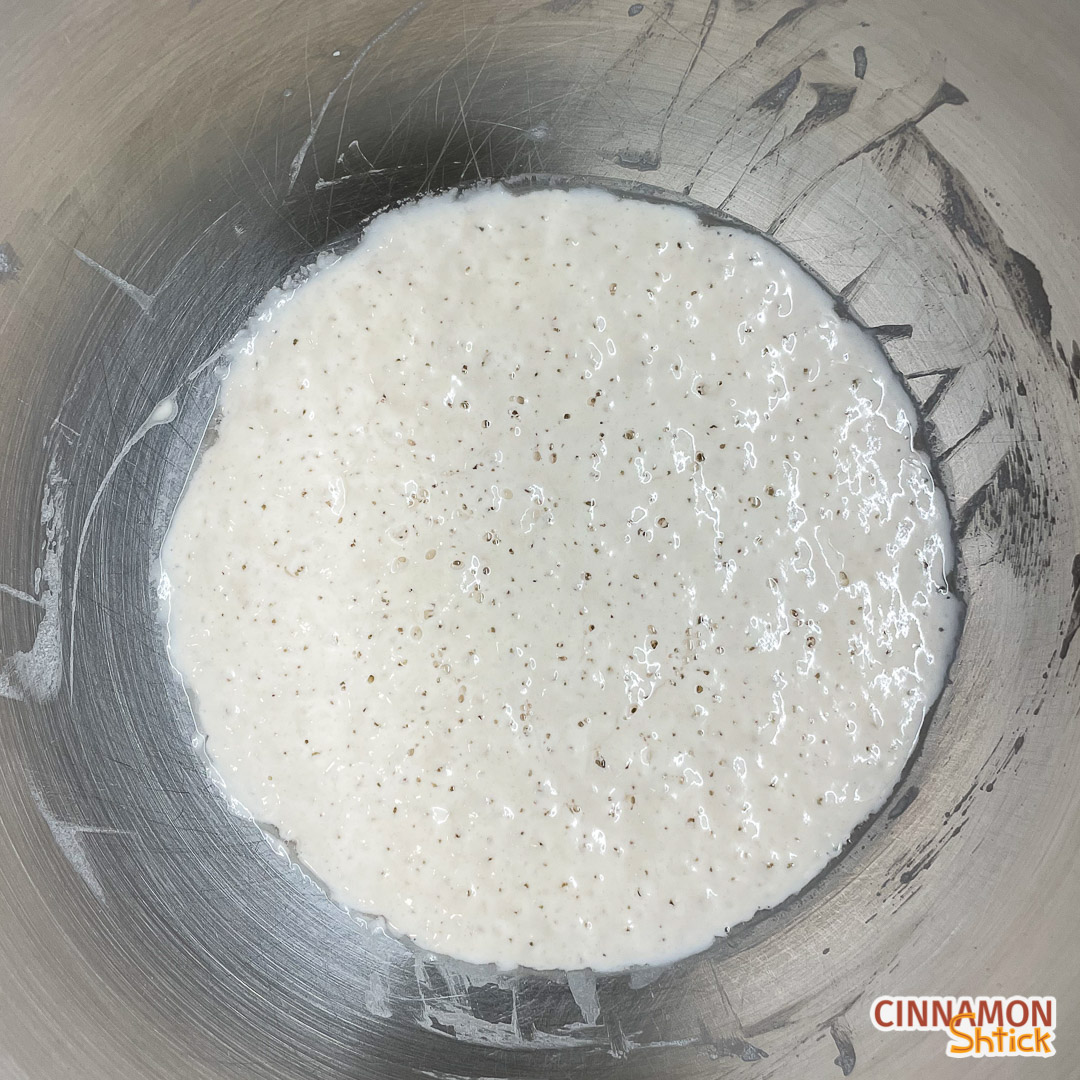
2. Mix the levain
Once your starter has reached its peak, it’s time to mix the levain. What is a levain? Without getting too into the bread science here, a levain is simply an offshoot of your starter. Creating a levain helps use less starter in this challah recipe while creating a preferment that will make the dough rise.
To mix the levain, all you need to do is to mix your 30 grams of ripe starter with 100 grams of filtered water (at room temperature) and 80 grams of bread flour. (Life Tip: When using sourdough starter for anything, it is always a good idea to stir it. Starter loves air, so mixing it helps distribute more air within it.) Just mix until it all comes together. It should take a matter of seconds. I like to do this in the bowl of my electric mixer so that when it comes time to knead the dough, I can just dump the rest of the ingredients in and knead away.
Once the levain is mixed, cover it with plastic wrap and let it sit on the countertop for 12-14 hours.

3. Knead the dough
Once the levain is nice and bubbly, simply dump in the rest of the ingredients except for the salt. I recommend kneading in a mixer for approximately 5 minutes on a medium speed. (You can certainly knead by hand if that is your preference. It will probably take 8 minutes or so.) Then slowly add in the salt and knead an additional 2-3 minutes until it is fully absorbed. Do a windowpane test — take a small piece of dough and stretch it thin. It should be translucent without ripping. Once you reach that stage, you are done kneading.
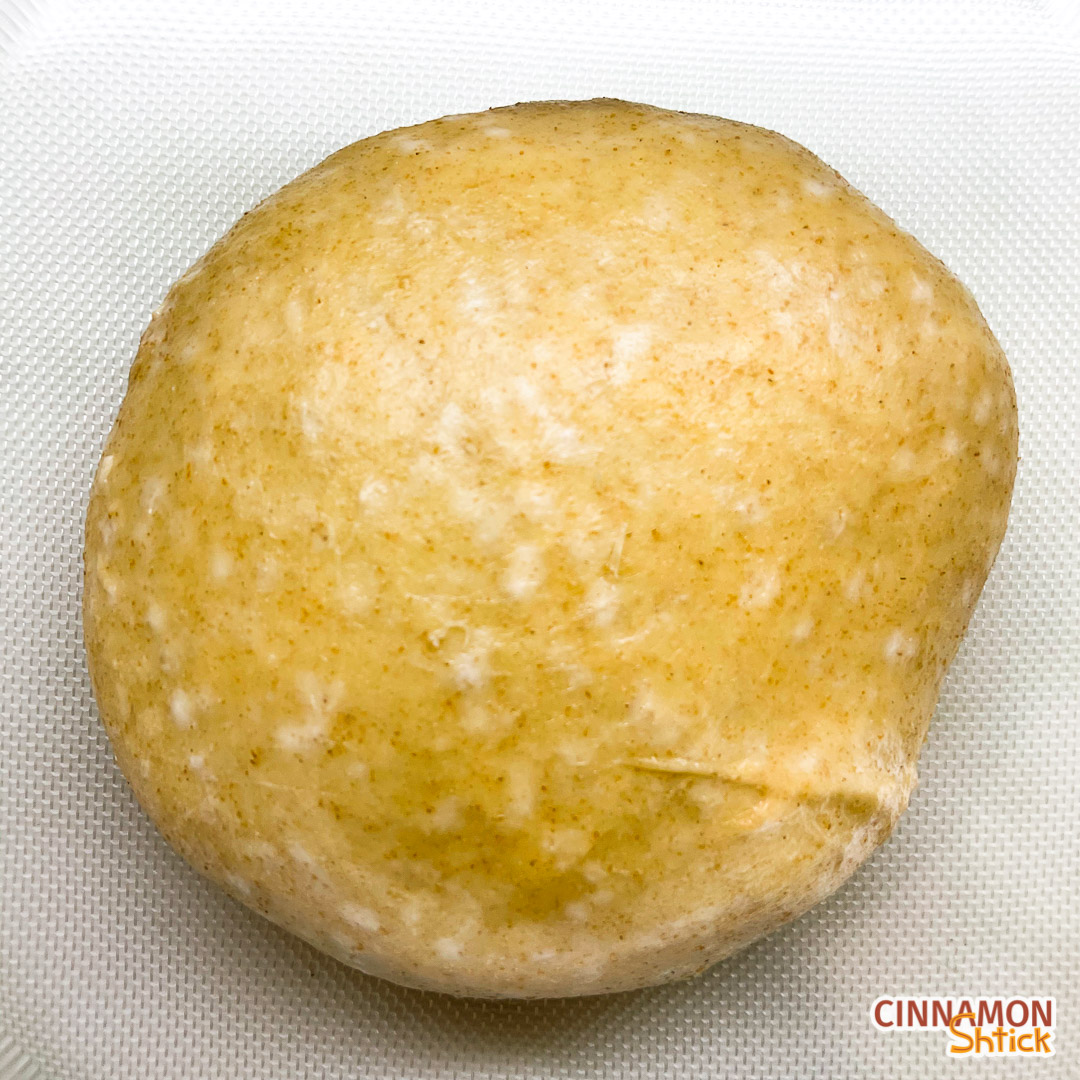
4. Bulk rise
Form the dough into a ball, place in an ungreased bowl, cover with plastic wrap, and allow it to bulk rise on the counter for 4-6 hours. (I generally let it go for approximately 4 hours.) At the end of the bulk rise, the dough will have increased in size. It likely will not have doubled. Just look to see that it has increased and has gotten slightly puffy.
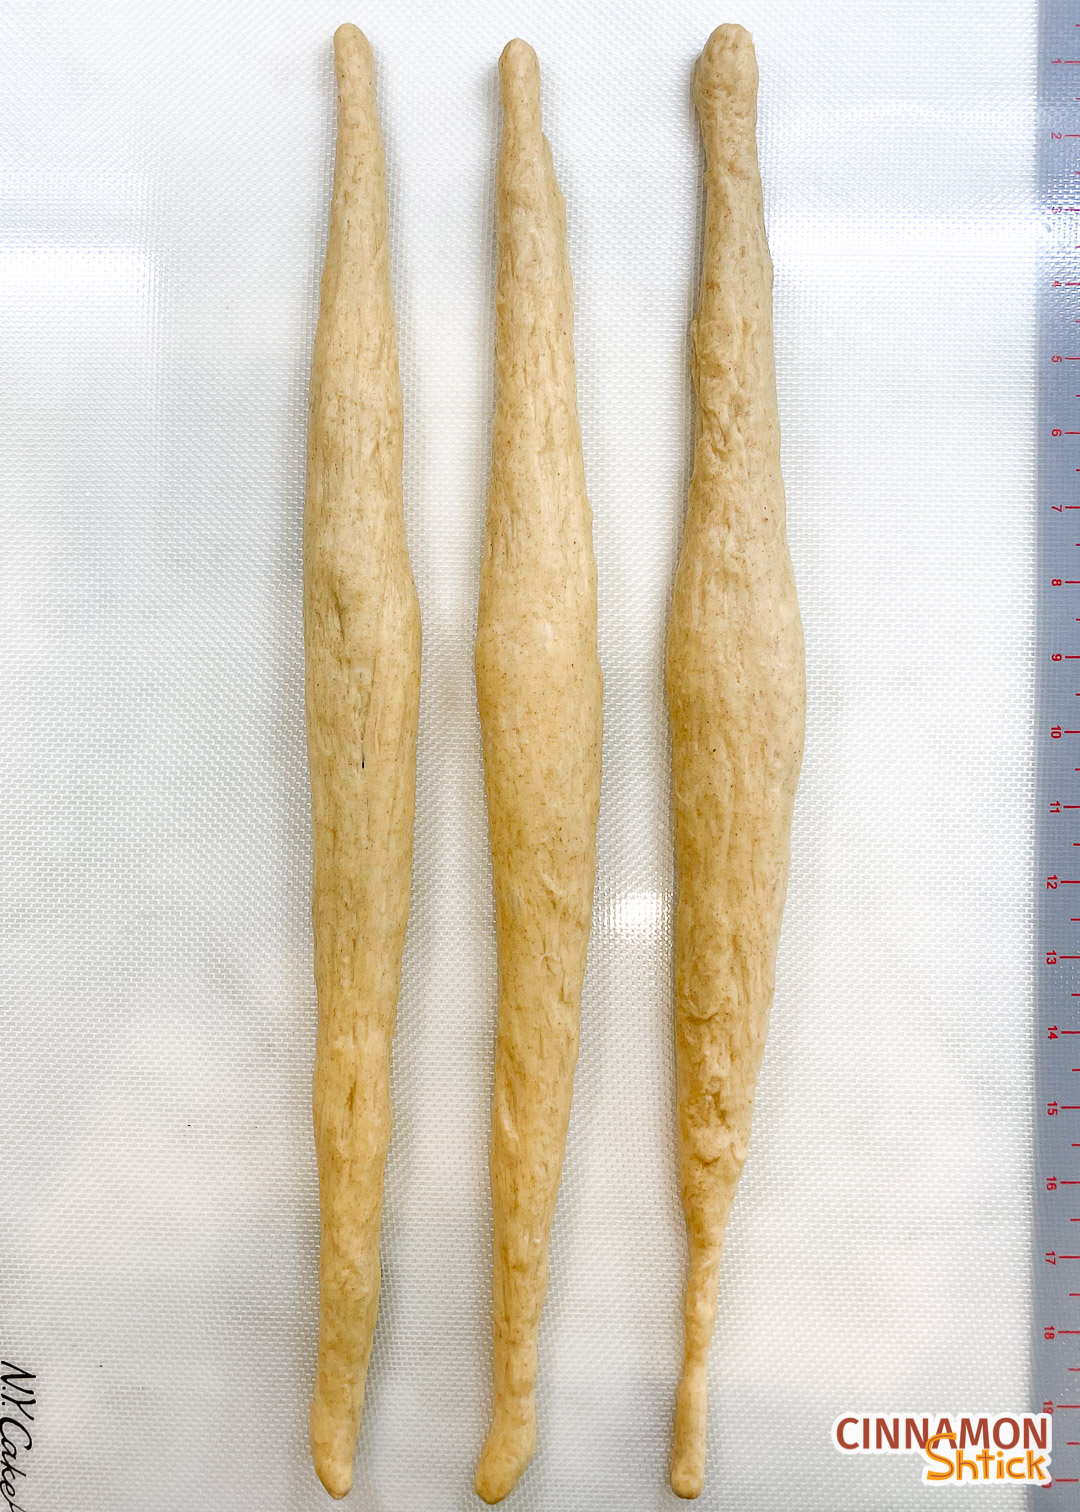
5. Shape
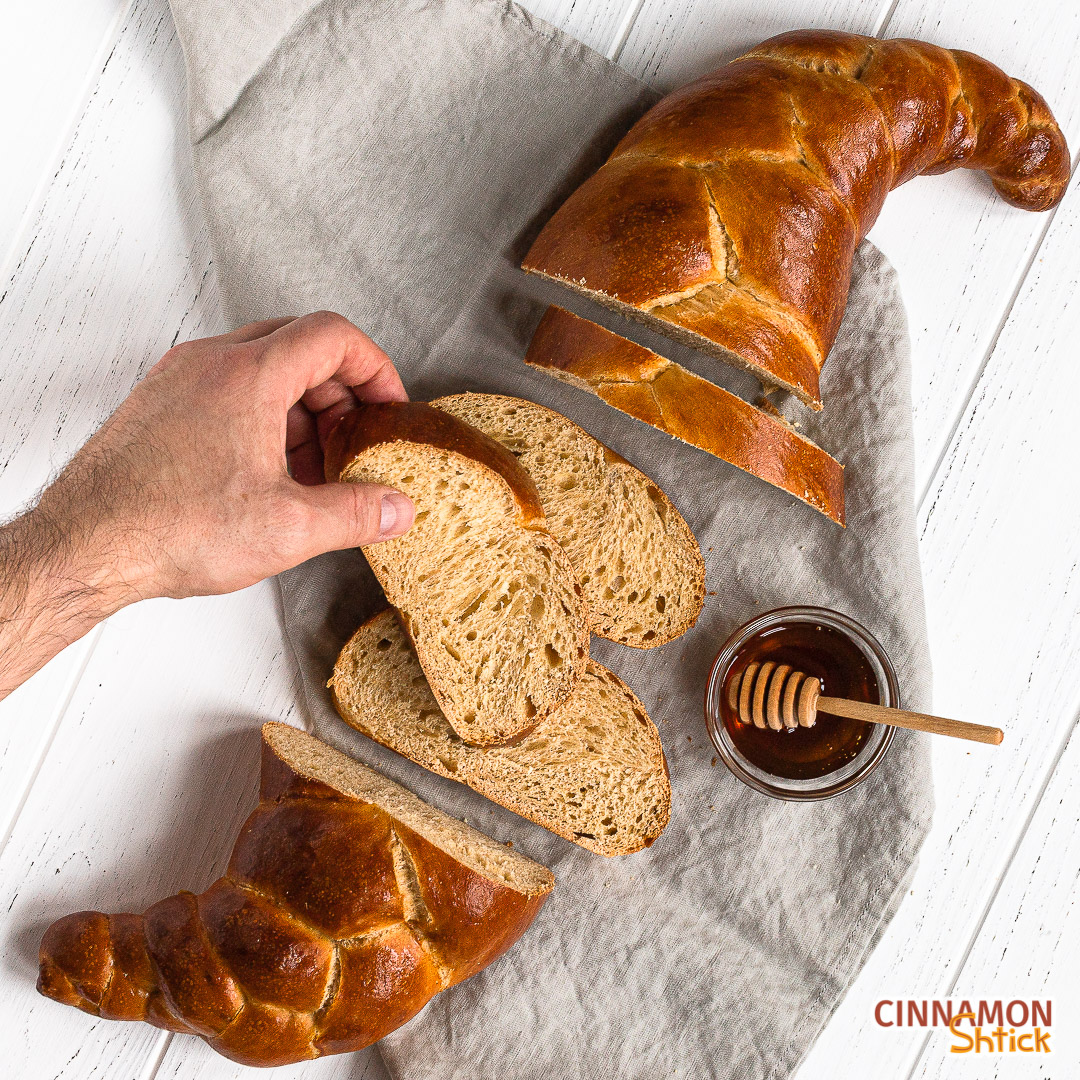
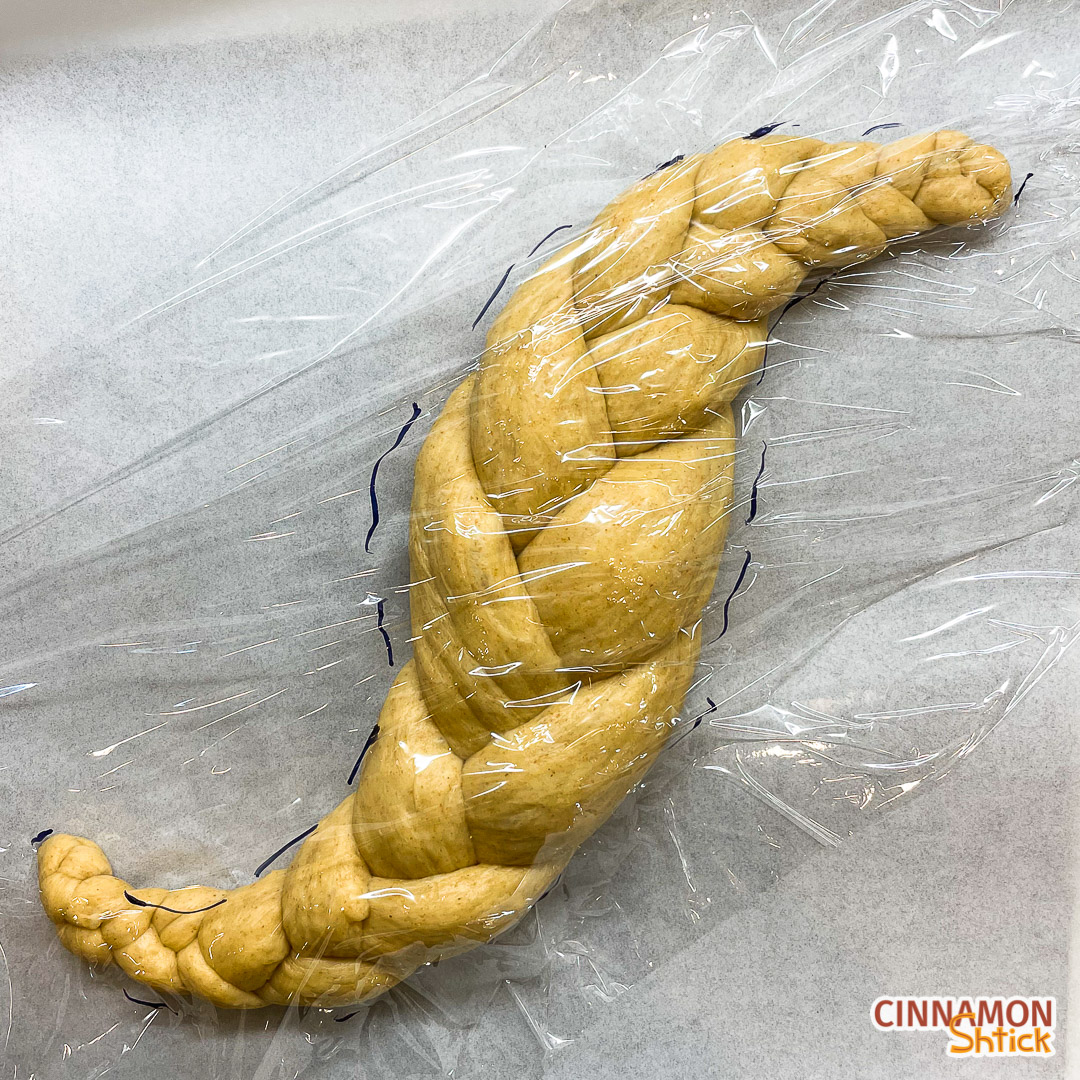
I find Sourdough Challah super easy to shape. Braid however your heart desires. I was into an “S” formation when I was testing this recipe, which is super fun and makes for a fabulous photograph. To do that, just make sure the ends of your strands are tapered (thinner) compared to the middle of the strands.

6. Rise
Once your challah is shaped, loosely place plastic wrap over it and let it sit at room temperature for approximately 5 hours. Again, it will not double in size, but it should grow and look puffy.
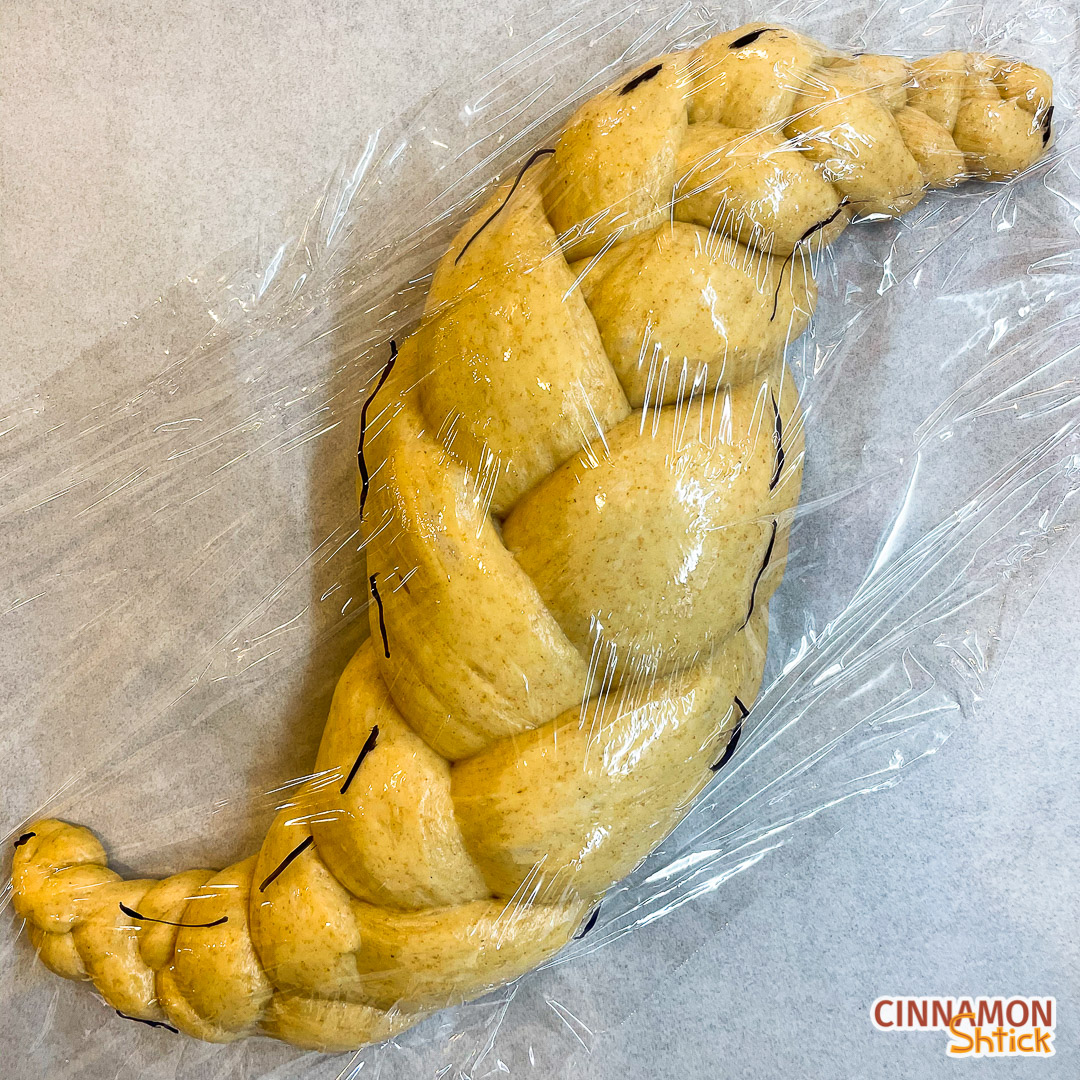
To know if your challah is ready for the oven, remove the plastic wrap and use your index finger to make a slight impression on the challah. Dough that bounces all the way back should get into the oven ASAP. If the dough does not bounce back at all, it needs more time, so check it every 30 minutes. The ideal is dough that bounces back up to 75% of the way — that is your happy spot. Time to bake.
7. Bake
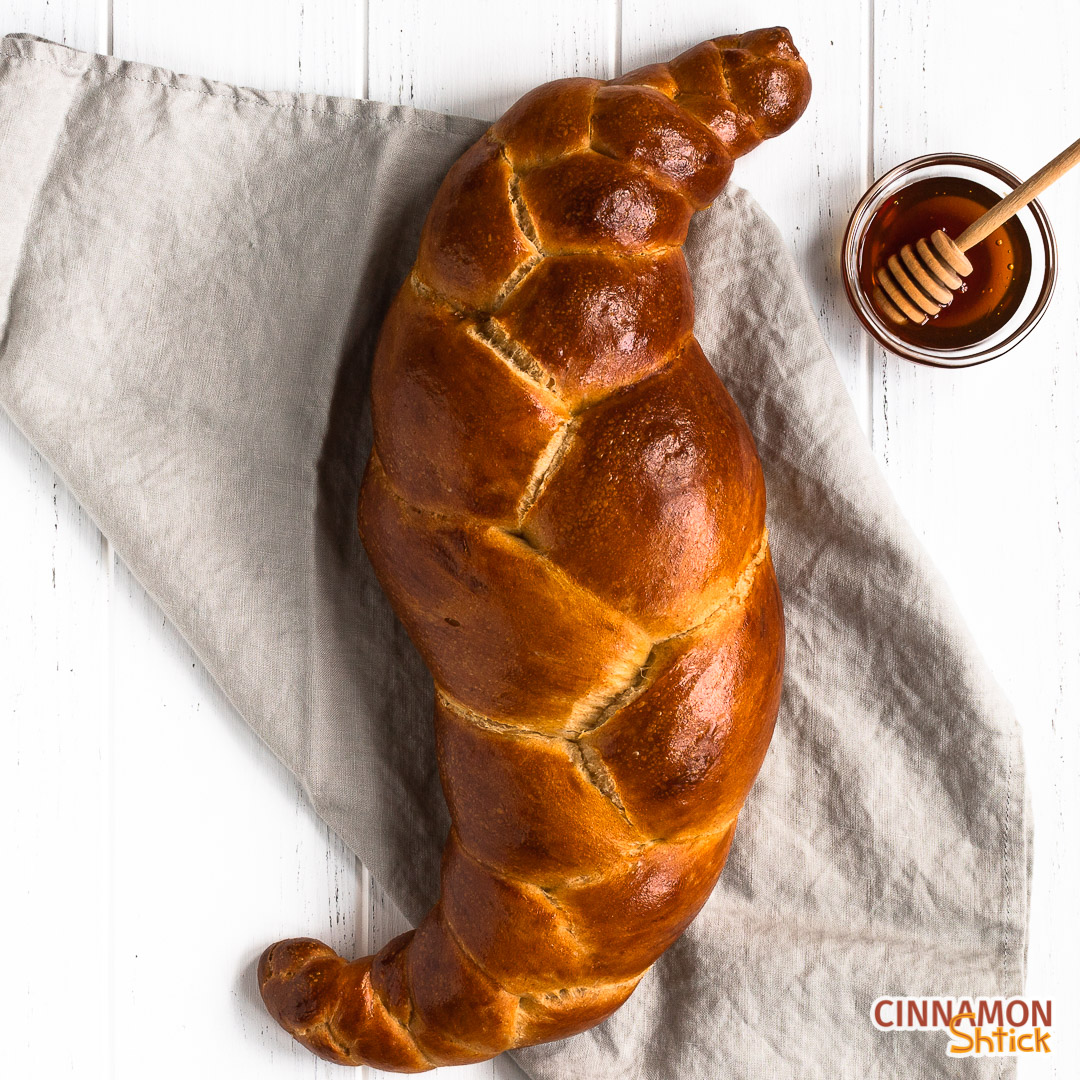
Just prior to baking, coat your challah in an egg wash. There are countless options for an egg wash. For a traditional look, use a whole beaten egg. To lighten that up, use a whole egg beaten with 1 teaspoon of water. For a dark, rich look, use just a beaten egg yolk, or you can lighten it up a drop by adding 1 teaspoon of water. I opt for just the yolk for that deep, rich look. When applying your egg wash, make sure to brush all the way to the bottom and almost under the challah so that it gets a consistent tan all over. Feel free to top with any seeds of your choosing: poppy, sesame…Everything Seasoning.
Recommended Timeline
Following is the timeline I have been using in my kitchen. You will need to adjust it for your kitchen, really depending on how quickly your starter rises:
Day 1:
10:00 am: Feed starter, making sure there is more than 30 grams of starter once fed.
6:00 pm: Mix levain. Cover with plastic wrap and allow to rest on countertop overnight.
Day 2:
8:00 am: Mix and knead dough. (I admit that I have overslept and done this as late as 10:00 am and it turned out just as good! I shaped closer to 3:00 pm, and baked closer to 8:00 pm.) Allow to bulk rise.
1:00 pm: Shape challah.
6:30 pm: Bake.
Note: To enjoy freshly baked Sourdough Challah for dinner, you may want to adjust the times so you can bake earlier. Alternatively, bake the day before you plan to serve. The challah keeps well wrapped in plastic wrap on the counter, although I tend to wrap it up and pop it in the freezer over night. I take it out an hour or two before dinner. Then I wrap it in foil and pop it in the oven for 10 minutes or so.
Other Challah Recipes
For my traditional recipe, check out my Challah.
For an even softer, doughier version, check out my Tangzhong Challah.
Want a whole grain version? Check out my Whole Wheat Challah or my Spelt Challah.
Looking for a round Challah or just an ornate challah? Check out my Festive Challah or my 4-Strand Round Challah.
For an egg-free or vegan version, check out my Vegan Challah.
Looking to use up the leftover egg whites? Check out my Chocolate Egg White Cake, which is an easy and wonderful parve (dairy free) dessert ideal for any Shabbat or Yom Tov.
Frequently Asked Questions About Making Sourdough Challah
Is sourdough challah sour tasting?
No. The term “sourdough” really denotes a naturally leavened challah. Depending on the stage of your starter’s rise, the resulting dough could be slightly sour, but because this challah recipe is sweetened with honey, it is unlikely to be sour in flavor.
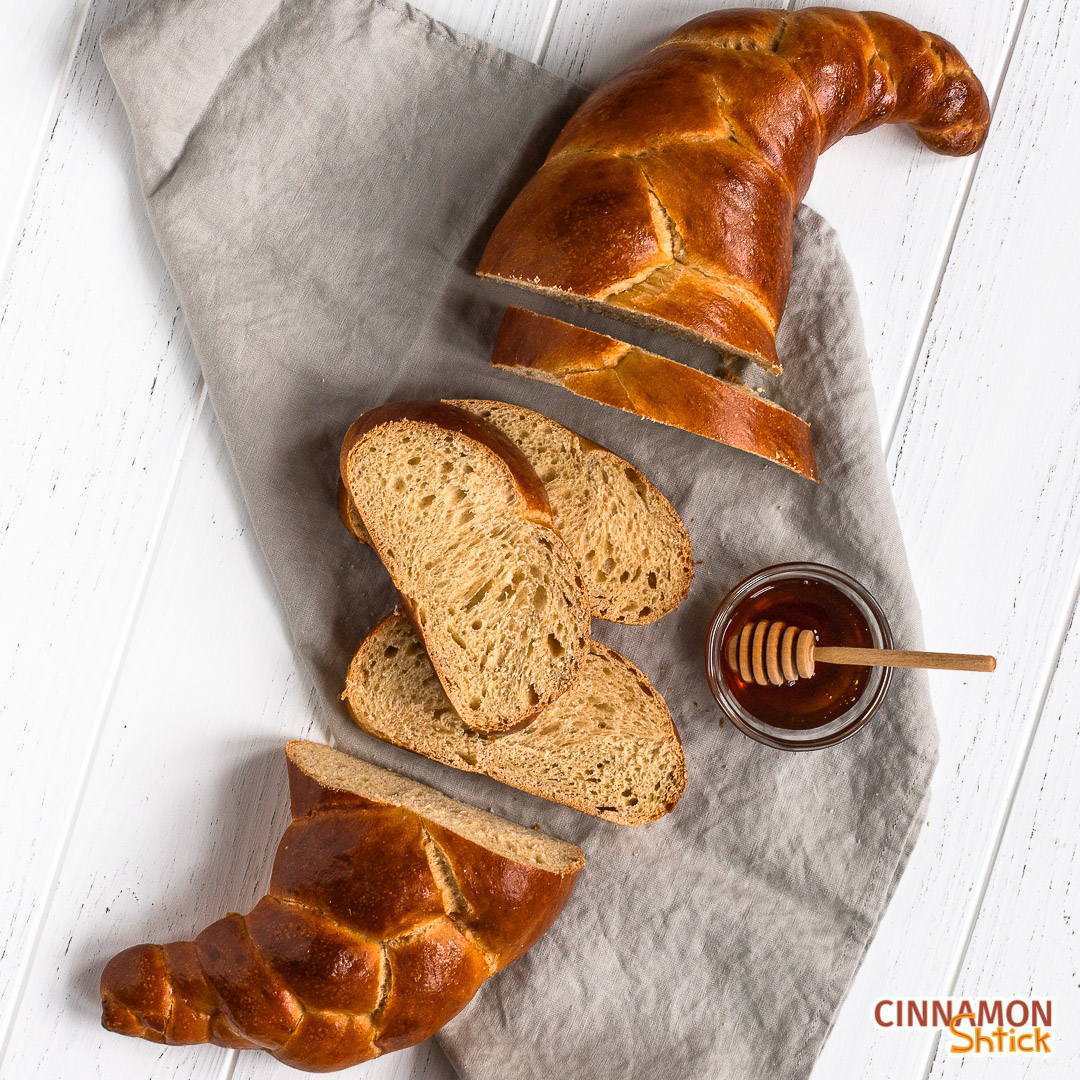
Can I use different flours in sourdough challah?
Included in the recipe notes are measurements for substituting some whole wheat or rye flours into the dough. The sourdough challah pictured in this post is the whole wheat version. Using a little whole wheat or rye simply adds a different flavor profile.
Is there a way to speed up the rising time for sourdough challah?
If you have a proofing box, you could allow the dough to bulk ferment at a temperature in the high 70s or low 80s. I have not yet done this, so you will have to check on it periodically to determine how long it will take.
Sourdough Challah
Ingredients
Levain:
- 30 grams ripe, acive starter (refreshed 6-10 hours earlier)
- 100 grams water (filtered at room temperature)
- 80 grams bread flour
Dough:
- All of the levain
- 26 grams warm water
- 3 egg yolks, at room temperature
- 43 grams neutral oil such as sunflower (grapeseed, sunflower, canola, vegetable)
- 50 grams honey
- 283 grams bread flour
- 8 grams fine sea salt
- 1 egg (for egg wash; for a deeper colored exterior, use just the yolk)
Instructions
- Levain. In the bowl of an electric mixing bowl, combine starter, water and flour until flour is fully absorbed. Cover with plastic wrap and allow to rest at room temperature 8-12 hours.
- Dough. Add the water, yolks, oil, honey and flour to the starter. Knead for 5 minutes on a medium speed. Slowly add in the salt. Knead for an additional 3 minutes. The dough should pass the windowpane test. Place dough in a large, ungreased bowl, and cover with plastic wrap. Allow to rise at room temperature 4-6 hours.
- Shape. Weigh the dough and divide into three equal parts for 1 large, three braided challah, or divide into two equal portions for two smaller challah. Further divide each portion into the number of strands you be making for each braid. Shape each portion into long strands and braid as desired. Cover loosely with plastic wrap and allow to rise for 5 hours. The dough will not double in size, but it will increase in volume and look slightly puffy. You will know it’s ready to be baked by impressing a finger slightly into the dough. If the impression comes back most of the way, you are ready to bake. If it bounces back fully, it is over-proofed and should go into the oven immediately.
- Preheat. Towards the end of the rising time, preheat oven to 350° F.
- Bake. Apply egg wash. Sprinkle challah with any toppings, if using. Bake 30-35 minutes until golden brown on top and sides.
Notes
Nutrition
6 Comments
This challah looks absolutely incredible! I love how it looks super fancy but your steps make it so easy! Thanks for a great recipe.
We love sourdough challah bread, a nice break from regular sourdough baking. and the smell of baking bread is so good.
I’ve always loved challah bread. Looks good. Saving this recipe to make this weekend.
So soft and fluffy! This blog post has so much detail and makes this so easy!
I love good challah bread and this looks incredible. I am saving this recipe to make it super soon.
Super easy to follow instructions. Thanks for the recipe! Going to be making French toast this weekend with the leftovers!