

This post may contain affiliate links. As an Amazon Associate, I earn from qualifying purchases. For more information, please visit my Privacy Policy.
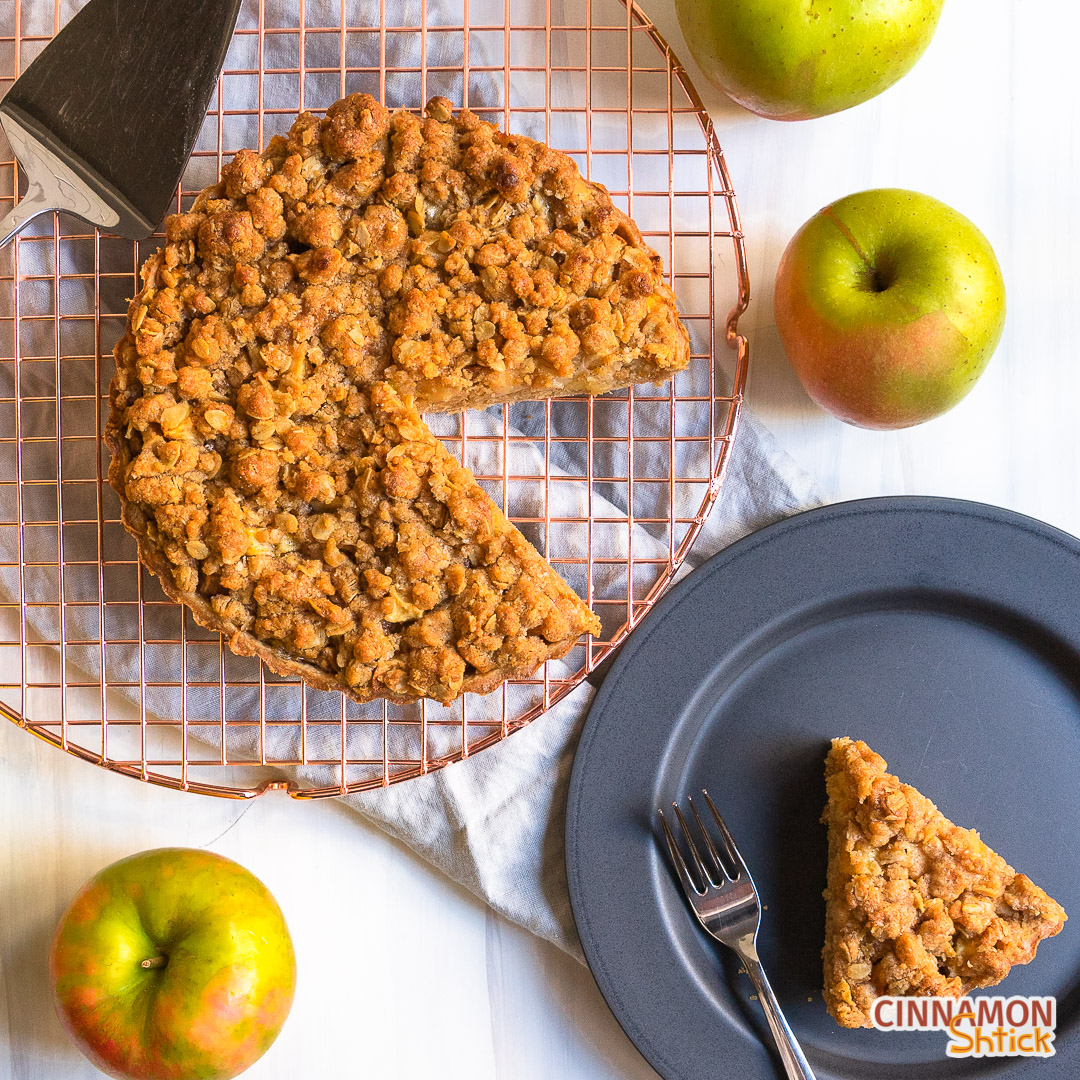
This is not just an apple tart recipe. This is a recipe composed of four distinct layers that, when eaten together, create a symphony of apple-yumminess delight.
Let’s talk about these layers:
The Tart Dough:
I developed this dough initially for my Apple Oatmeal Galettes. (Actually, this entire recipe was born from that Galette recipe. This is really a more sophisticated sibling to that Galette.) The dough is where you will find the spices you are probably used to seeing mixed in with an apple concoction in other apple tart recipes or apple pie recipes.
Oatmeal Cream:
Next, there is a layer of what I am calling Oatmeal Cream. As I mention in my Apple Oatmeal Galettes post, I learned about almond cream while I was in culinary school. Almond cream is a standard in French pastry often used in tarts such as a Tarte Bourdaloue (pear almond tart). It is basically almond flour creamed with butter, sugar and eggs and placed on top of the tart dough, under the pears. The Tarte Bourdaloue is my favorite of the French traditional tarts. For the Galette and this apple tart recipe, I wanted to incorporate some oatmeal flavor, rather than almond. That substitution also makes this tart nut-free! Once baked, the oatmeal cream is more like a thin layer of cake.
Apples:
Because the dough has the spices, I wanted the apples to be about, well, apples. With just a little sugar and vanilla seeds, this layer is designed to provide the perfect apple-vanilla flavor to complement both the spiced dough and the oatmeal cream, without being too overpowering.
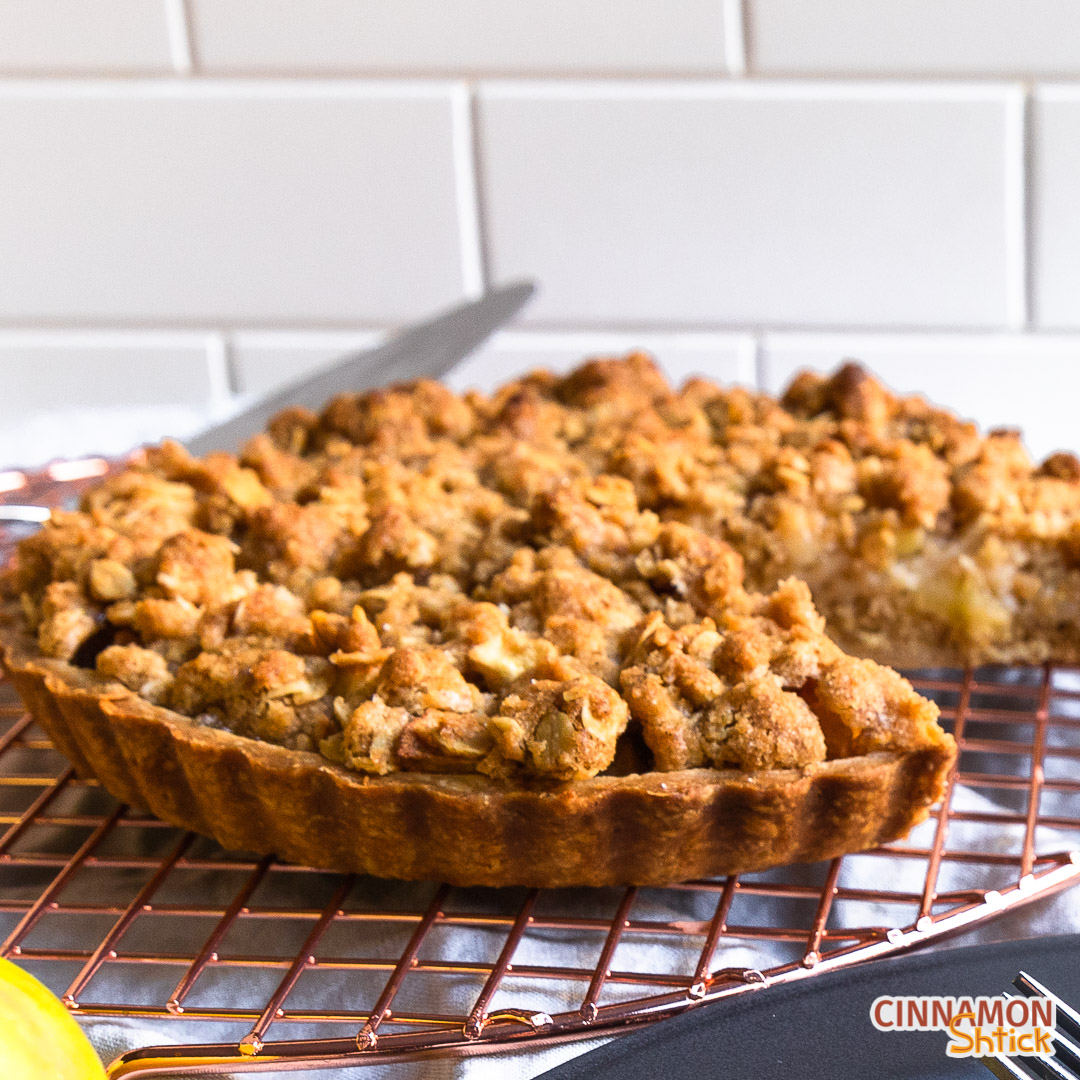
Crumb Topping:
The crumb topping is really my way of gilding the lily. While a regular crumb topping would have been lovely for this apple tart recipe, I tossed in some oats, threading the flavors of each layer together.
Tips for Making this Apple Tart Recipe
Tart Rings or Molds
If you watch the video below, you will see that I used a tart ring and a tart pan. I love a tart ring because it is actually really cool to create a tart with no actual bottom in a pan. When you shape the dough in the ring, do it on parchment paper placed on a baking sheet. Once the dough is fit into the ring, leave it on the baking sheet. If you lift the parchment by itself without the support of the baking sheet underneath, you will likely destroy your tart dough. The exception to this is that, after you chill it in the refrigerator or freezer, you will be able to move it around. However, once you fill the tart, make sure you keep it on the baking sheet.
I also love the tart pan. Those fluted sides render such a gorgeous, even more impressive tart. It is such an easy way to make a tart. It is almost a sin that such an easy way renders such a beautiful result.
Keep the Dough Cold
As with any pie or tart dough, it is imperative to work with the dough while it is cold. If it ever warms to room temperature, pop it in the refrigerator for at least 30 minutes or the freezer for 10 minutes. There’s a small window where the dough will be cold, but still pliable to roll out and work with. That’s the place you want to be. After you roll the dough out, put it in the refrigerator while you work on the other components. Once you shape the dough into the tart ring or pan, put it back into the refrigerator. After you trim the top, put it back into the refrigerator. Finally, once you fill the tart shell, put it back in the refrigerator or freezer so that it goes into the oven very cold. This will help ensure a flaky crust and prevent the crust from spreading too much. The dough is definitely a component you can make in advance, by as much as two days, provided you store the dough in the refrigerator.
Make the Oatmeal Cream Just Prior to Baking
In the Notes, you will see that you can make the oatmeal cream in advance. If that helps with your time management, go for it! I find it much easier though to make it just prior to assembling the tarts. If you make it in advance, you will need to stir it, or even use the mixer on it, to get it light and fluffy again. If you want to prepare a little in advance without making the oatmeal cream too far in advance, you can grind the oatmeal and store it in an airtight container until you are ready to make the oatmeal cream.
Use a Real Vanilla Bean
You can totally cheat and use vanilla sugar in this recipe (it’s really not cheating), but you will get a fresher, stronger vanilla flavor when using a real vanilla bean. If you are new to using a vanilla bean, do not panic! On a cutting board, hold one end of the bean with the index finger of your less dominant hand. With your dominant hand, slice down the middle using a paring knife. Use the back of the knife to scrape against the two exposed sides. That will lift up all the amazingly delicious vanilla seeds.
Make the Crumb Topping Early
You can certainly make the crumb topping as I suggest just after making the dough. If you want to make something in advance, this is the component to make early. Once the tarts are formed, you will want to put the crumb topping over the apples when they are cold. It’s just easier to play with the crumb topping and make them crumby when cold.
If you’re thinking you want to top this heavenly treat with something, I highly recommend, in no particular order: Cinnamon Stick Ice Cream, Salted Caramel Sauce, and/or Salted Caramel Ice Cream.
Frequently Asked Questions About Making Apple Oatmeal Crumb Tarts
Can any of the components of this apple tart recipe be made in advance?
You can prepare all but the apple components ahead of time. You can make the dough up to two days before you plan to bake, storing it wrapped in plastic in the refrigerator. You can also make the crumb topping up to two days in advance, storing in an airtight container in the refrigerator. Finally, you can make the oatmeal cream also up to two days in advance, storing it in an airtight container in the refrigerator, but you will need to mix it so that it is light and fluffy just before filling the tarts with it.
What type of apples should I use to make this apple tart recipe?
It’s best to use a mix of apples, especially using some tart and some sweet apples. Honeycrisp, Granny Smith, Gala, Pink Lady, Granny Smith, Ginger Gold, just to name a few.
Apple Oatmeal Crumb Tarts
Equipment
- 2 8-inch tart rings or pans
Ingredients
Tart Dough:
- 210 grams all-purpose flour (1¾ cups)
- 32 grams sugar (2 Tablespoon. plus 2 teaspooons)
- ½ teaspoon cinnamon
- ⅛ teaspoon allspice
- pinch nutmeg
- ½ teaspoon salt
- 113 grams cold unsalted butter, cut into ¼ inch pieces (8 Tablespoons.; If mixing in a food processor, place your cut up butter in the freezer for at least 15 minutes before using.)
- 60 grams sour cream (¼ cup)
- 2-3 Tablespoons ice water
Oatmeal Crumb Topping:
- 60 grams flour (½ cup)
- 45 grams old fashioned rolled oats (½ cup)
- 50 grams sugar (½ cup)
- 55 grams light brown sugar (¼ cup)
- 1 teaspoon cinnamon
- ½ teaspoon salt
- 83 grams cold unsalted butter (6 Tablespoons)
Oatmeal Cream:
- 83 grams unsalted butter, at room temperature (6 tbsp.)
- 83 grams light brown sugar (½ cup plus 2 Tablespoons. plus 1 teaspoon)
- ½ teaspoon cinnamon
- 83 grams old fashioned oatmeal ground in blender or food processor (¾ cup plus 2 Tablespoons)
- 1 large egg
- 13 grams all purpose flour (1 Tablespoon plus 2 teaspoons)
- 13 grams cornstarch (1 Tablespoon plus 2 teaspoons)
Apple Filling:
- 1½ pounds apples, peeled, halved, cored and cut into ¼ inch squares (about 4 or 5 apples)
- 2 Tablespoons sugar
- ½ vanilla bean, split and scraped (see Note below)
- 1 teaspoon clear gel or cornstarch
Instructions
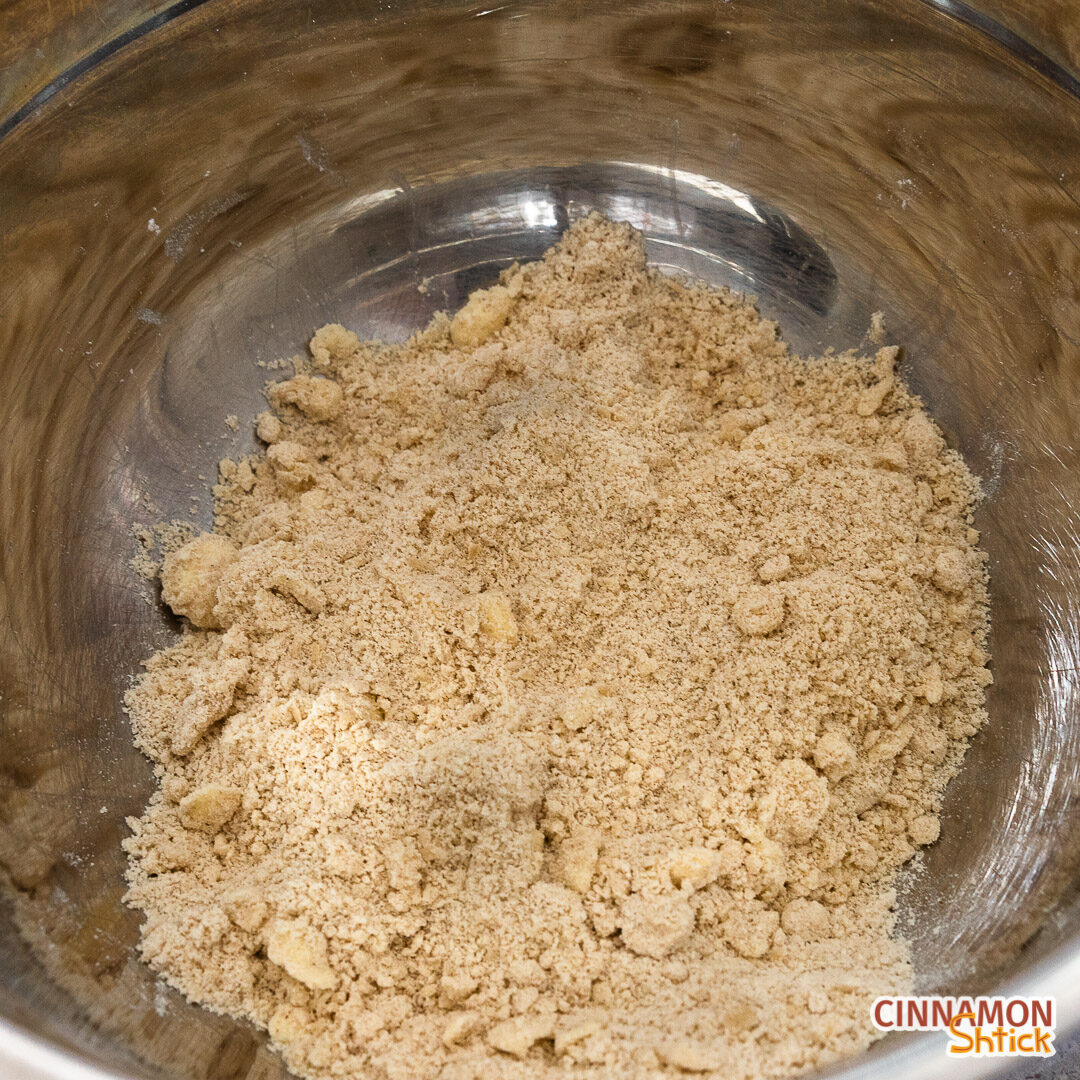
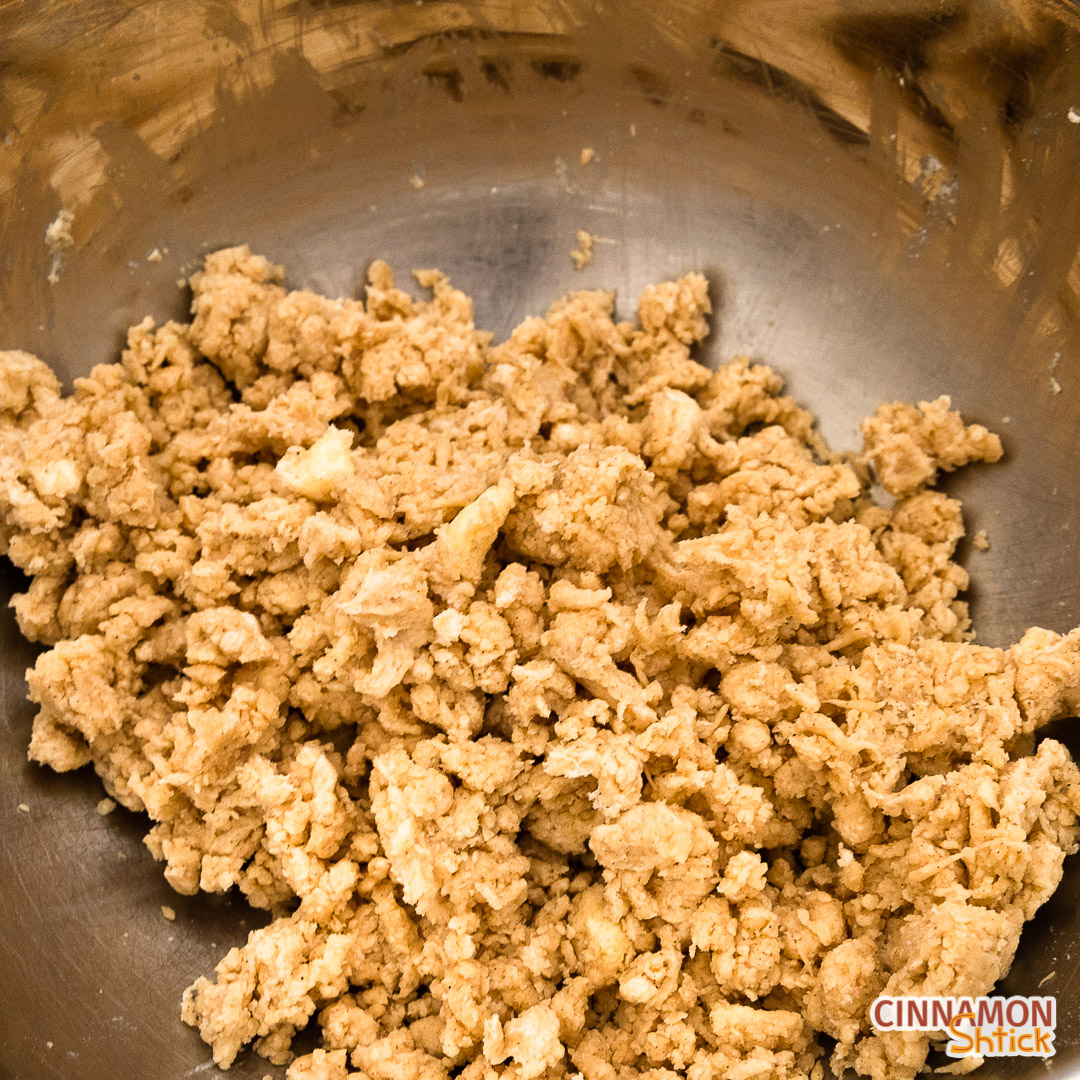
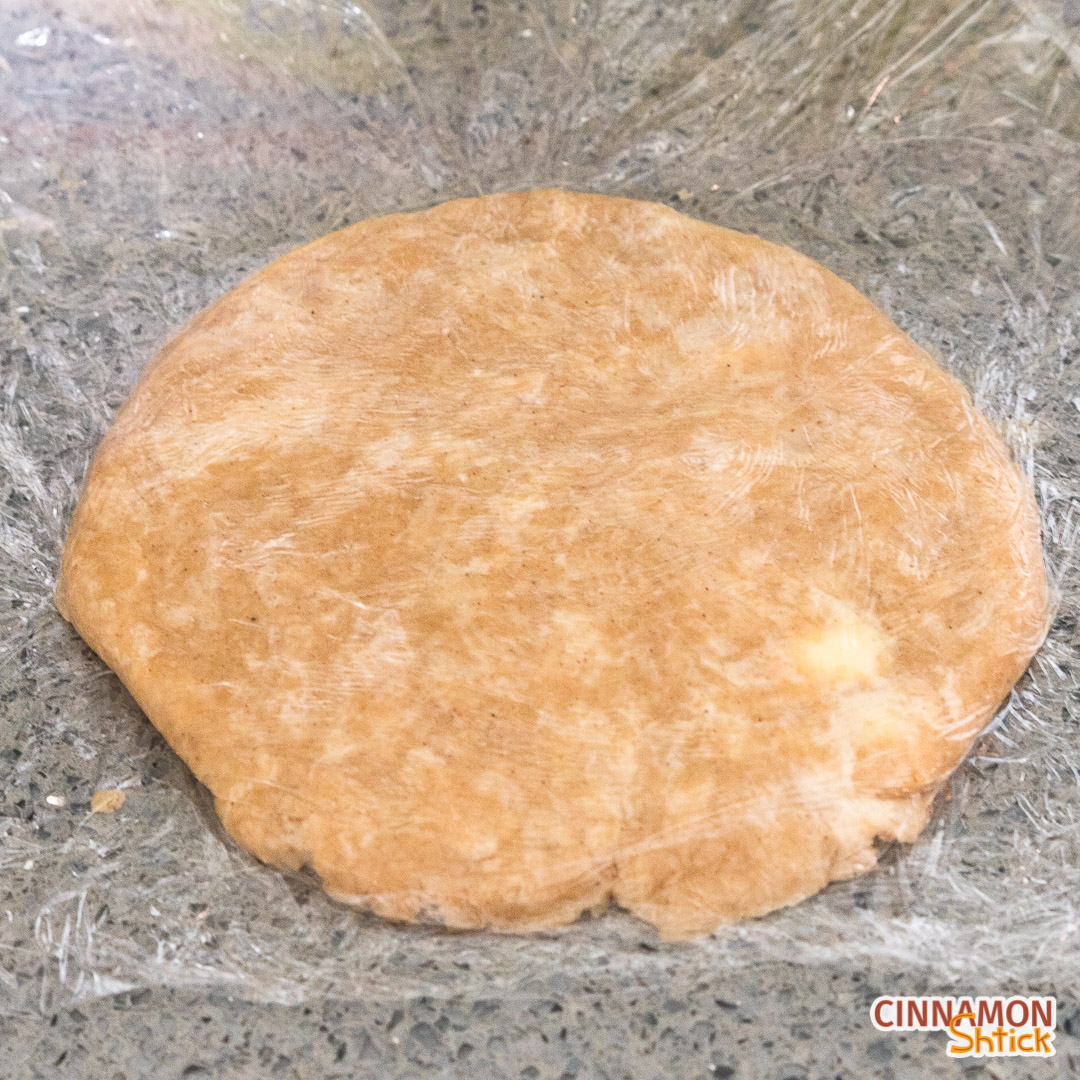
- Dough by Hand. In a mixing bowl, whisk together the flour, sugar, cinnamon, allspice, nutmeg and salt. Add all the butter. Using your hands, toss the butter to coat each piece with the flour mixture. Pinch the pieces of butter to flatten them a bit. Keep working the mixture for a couple of minutes until the mixture resembles coarse sand with most of the clumps of butter the size of peas and some larger pieces the size of walnuts. Make a well in the middle. Add the sour cream. Using your hands, scoop the flour from the sides and bottoms towards the sour cream until combined. Add 1 Tablespoon of ice cold water. Using your hands, scoop the flour from the sides and the bottoms towards the water to hydrate the flour. If the mixture is too dry, create another well in the middle and add more ice cold water, one teaspoon at a time. You should not need more than 3 teaspoons more. Repeat as necessary, but be careful not to over-hydrate the dough. You know you are done when a clump of dough flattened in your palm is smooth. Clump the dough together, weigh it, and divide it in half, placing each half on a sheet of plastic wrap. Push down on the plastic wrap to flatten the dough together into a disc, making it as circular as you can. Repeat with other half of dough. Place the wrapped doughs in the refrigerator for at least 30 minutes and up to 48 hours. Continue with Step 4, below.
- Dough by Food Processor. Combine all the dry ingredients in a food processor and pulse several times. Add the sour cream and all of the frozen butter. Pulse until the mixture resembles coarse sand with most of the clumps of butter the size of peas and some larger pieces the size of walnuts. Add 1 Tablespoon ice cold water and pulse a few times to combine. If the mixture is too dry, add more of the ice cold water a teaspoon at a time. You should not need more than 3 teaspoons more. You know you are done when a clump of dough flattened in your palm is smooth. Clump the dough together, weigh it, and divide it in half, placing each half on a sheet of plastic wrap. Push down on the plastic wrap to flatten the dough together into a disc, making it as circular as you can. Repeat with other half of dough. Place the wrapped doughs in the refrigerator for at least 30 minutes and up to 48 hours. Continue with Step 4, below.
- Dough by Mixer. Combine all dry ingredients in a mixer bowl fitted with the paddle attachment and mix on low until combined. Add the sour cream, mixing just until combined. Add the cold butter and mix until the mixture resembles coarse sand with most of the clumps of butter the size of peas and some larger pieces the size of walnuts. With the mixer on low, slowly add 1 Tablespoon of ice cold water. If the mixture is too dry, add more of the ice cold water a teaspoon at a time. You should not need more than 3 teaspoons more. You know you are done when a clump of dough flattened in your palm is smooth. Clump the dough together, weigh it, and divide it in half, placing each half on a sheet of plastic wrap. Push down on the plastic wrap to flatten the dough together into a disc, making it as circular as you can. Repeat with other half of dough. Place the wrapped doughs in the refrigerator for at least 30 minutes and up to 48 hours. Continue with Step 4, below.
- Butter your tart rings or tart pans. Remove one of the dough discs from the refrigerator and place on a slightly floured surface. With a rolling pin lightly covered with flour, roll the dough out so that it is a circle (or circle-ish), approximately 9 inches in diameter. (If the dough cracks when you first start rolling, let it sit on the counter for a couple minutes. It just means the dough is too cold. Join any broken edges together with your fingers.) With a dry pastry brush, brush off any excess flour from both sides. Place the dough over the prepared tart ring or tart pan and press into place along the edges and sides. Do not trim the top. Refrigerate at least 10-15 minutes. Repeat with second disc of dough. (If the dough becomes difficult to work with at any point, place it on parchment paper on a baking sheet and refrigerate for 10-15 minutes before continuing.)
- Prepare Oatmeal Crumb Topping. To work by hand or with a pastry cutter, combine all dry ingredients and then add butter, pressing the dry ingredients into the butter with your hands or a pastry cutter until the mixture resembles wet sand. (Alternatively, combine all ingredients except the oats in a food processor and pulse until the mixture resembles wet sand. Then mix in the oats.) Cover with plastic wrap and refrigerate.
- Prepare Oatmeal Cream. In a mixing bowl with the paddle attachment, cream the butter, brown sugar, cinnamon and ground oatmeal until light and fluffy, stopping the mixer a couple of times to scrape down the sides of the bowl. Add the egg, thoroughly incorporating. Add the flour and cornstarch and mix just to combine. Set aside.
- Prepare Apple Filling. In a bowl, mix the sugar, clear jel (or cornstarch), and vanilla seeds. Add apples and toss to combine.
- Preheat the oven to 400°F.
- Remove the prepared tart doughs from the refrigerator. (If they are very solid, let them sit for a few minutes at room temperature.) With a paring knife, trim the tops of the tarts so that the dough is aligned with the top of the tart ring/pan. Save the scraps in case you need some filler dough as you assemble the tarts.
- Spread half of the oatmeal cream (about 155 g.) into the center of each dough and spread evenly to completely cover the bottom of the tart. Divide the apple mixture in half and place apples to form one layer over the oatmeal cream. Divide the topping and sprinkle over both tarts. Refrigerate the prepared tarts for at least 30 minutes. (Or place in freezer for 15 minutes.)
- Bake for 45-50 minutes. The tarts are done when the top borders are golden brown. Allow to cool completely before removing tarts from ring or pan.
Notes
- This recipe makes 2 8-inch tarts. Each tart will serve 8-12 people. Once baked, they freeze beautifully.
- It is important to keep the dough cold at all times so that you prevent gluten development in the flour. This will result in a flakier dough.
- The recipe has you make the oatmeal crumb topping early on so it can sit in the refrigerator. It is best to add the crumb topping when it is very cold.
- For the oatmeal cream, do not use quick oats. Use old fashioned oats.
- In the apple mixture, you can use 2 Tablespoons of vanilla sugar instead of sugar and vanilla seeds.
- You can make some of the components ahead of time. You can make the dough up to two days before you plan to bake, storing it wrapped in plastic in the refrigerator. You can also make the crumb topping up to two days in advance, storing in an airtight container in the refrigerator. Finally, you can make the oatmeal cream also up to two days in advance, storing it in an airtight container in the refrigerator, but you will need to mix it so that it is light and fluffy just before filling the tarts with it.
- Once baked, the tarts will stay fresh for up to one week covered in plastic wrap stored in the refrigerator. They are equally delish cold.
10 Comments
Me and my daughter loves baking, we well definitely try this apple tart recipe!:) Love it, thanks!:)
These apple oatmeal crumb tarts are so amazing! The perfect recipe to have during a fall day when you want a sweet treat!
These tarts are so perfect for fall! I just love the heartiness the oatmeal adds, and the spice is perfect.
I went apple picking last weekend and was searching for something unique to bake and stumbled upon this recipe. Wow! I had friends over for dinner and this dessert stole the show! Raves all around. Thanks!
Omg delish!!! Easy to follow step by step directions. Fun to make! Already have family requests for a repeat. I do believe this will be the new fall holiday and post apple picking go-to!
These apple oatmeal crumb tarts are delicious! I loved that they were portable and super flavorful!
Just wow! I went for this recipe because it’s nut-free and was making it to take to a party (you can’t be too careful). It was a huge hit and looks so pretty!
This sounds heavenly! I have so many orchard apples to use up and can’t wait to give this a try. I think it’ll be a great addition to Thanksgiving this year.
I could smell the apples and cinnamon through your photos, I can’t wait to make this recipe. Looks amazing.
The apples and oatmeal go so well together! Such a great fall dessert!